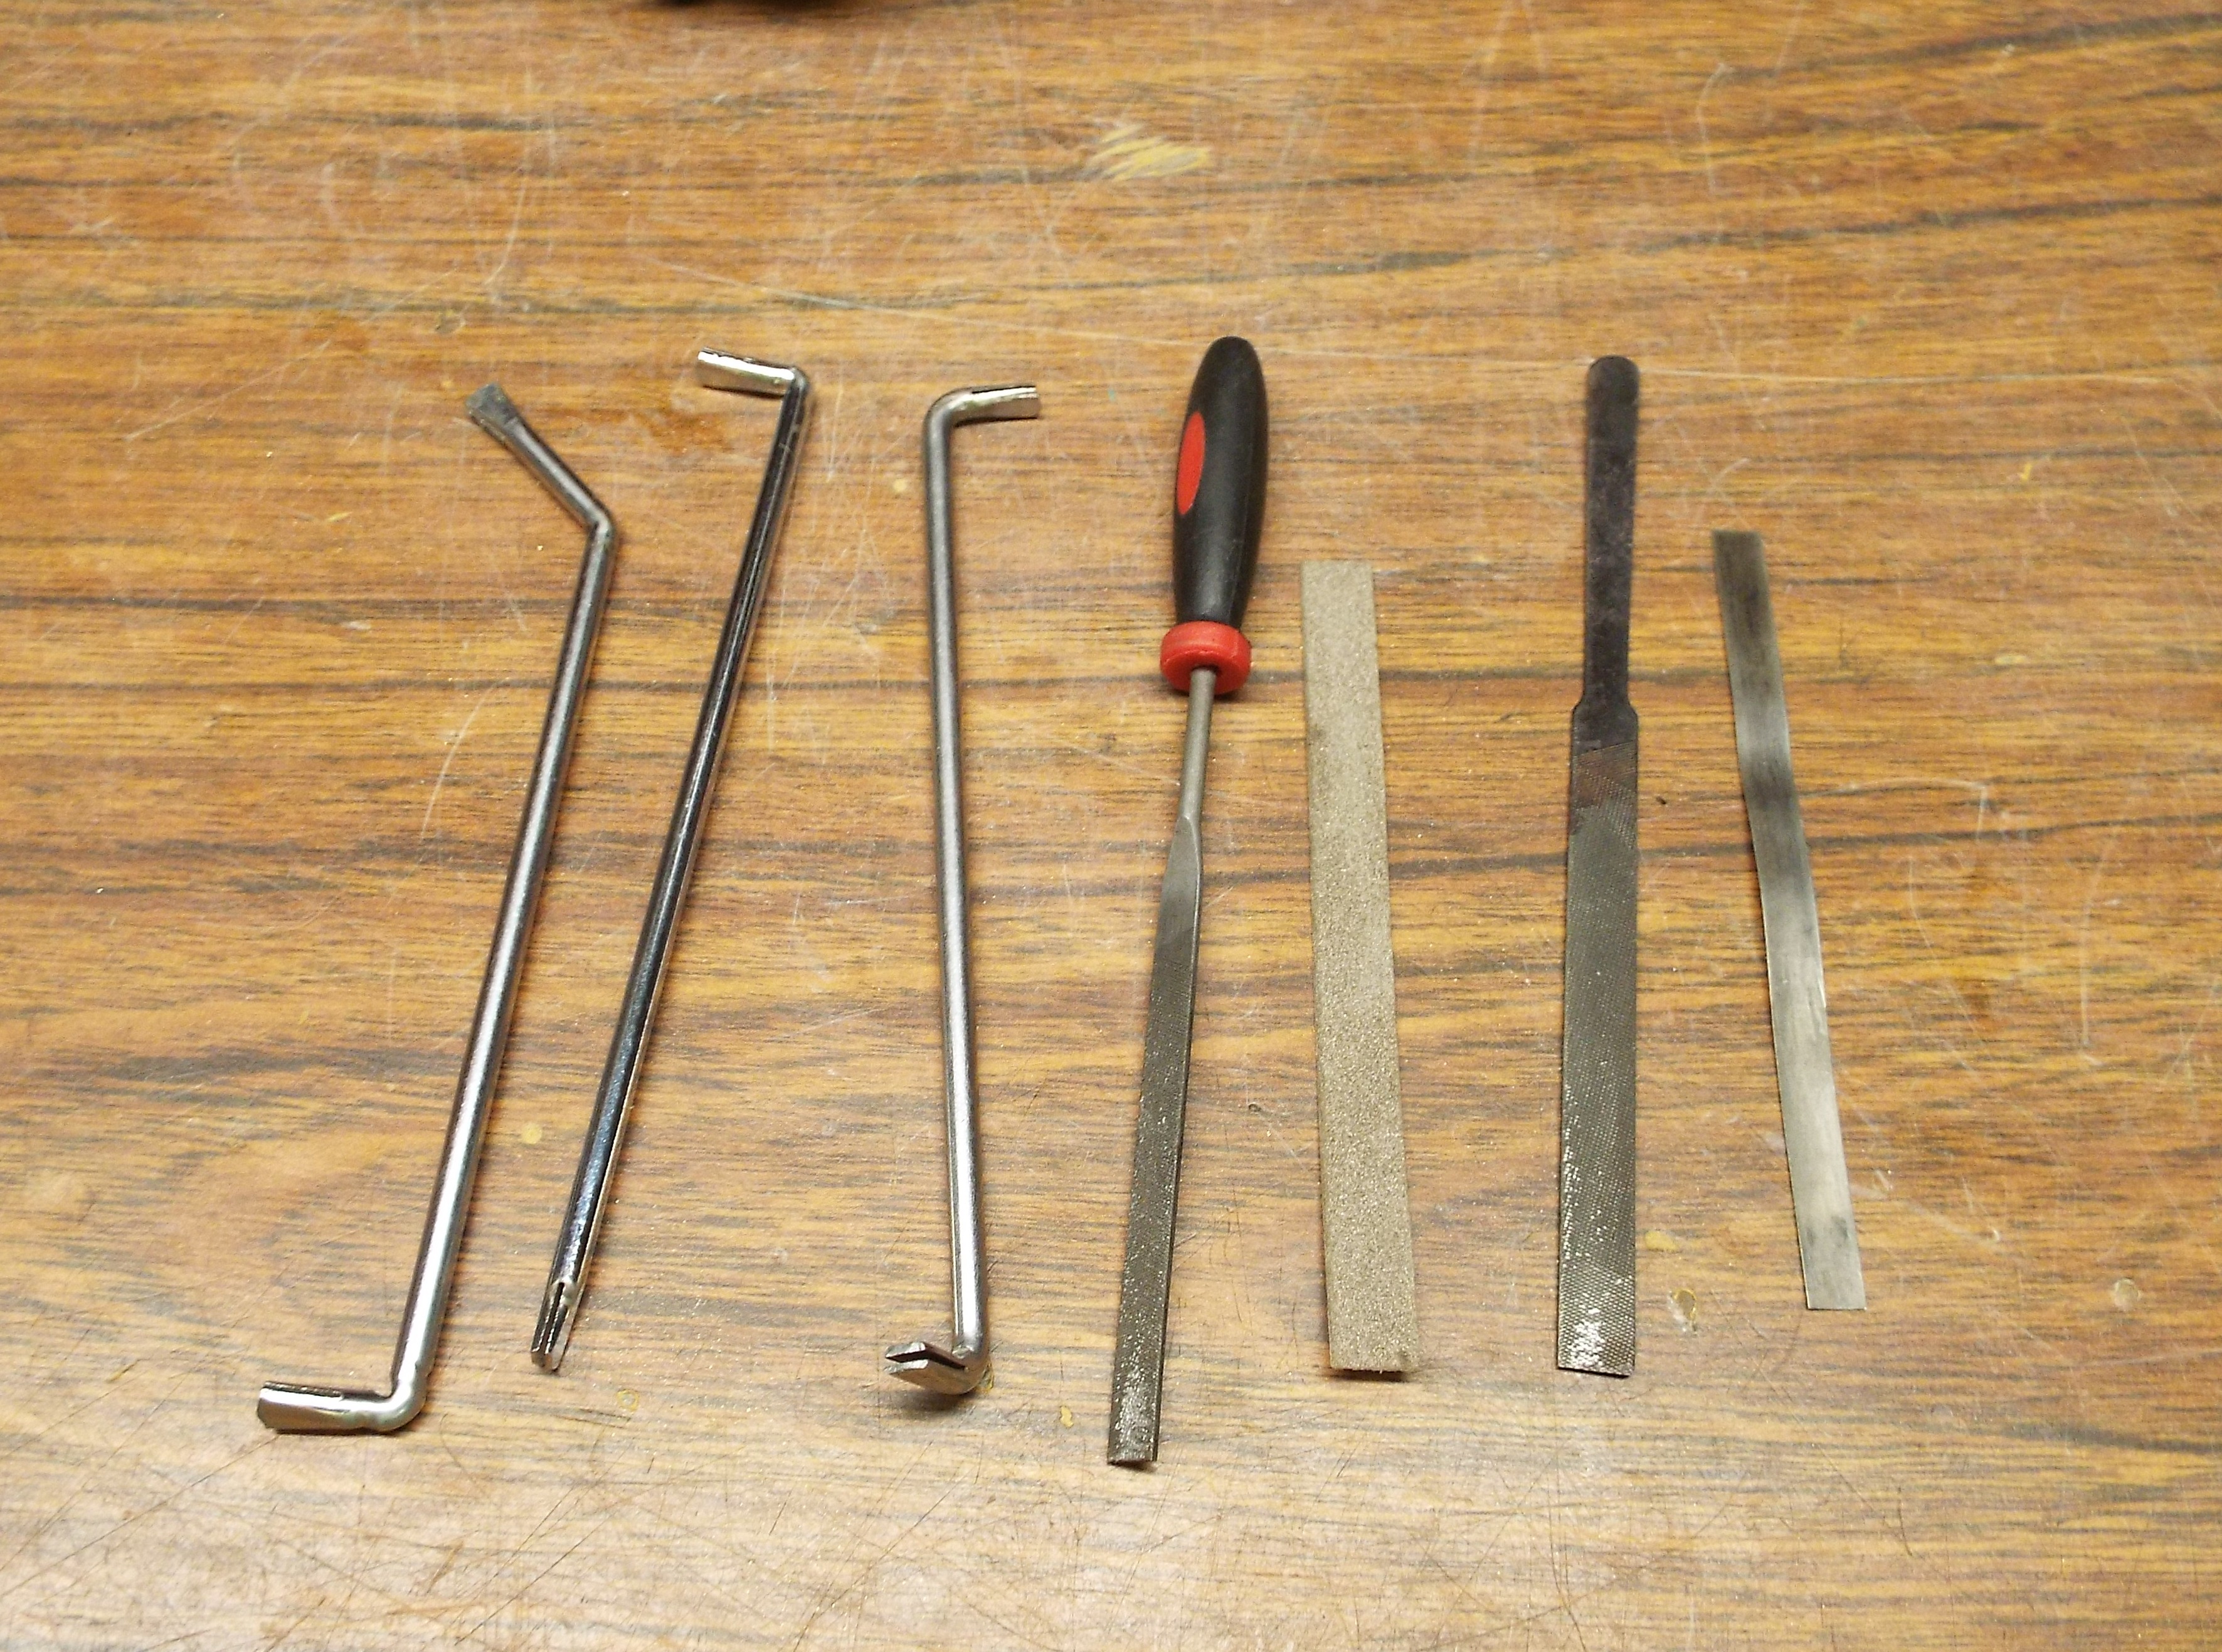
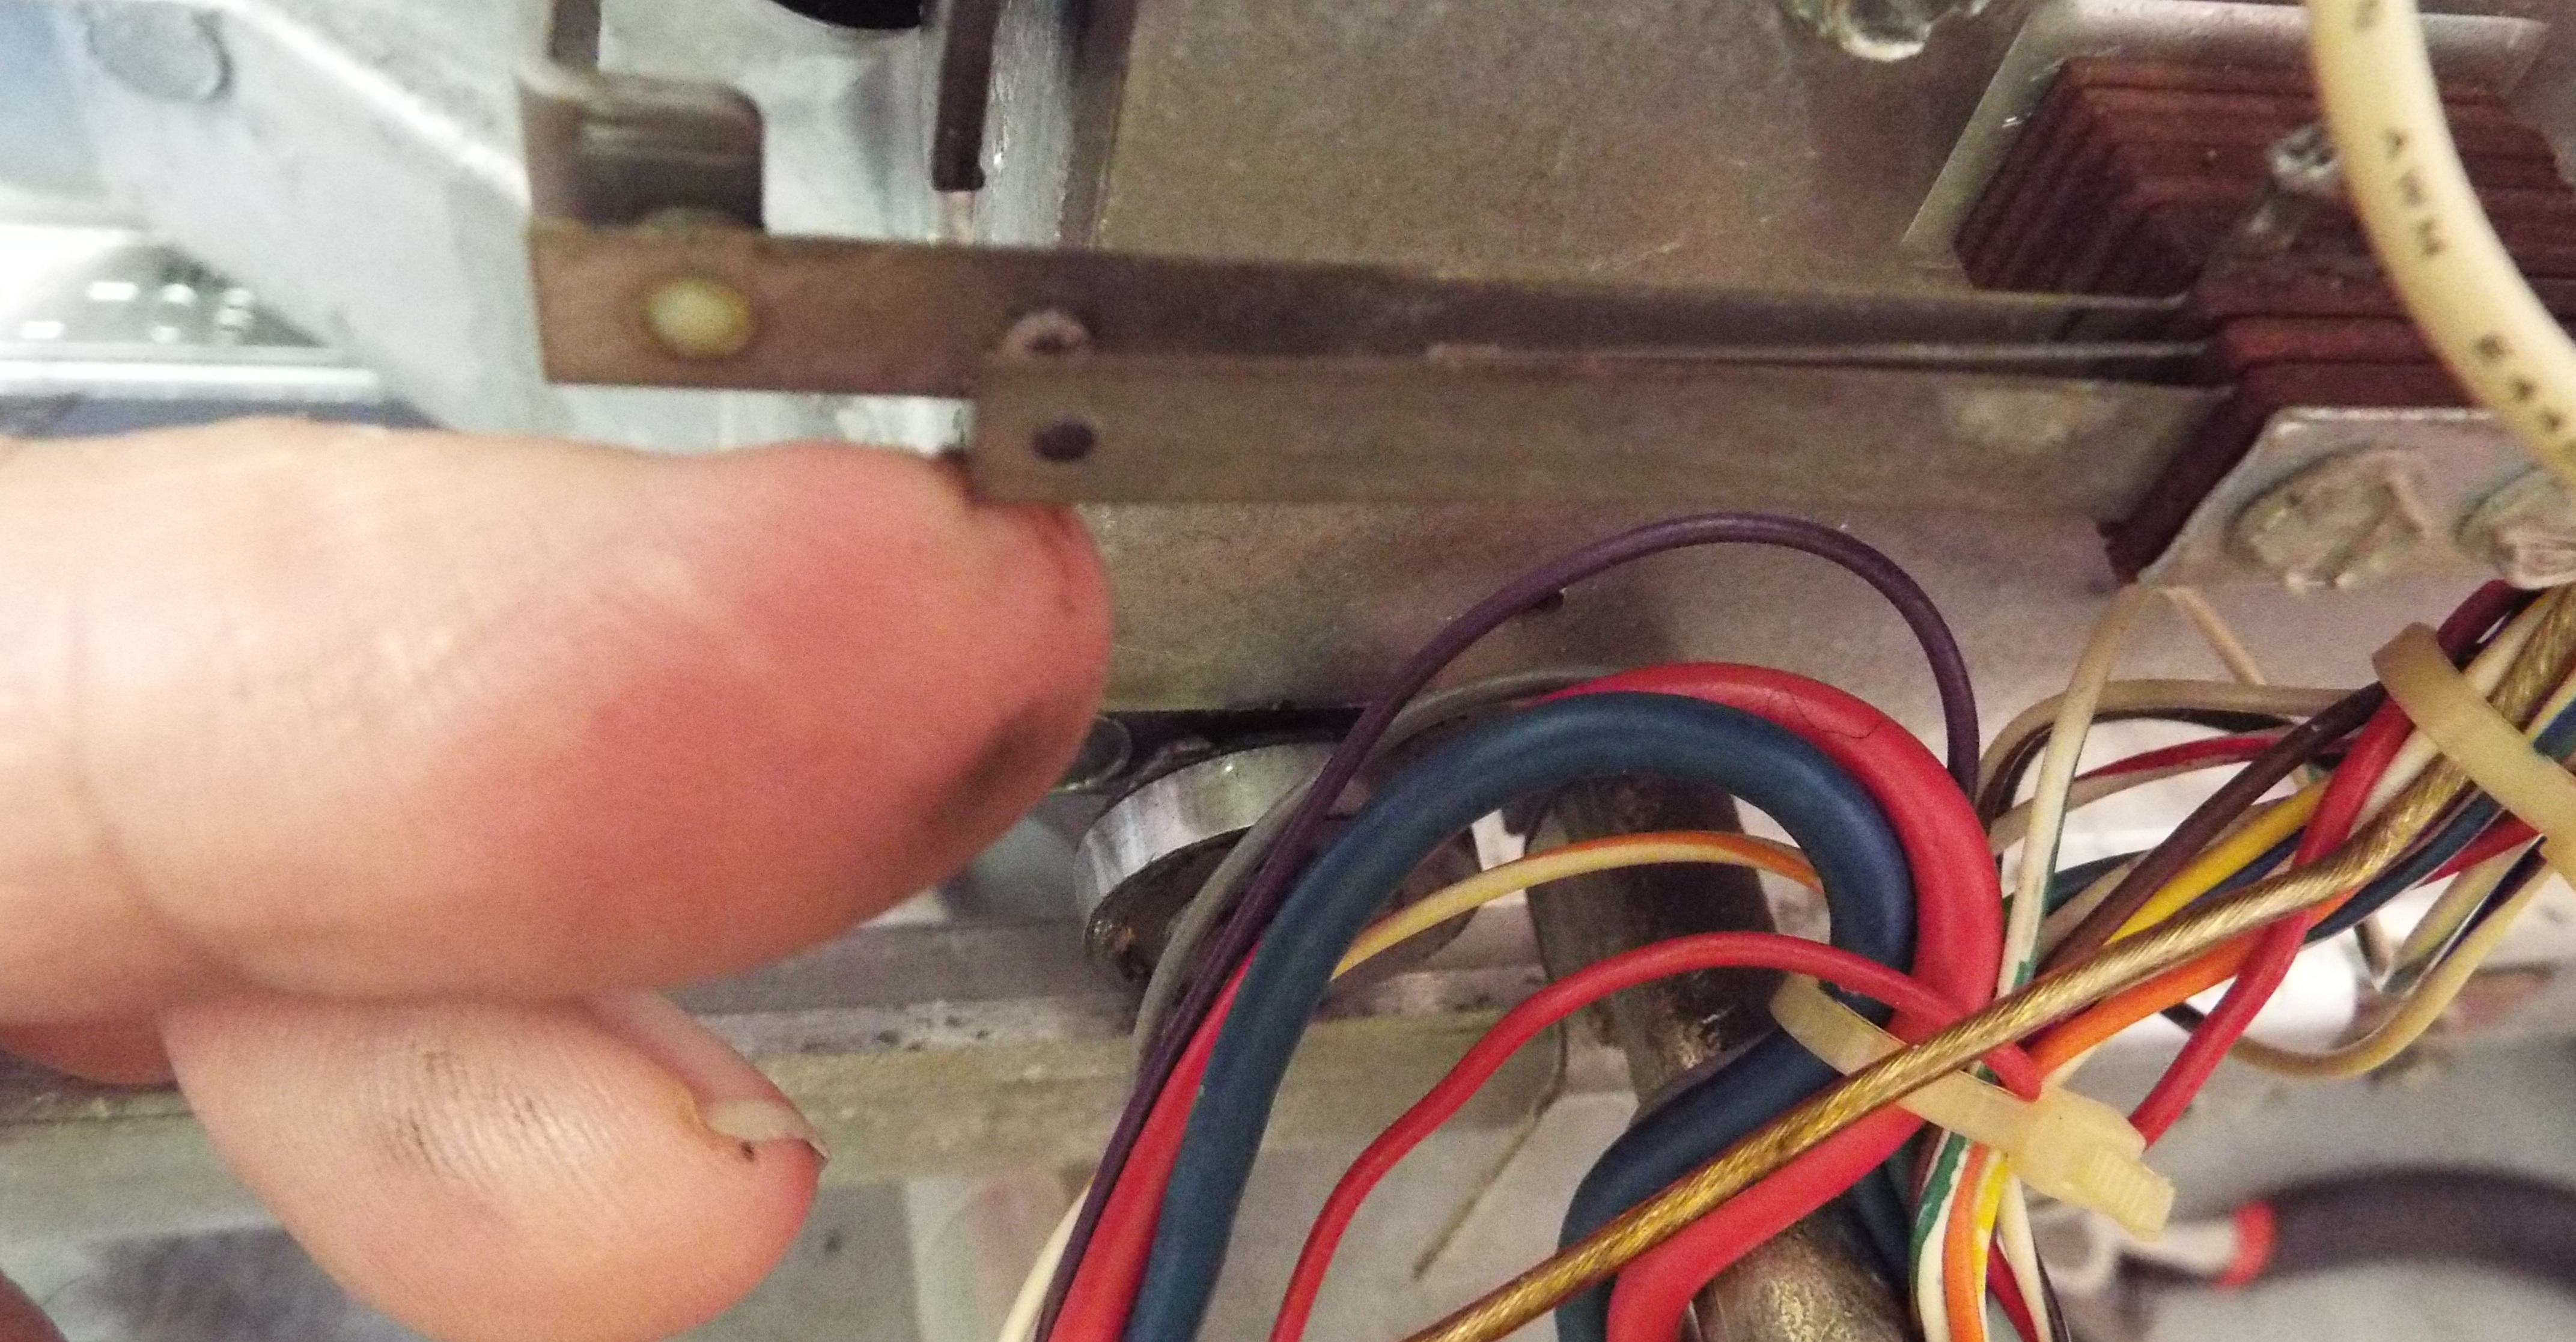
Back to work on the SMC1 mechanism. Today was solder n’ switch day. I installed the trip coil after cleaning its bore and the plunger. It needed an adjustment upwards. When tripped the plunger should have a bit of “head room” and this one had zero clearance. The trick on this is to adjust the top bracket first, getting your clearance and then loosening the bottom bracket and holding it upward against the coil while tightening the two screws. Keeping the top bracket parallel is paramount. Get it tilted and the plunger may bind. Warmed up my Weller and soldered the leads for the trip coil back in and then the motor leads. After that I went through the switches cleaning and adjusting. Any burned spots need to be filed down until its gone. I have several files and adjusters to make life a little easier. Once I file a contact down I burnish it or basically polish the contact with finer files. If I had to equate it to a sandpaper grit maybe 600 grit for final finish.
I applied a new rack number strip and mounted the magazine rack with hex head screws and not those damned Philips head screws the SMC’s come with. I like to put the mech in Play position about half way down its travel and then align the rack to the mechanism. I hand-rolled the mech to 100/200 and 179/279 and set the limit switches. Then that’s it! Done. I took the mechanism out of the SMC2 and put the SMC1 in. I’m very pleased that all it needed was a tiny trip switch adjustment and Clamp Arm 1 re-adjusted. Oh, the pickup cradle will not swing to the right for B sides. I’ll pull it apart tomorrow and hope nothing is broken.
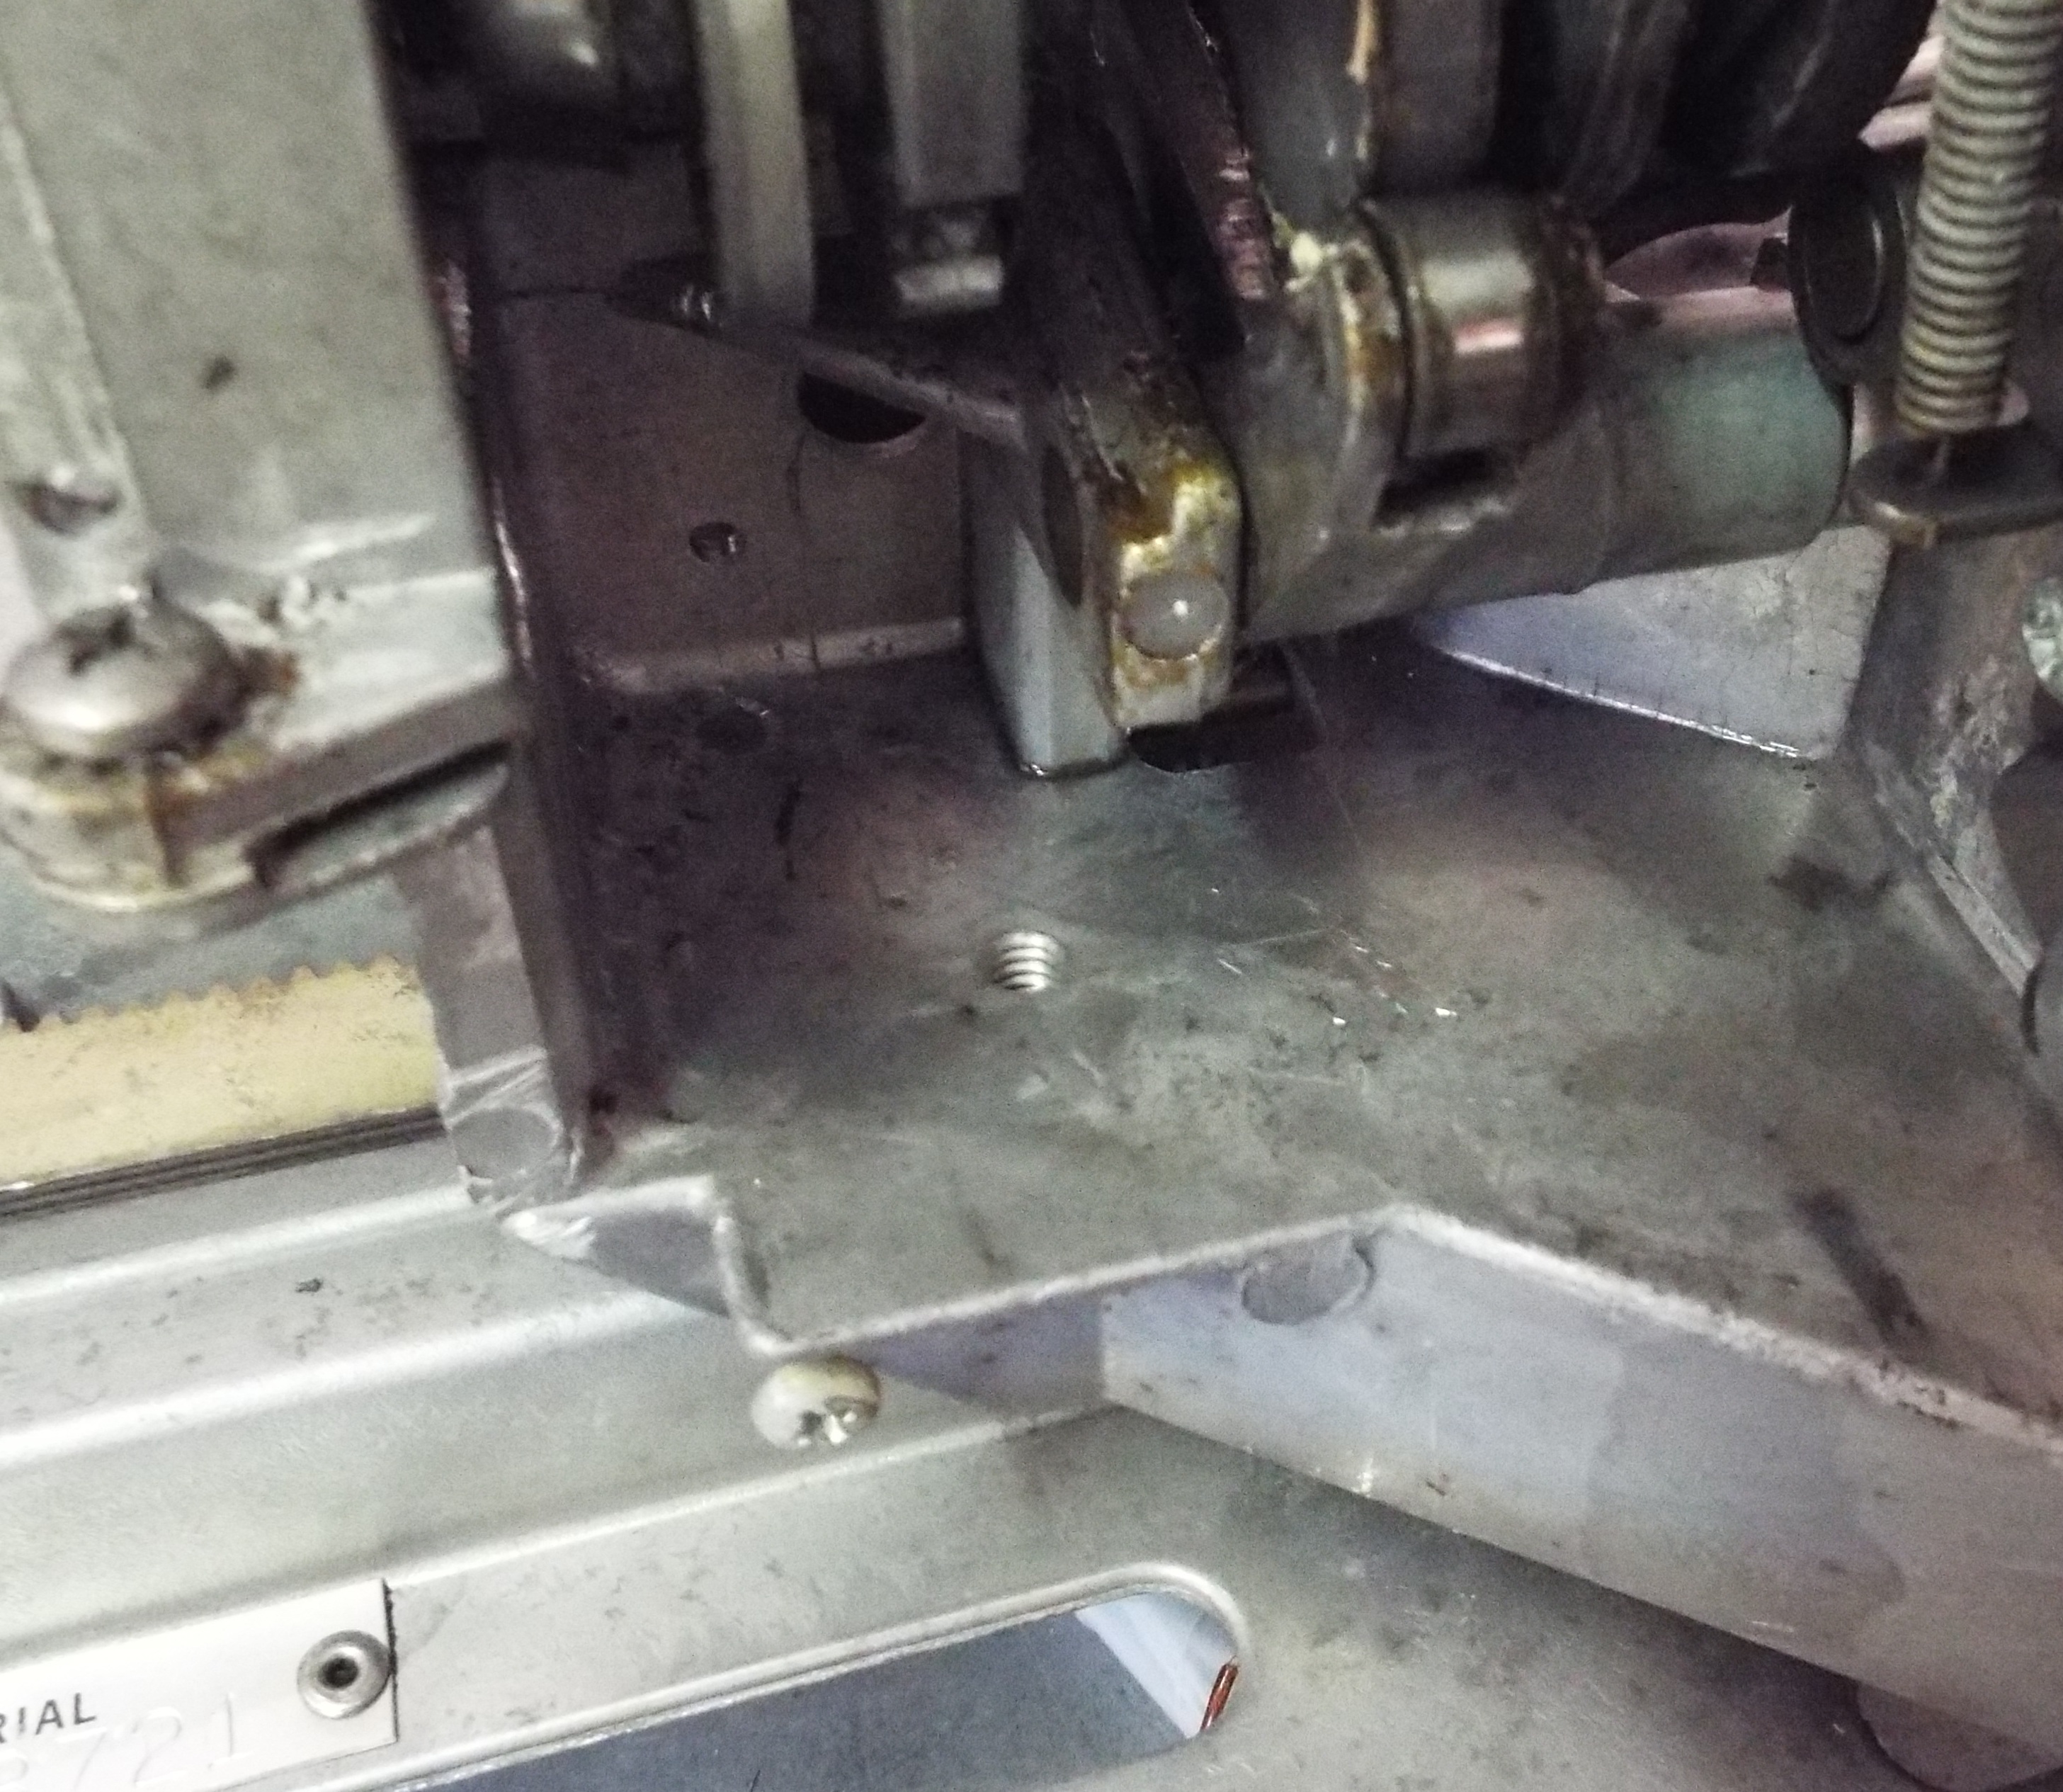
Ever wonder where the hold-down bolt holes are? Here ya go.