SMC1
Last couple of weeks I’ve been working on an SMC1. This is the same one that was in Jeff’s garage, that I robbed a bunch of parts from and repaired, that I thought would be a quick walk in the park. I actually went back and reread blog posts to get caught up on the infernal thing. Turns out the problems I’m having are the same ones I had with it September of last year. I just blew them off until it was time for this box. Well, it’s time.
What an SMC is supposed to do is pick up whatever records are selected and play them all no matter what direction it is going. If it is sitting at home on the left and I select 111, 233, 168, 269, it should play them all unless it has already passed the selection in which case it will pick it up going the other way. The tormat Seeburgs pick up 100’s going left to right and 200’s going from right to left in order. On this SMC if I pick both sides of the same record, say 133 and 233, the mech should play the 100 side first then shift and play the 200 side. This one will play 133 but not shift right for 233. Instead it goes left and bangs its head against the end in protest. I turn the juke off and using the motor coupler I run the mech back to the right until it’s off the limit switch ramp, and then turn it on. It peacefully goes to the left end and stops as if nothing happened. The juke will pick up and play anything else, either side, as long as it’s not the same record. It is also having difficulty playing the ends 100/200 and 179/279 but individually it will which really, is just the same problem.
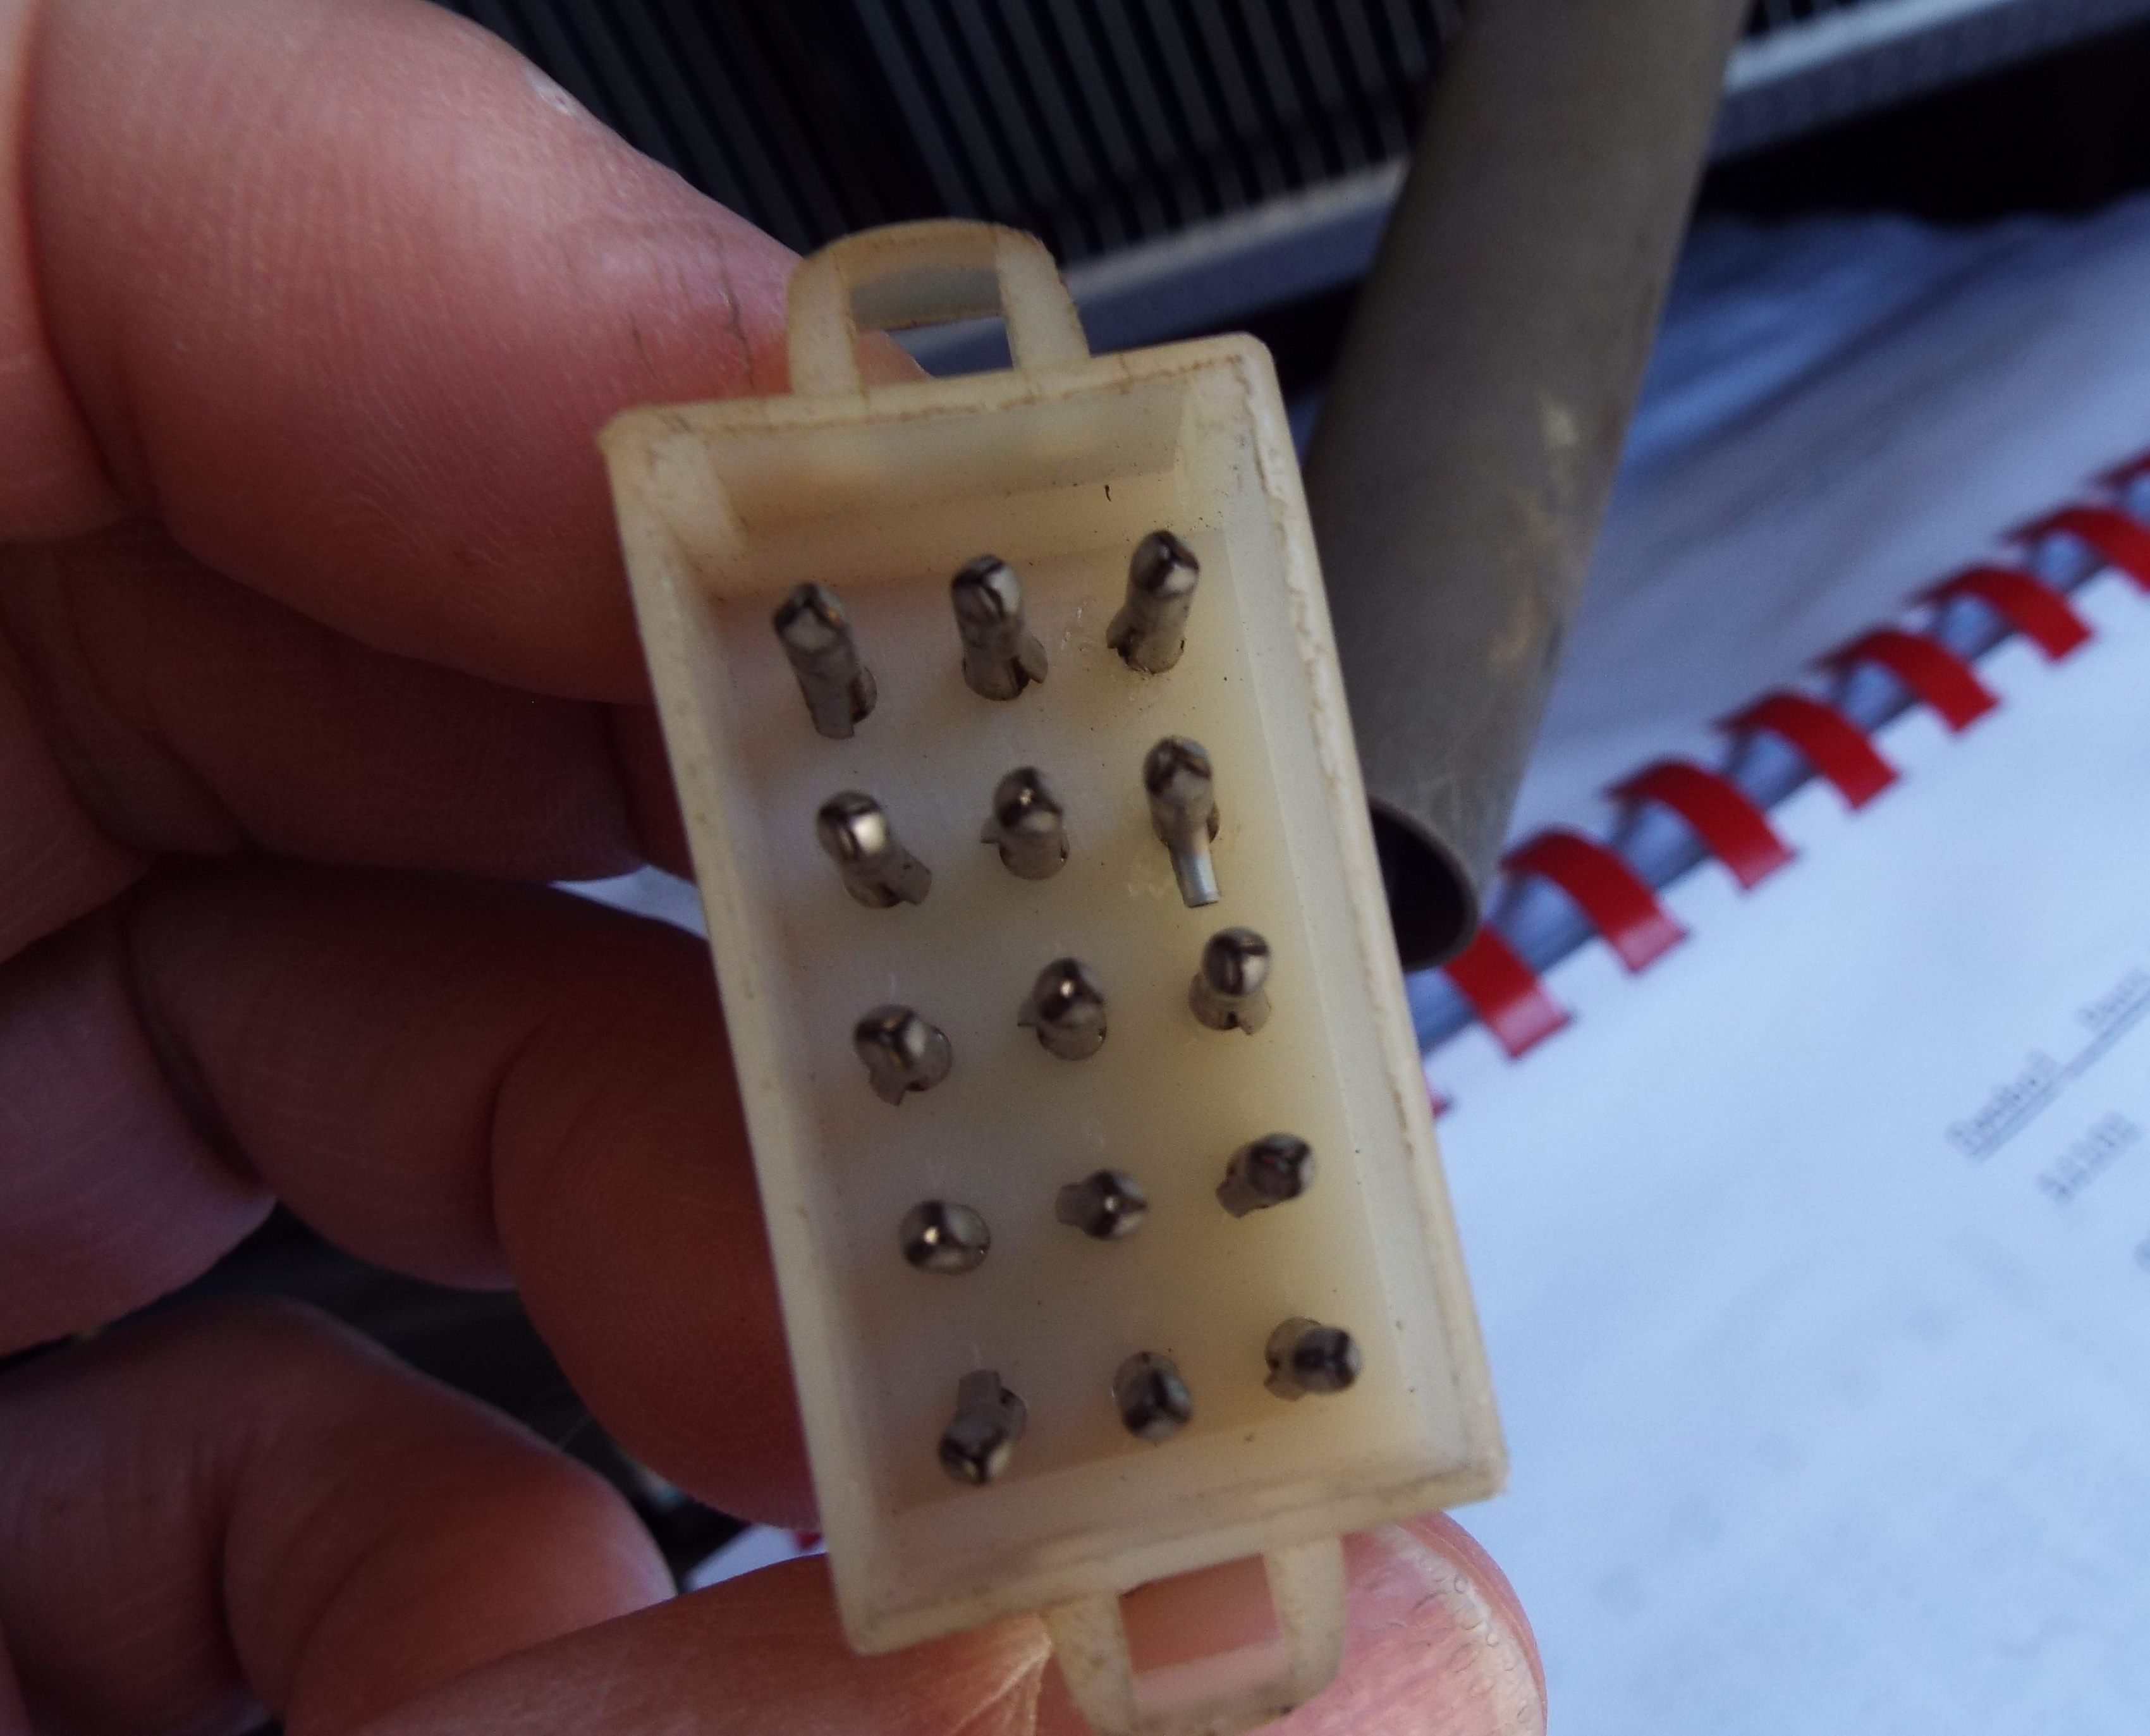
First thing I did was pull the 15 pin plug from the mechanism to the PCC and inspect it. AHA! I found a pin with a bent tang which allows it to be pushed down and away from its mate when plugged in. It was Pin 12-motor reverse. Aha! again. Surely this will solve all problems. It’s amazing all the crap one must haul to simply replace a pin. The Big Three- dikes, pliers, and wire strippers; a roll of solder, and the soldering station. I replaced the pin crimping and then soldering the wire on and, practically patting myself on the back, fired it up and…..same-o same-o.
Back to the drawing board which in this case is the manual with the mechanism wiring schematic and the switch drawings. I broke out my trusty Fluke meter and started ohmming each wire from the aforementioned plug to the mechanism. All had good continuity. I ohmmed out the detent circuit, trip circuit, and the limit switches. I actually found a mistake of sorts. A wire from an added carry-over switch, 3M2, was folded over its tab but not soldered. It was quick work to solder it on and no pats this time; I turned on the jukebox and same old thing. I didn’t really think that would fix it. Just hoped.
And now my head hurts. As Roberto Duran once said, ” No mas”. Tomorrow I’ll very carefully adjust the vertical and horizontal switch stacks and see what happens
