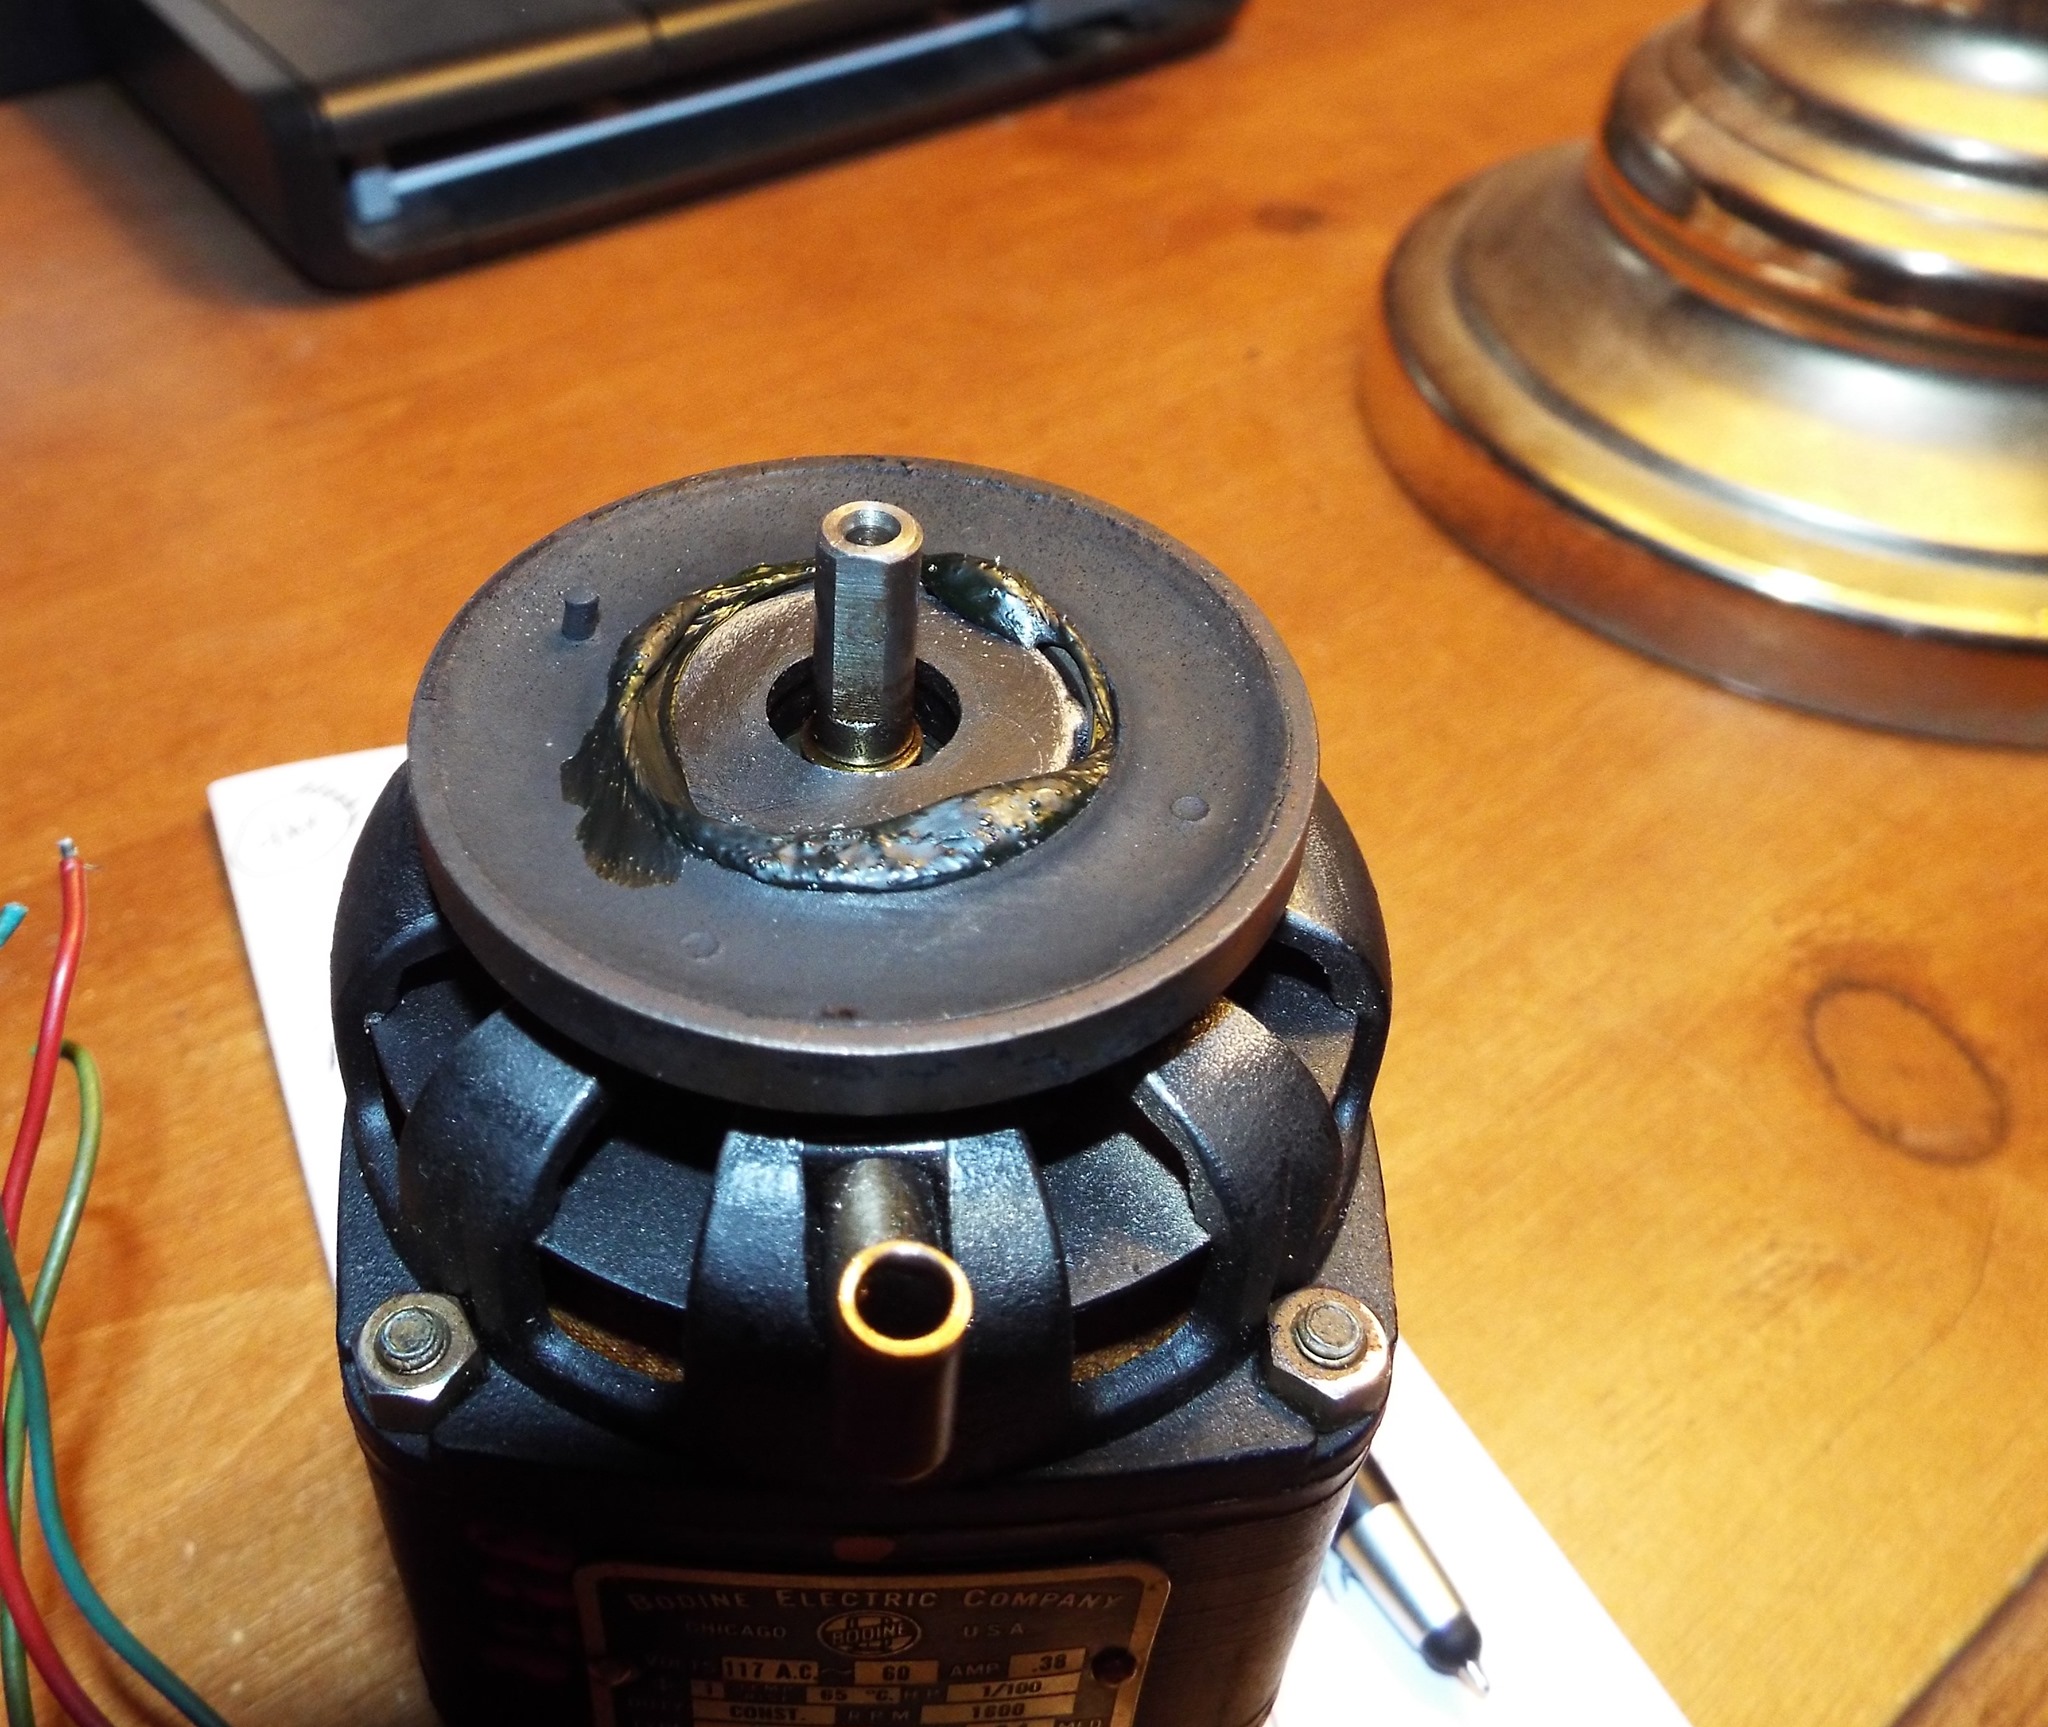
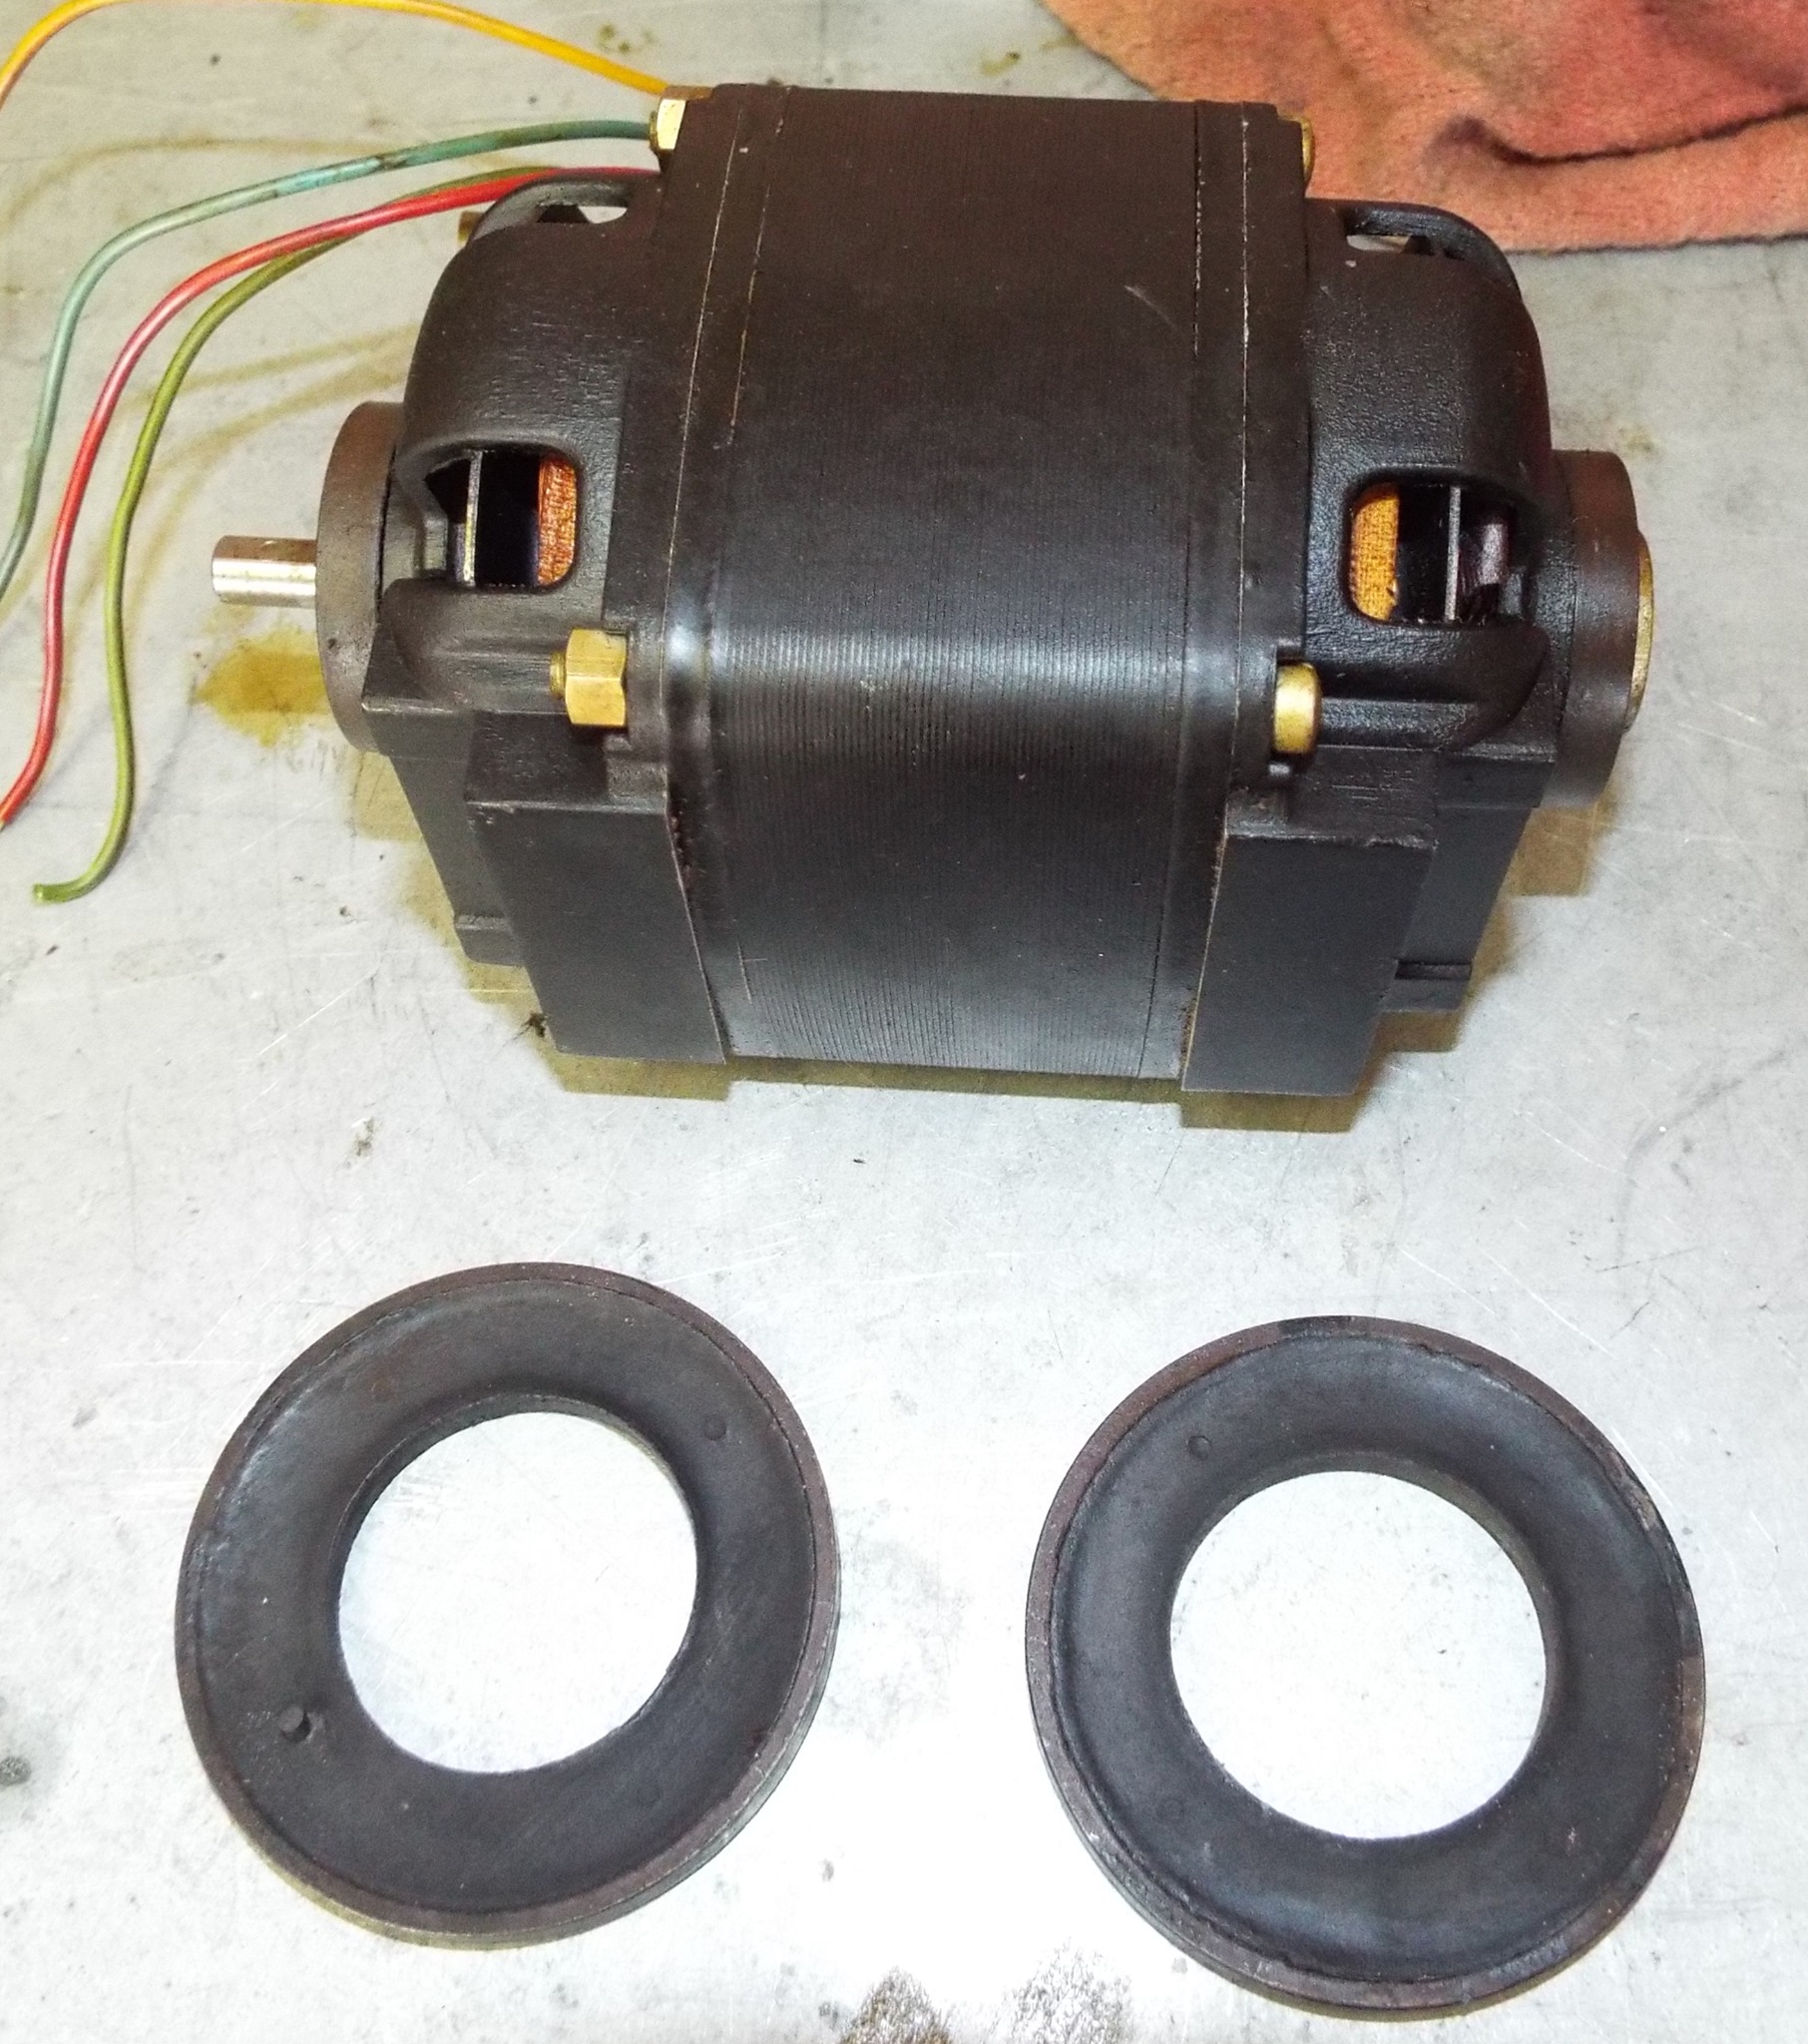
The motor mounts’ main job is to take up the rotational force when the motor reverses. I’ve seen them so loose the motor literally bangs as far left or right as it will go whenever the motor reverses. Their secondary job is to hold the motor up although the motor plug underneath contributes moreso. This is the way I have repaired loose motor mounts on the Bodine motors Seeburg uses for their mechanisms for over 30 years. It works. The rubber needs to be flexible not stiff. If stiff then they need to be replaced. If the rubber is greasy I will wash them with Oil Eater and allow them to dry. Note the rusty rings around the motor. Rubber is clean.
I clean the inner rings still on the motor using the wire wheel on the bench grinder. I use a Dremel tool with a small wire wheel on the inside of the rubber rings to knock any loose material off and to rough up the surface a bit for adhesion. You could do the same with a piece of 100 grit sandpaper.

I use 3M Weatherstrip Adhesive especially made to adhere rubber to steel. This stuff is weird to use. It “skins up” as soon as it comes out of the tube and you will think it is unusable. Just work it around the rings and rubber. Once I have it applied around the rings and another coat inside the rubbers I press them together, rotate slightly back and forth, set them by eye as level as possible then put the motor away for 12-24 hours.
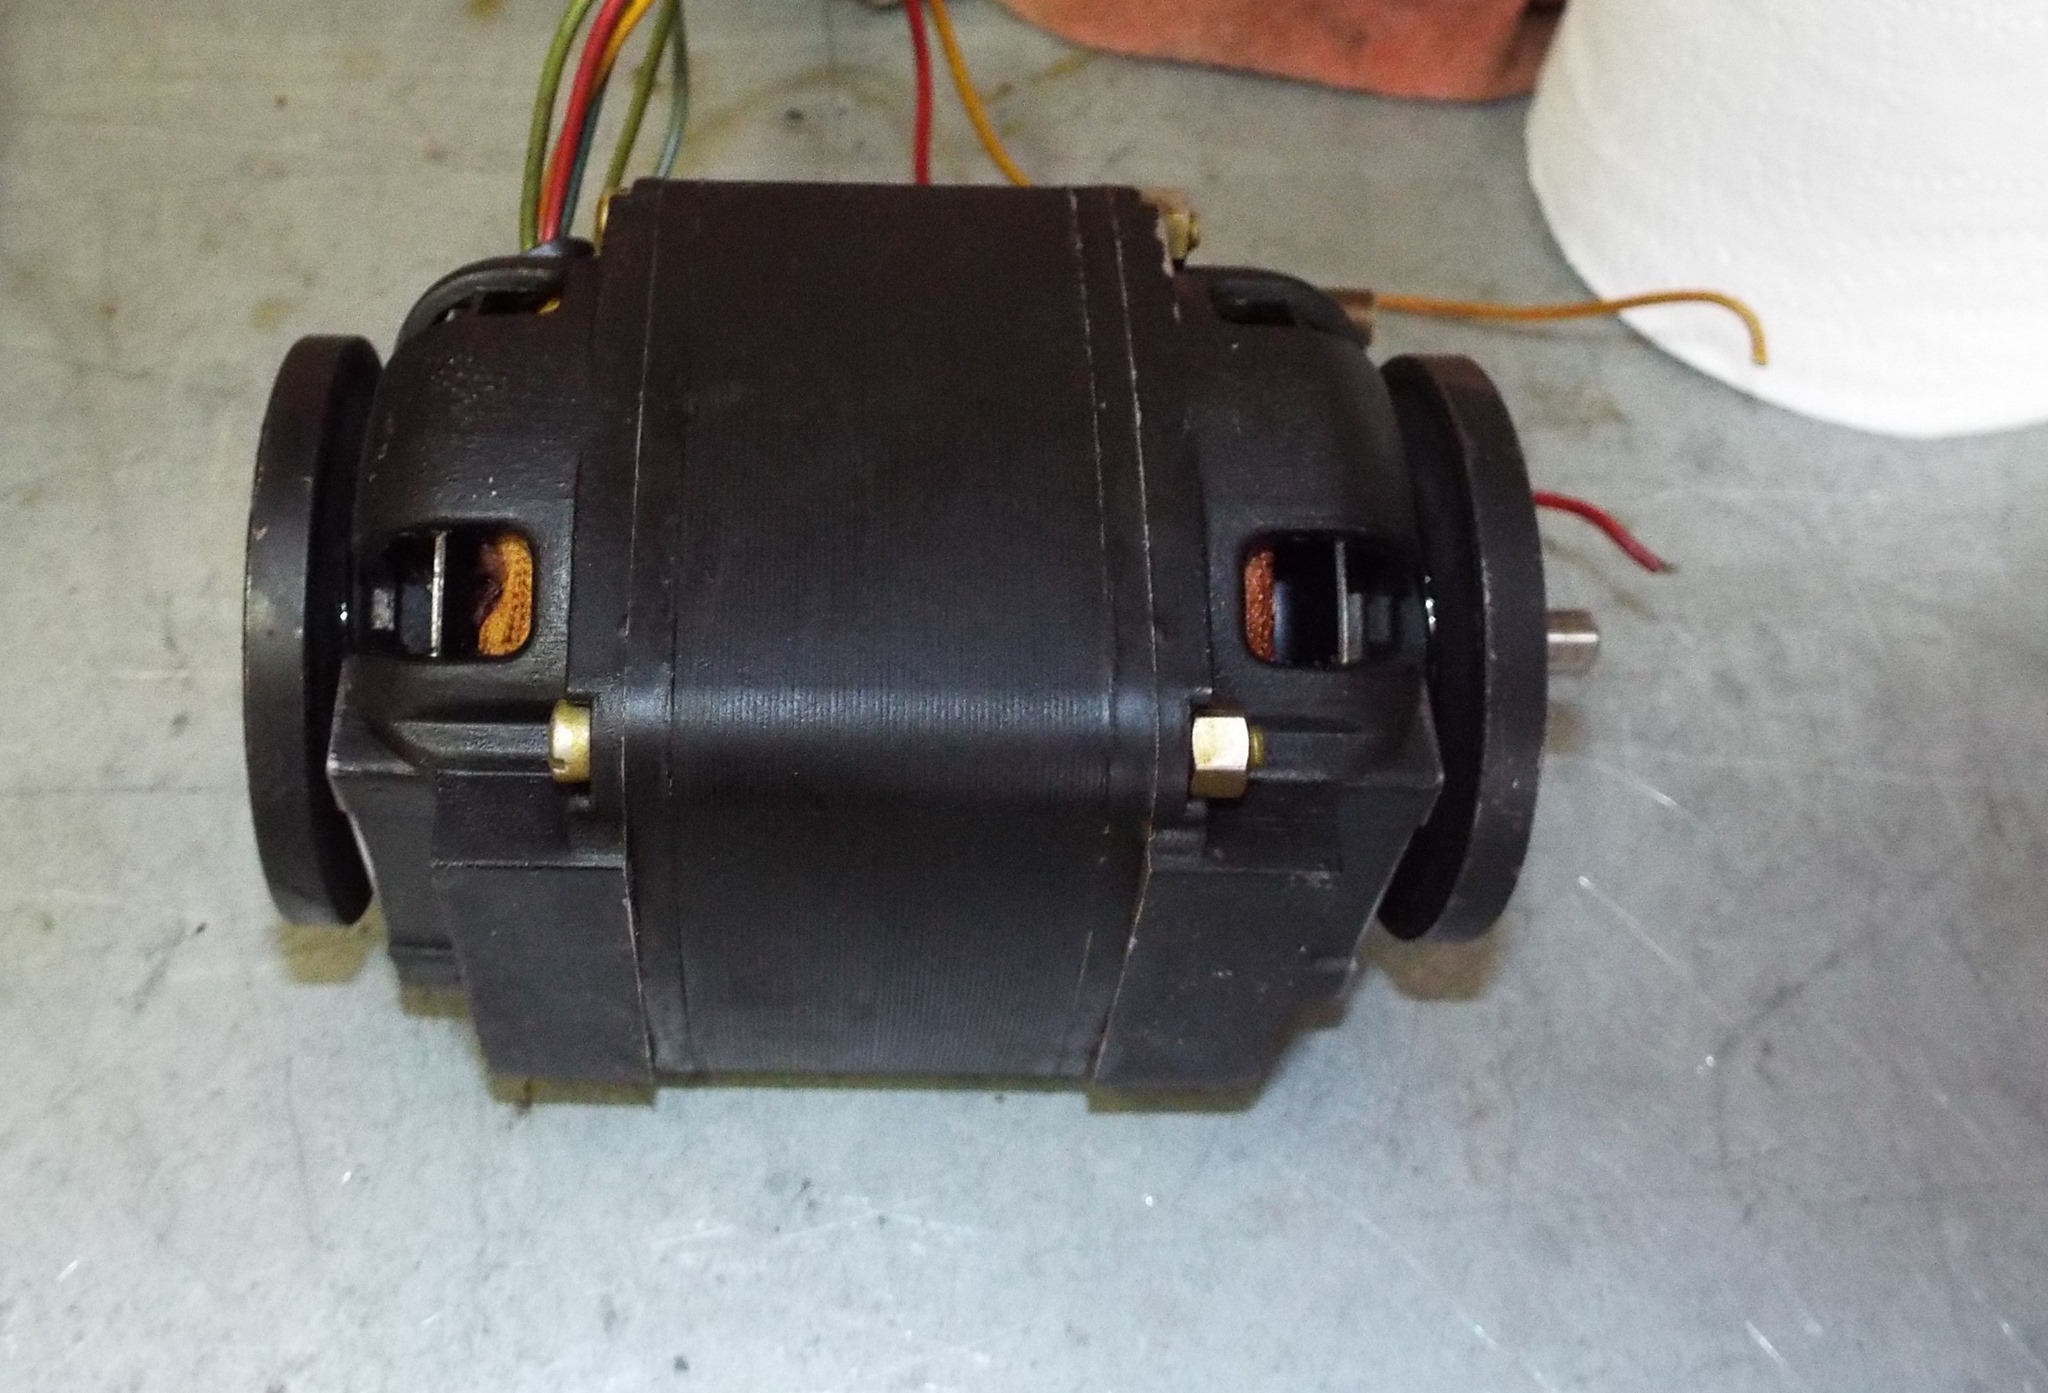
It’s been about 15 hours drying time. When the adhesive sets the mounts will be very firmly in place and once again doing the job they were designed for. I like the idea of not having to spend the money for a new set of mounts. This will work equally well for the outside rings following the same procedure. If I have a rubber mount loose from both inside and outside rings I will do the outer ring first.