Tedium
Sorting out a jukebox always comes down to the tedious stuff. I determined this morning before getting out of bed to hit the SMC3 hard. Get.Stuff.Done. A man is waiting for it. A man with a lot of patience. Luckily I had told him months ago that it’d be ready sometime in the summer. In Texas that can be into October if one is counting the heat index instead of days.
The mechanism had been consistently off one number when traveling from right to left. If I played 150 it stopped at 151. I just adapted for the time being while testing an amplifier and the interface board.
Speaking of which I found an interesting problem with the new board Victory Glass sent me. Works fine unless the jukebox is turned off while playing a record. Normal operation when the juke is powered back on in Play position is to trip the mechanism, eject the record, and scan to initialize. The CPA is responsible for the trip, the interface board picks up the rest. The CPA will trip the mech with the VG board but the mech will not move. Not even with the Scan switch. One has to turn the box off, manually eject the record, get the mech back into Scan position then turn the juke back on and then the mech will scan and initialize. I reported this problem to Aaron at VG and I’m hoping he’s getting it sorted out.
So, I moved the mech to the 179 position, manually put it in Play, and started checking the limit switches. Everything seemed fine. Up the ramp, the middle switch blade opened on the inside and had not “made” with the outside blade. I then did the identical operation for the 100 spot. The roller blade was too far up the ramp for my liking. I got the mech out of the way and moved the ramp about 1/16 of an inch left. Repeated the operation. Now I had to open up the back blade a little bit. The roller was up the ramp and it hadn’t “broken” yet. Got that done. Turned the juke back on. The mech went to the right and stayed there. Wha??? Put the mech back in Play at 179. Now for some reason the back blade was still closed. I guess the clearance on it was too tight. I opened it a little and tried making selections. I didn’t even screw around. After the computer initialized I picked the “corners”. 100 and 179. The juke picked them up just fine. Ahhh…one tedious thing down.
I swapped in one of John Fore’s amps for further testing and made several selections to play while I prepped for sandblasting. While listening I noticed a record did not reject. At first I thought the reed switch needed an adjustment but as I looked closer I could see that the lower end or wire actually, of the reed switch had popped off its solder joint. I got the good iron, the old Weller solder station I’ve been using for at least 20 years. I love this iron. Or about as much as a man can love an inanimate object that refuses to return his affection. It has a big tip, well tinned, and puts out a lot of heat. This reed switch is mounted in clear plastic. Too much heat for too long would melt the housing. I knew I could do a spot solder quickly with this iron. I got the tip “wet” with a little dab of solder and then touched it to the area needing soldering. The wet tip allows quicker heat transfer. Success! So…another tedious thing.
I had removed the coin door frame, coin return cup, and the mechanism cover and put them all in the Barrel Blaster for sandblasting which is the epitome of tedium. The door had been done earlier. The compressor had pumped up. And by the way, the best thing I’ve done for myself in awhile was get a two stage compressor to replace the old 60 gallon Sears job I’ve had forever. It was an admirable compressor but the two stage went to 175 PSI. I turned the old found in the alley vacuum cleaner converted to dust recovery and started removing paint. The first two items stripped quickly. It seemed the paint was only a layer or two deep. The mech cover was another story. The sides, interestingly, stripped quickly. I say interestingly because the front and top acted like they had several layers on them. I finally gave up. I broke out the trusty DeWalt orbital sander and 60 grit paper and knocked the paint off in a half hour. And indeed, bottom gray layer of primer and a couple three coats of black paint. I’d like to know what Seeburg engineer decided that the front and top needed extra paint. Maybe ’cause ya can’t see the sides when mounted? This Texas heat is tough to spray paint when using rattlecans. Most of the time half the paint is practically dry when it hits the work. I’ll primer these tonight. In the early morning when it’s perhaps 80 degrees with no direct sunlight I’ll get these painted semi-flat black. Then they can dry out quickly in the summer inferno that August has become. September ain’t no better brother. If you’re a Texan you know what I mean. Another small job done.
I had had a hard time getting the tonearm pressure to two grams. I normally like to run 3.5-4 grams of spring pressure for the Seeburg 340 cartridge and diamond needles. Trying to get this pressure out of these springs became a frustrating side-to-side fight as increasing the spring pressure on one side lessened the pressure on the other. So I was stuck with 2 grams. At this pressure if you have excellent records they will play fine. It’s all about the tracking. Bill Bailey, the fellow that bought the SMC1 from me reported that he bought new springs from Victory Glass and now had 3.5 grams of pressure. He rigged only the A side with the new spring. He was nice enough to bring me a new pair. It is very tedious swapping out the A side needle. It is on the right side and hard to get to. Eventually I got it swapped out, selected a record, and was pleased as punch to get 3.5 grams of spring pressure. What the heck? I swapped in the B side spring. Now both sides have 3.5 grams of pressure. I made sure to center the spring clips so there is fine adjustment room.
As a side note. Bill brought the SMC1 mech back to me for testing. I put a new pair of the green diamond needles on it and they sounded like crap. This was before he had swapped springs. I couldn’t believe it. I thought I was looking at wasted money as I bought all the green diamonds I could get on ebay before they disappeared. They were a steal at $40 a pair in this age of $125 or more pairs of needles. I’ve had good luck with them before and wanted to use them when offering 340 cartridge conversions. I mounted the green needle in the A side on the SMC to try this again. It sounded like crap. I put pressure on the spring with a fore finger and bam! There it was! Excellent bassy sound. These needles just need more than 2 grams of pressure. I’ll try them again with the new springs. I have several pair of new yellow diamond needles that came with this n that. They sounded like crap, just like the greens. I’m hoping they need more spring pressure too. It would be a break through.
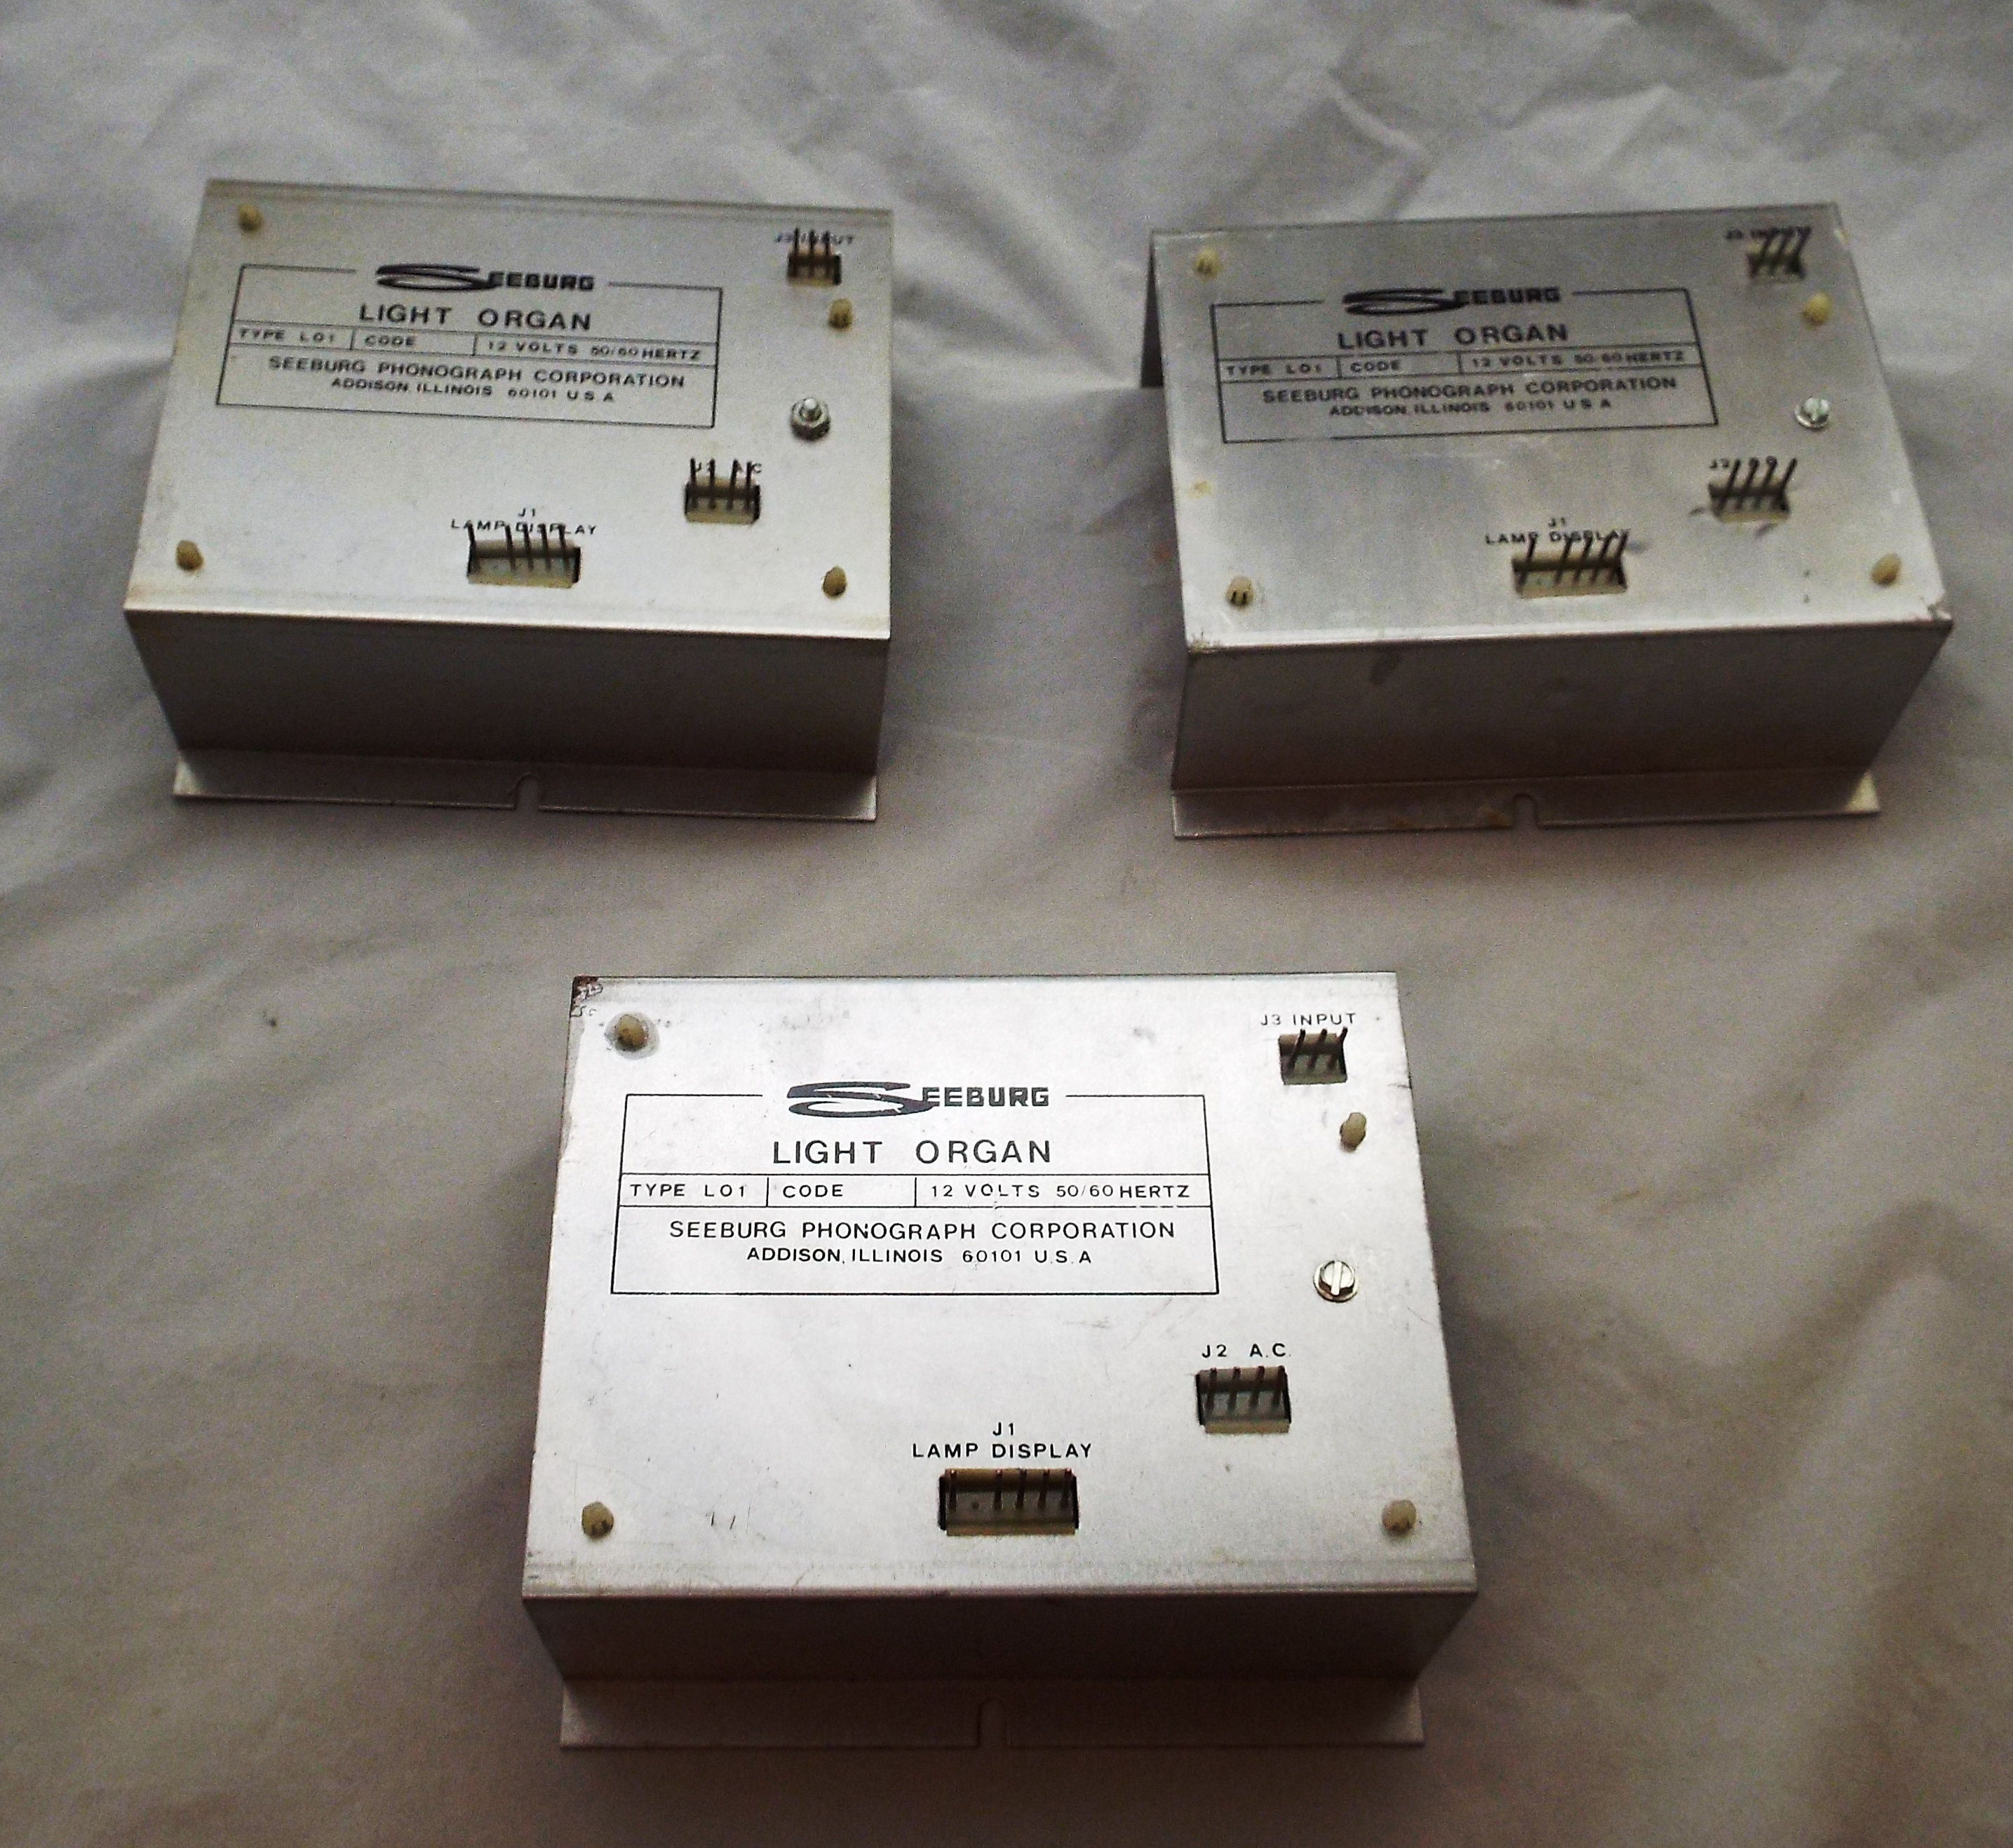
Last but not least for the day, after lunch, I went to the big box hardware store and bought a couple 36 inch fluorescent lamps for the old box. I made a lot of little tedious steps today for significant progress. I should actually have this thing finished by the weekend.