June 24, 2024

SMC1 Sold, New home, New Problems

Sold the SMC1 to a lovely couple, Eric and Michelle. They showed up with a small trailer early on a hot Saturday morning. I showed the jukebox and explained various features. Things I had done to it. Reconed speakers, rechromed strips, cleaning, etc. I had picked out 80 records, a half and half mix of C&W and rock n roll for them. When I have them I like to include records as it gives folks something to play right away. Not everyone has 45’s laying around or even knows where to get them nowadays. We agreed on a price and I helped them roll another of my babies down the drive and onto their trailer. I had some misgivings. It was a small trailer not that well-sprung but kept it to myself.

Eric did a fine blanket-wrap on it. This is when heavy moving blankets are draped over the jukebox and then secured in place with those giant saran wrap roller things. Then we started strapping it in with heavy duty trucker straps. We had it tightened down three ways to Sunday. Very solid.

Later that evening I got a notification from Eric. They unloaded it, got it in the house and when the mechanism went to pick up a record it wouldn’t clamp the record!!! We went over a few things on the phone. He was willing to bring just the mechanism to me the next morning so I explained how to remove the mechanism. Luckily the SMC mechanism is probably the easiest Seeburg mech to pull.

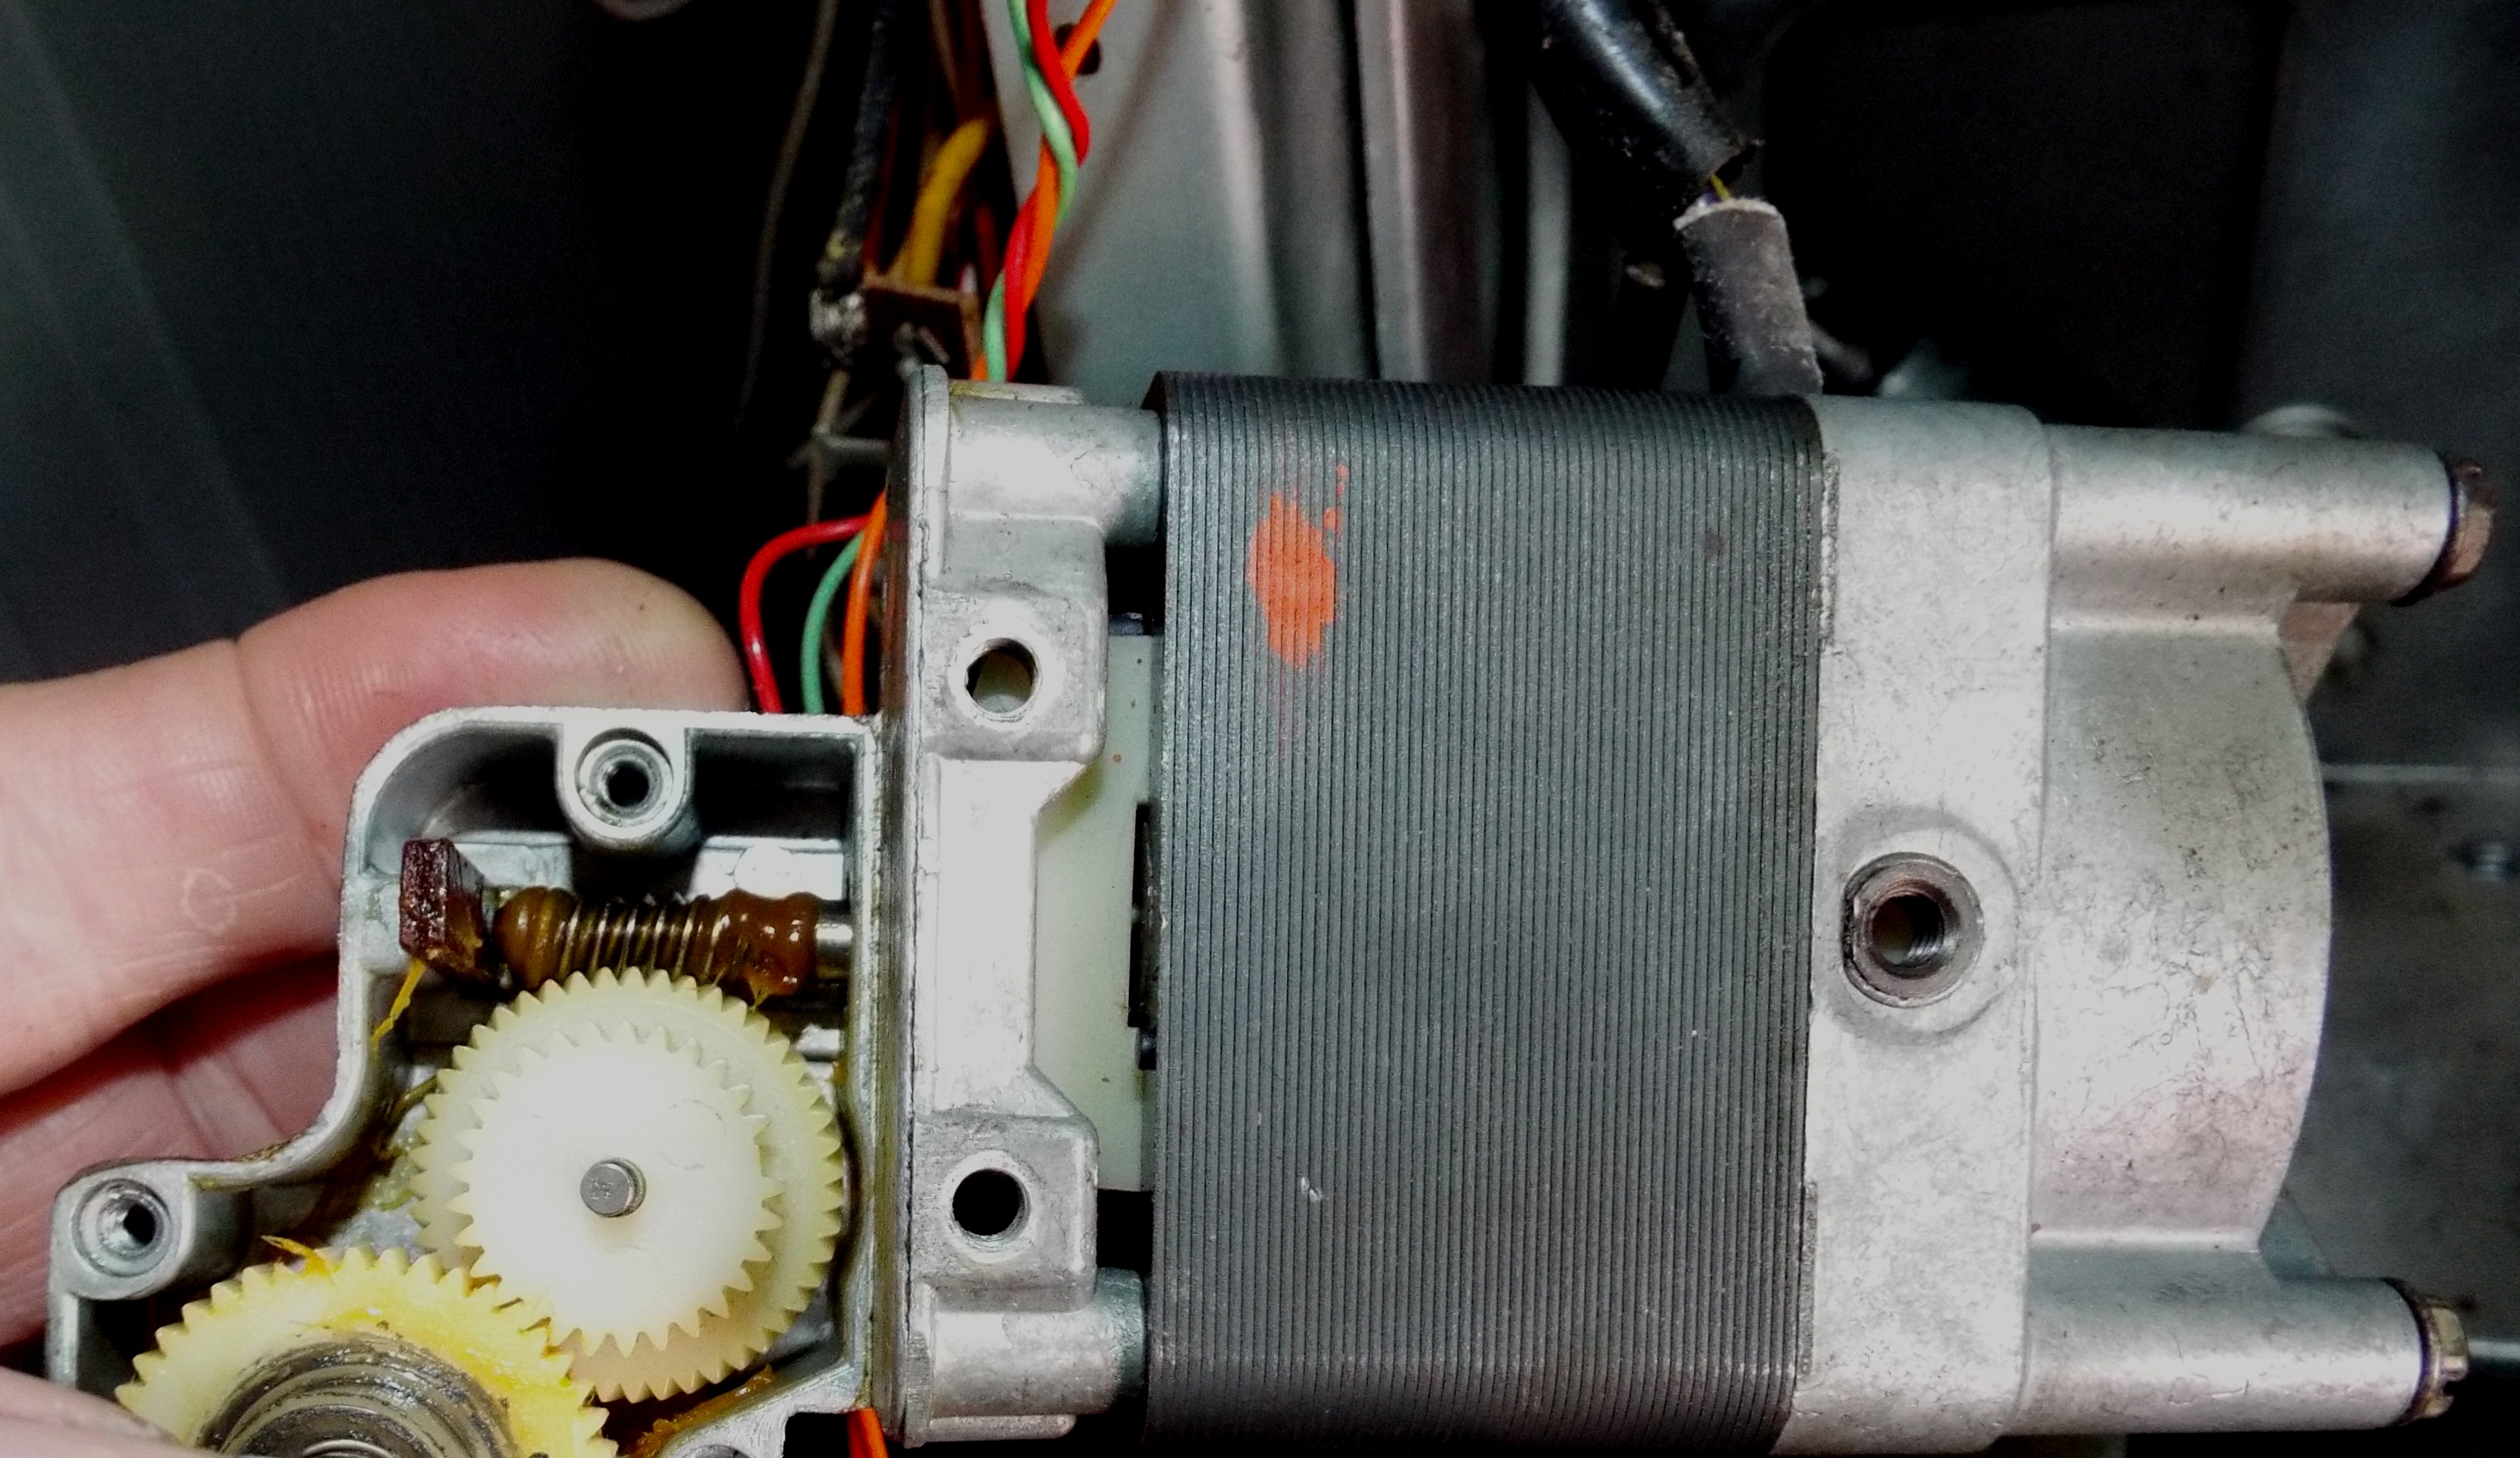
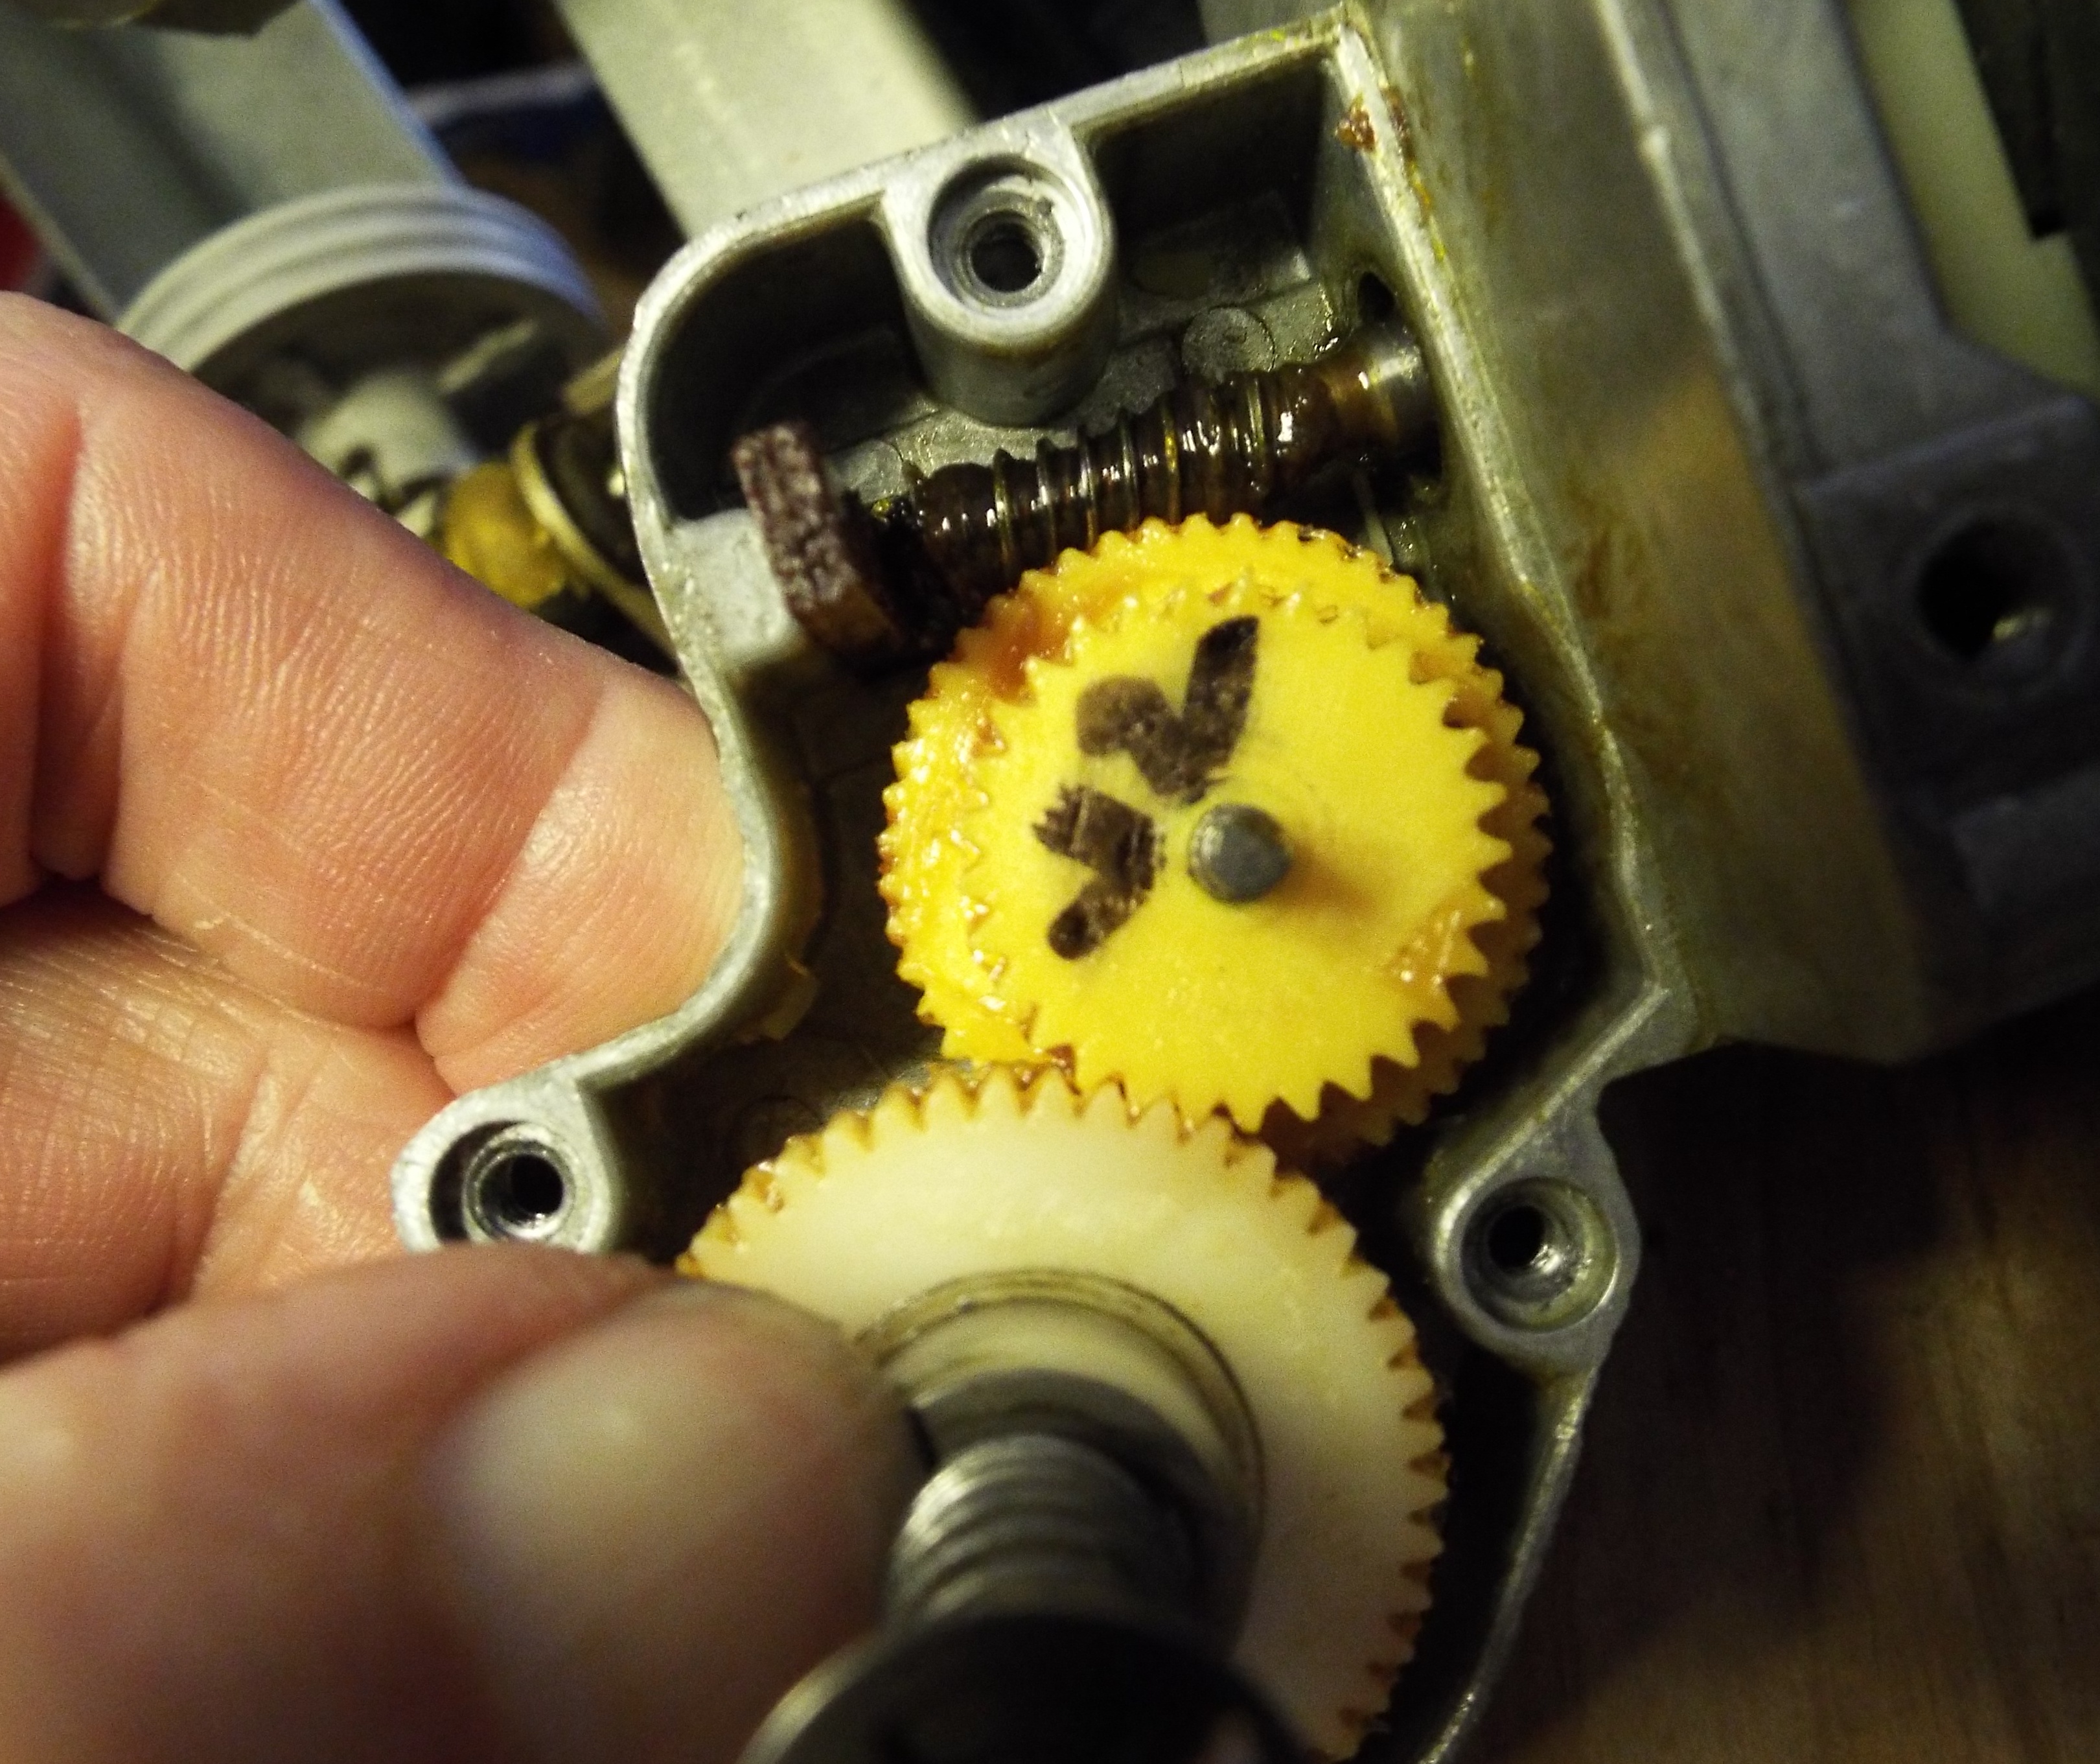
Next morning he brought it by. We got it on the bench. I threw several records in it and connected 115vac to the mechanism harness. This allows me to run this on the bench while tripping the mechanism by hand to simulate operation. The dang-dest thing….the adjustment screw for one side of the record clamp had backed way out allowing the clamp to sit off center. It didn’t take long to get all that straightened out. I think the jukebox got the crap shook out of it riding in that little trailer. Only way something like that could happen. There’s the possibility ol’ Mick didn’t tighten the dang nut on the adjustment screw too well either. I handed Michelle a box of records and asked her to pick out any she liked. I bid them farewell and good luck.

I’m so lucky to have him as a customer. So very patient. So willing to bring the piece back to get it fixed. He lives about an hour away. And of course…that evening the mechanism will do nothing but scan. The computer is all dashes. He checked wiring on the limit switches for me. Reseated the CPU plugs. Even pulled the limit switches to get the mech to switch directions. Something’s still up. What this mech should do upon power up is scan to one end setting a count in the CPU. The display will be all dashes until reset then it shows FP in this case, for free play, and is ready to operate. Something happened to a switch or wire when Eric moved the mech.

I spent the next day getting the SMC3 running. It wasn’t too hard as most of its gear had already been checked out on the SMC1 when I had problems with it. I called Eric that evening and let him know I now have a working SMC3 and will use it to troubleshoot whatever happened to the SMC1 mechanism when Eric has a chance to bring it by. They are out of state escaping the summer heat. I believe he’s bringing the guts to another SMC1 he has back with him. I’ll go through all that as well on the SMC3. It’s nice to have options.

May 4, 2024

HSC Gear Repair

Back in March I broke the reduction gear in the scan motor gearbox of the HSC1. The mechanism jammed on the left side and I forced it to the right. When it went to rest and I made a selection it was like, bump…bump…bump when scanning. The bump being when the spot missing two teeth rode past the driven gear. This is a bad feeling. Especially when I opened the gearbox on the other album unit mech I have and found its gear had a broken tooth as well. Not long ago one of these scan motors came up on ebay and sold for $125 without knowing if the gear in it was any good. Or even, really, if it worked. In the picture below look at the middle gear and the missing teeth are apparent. Note how fully the gears mesh.

I contacted Sean Boyer of Luke’s Jukes about possibly making one of these with his 3D printer. He was very enthusiastic about the project. He’s a young guy that is in this hobby and is intent on becoming really good at it. I’d like to think I mentor him a little bit, so few young people seem to get into this as far as repair. When I first became aware of him I contacted him because I was a bit excited at seeing a young guy wanting to learn. Sean would like to get a line of replacement parts made up and this is quite admirable. He is well on his way. I know he is working with buddy of mine on a Wurlitzer gear of some sort.

We have been working on the gear for a couple months and finally got a good gear. It has been interesting. I sent one of the original gears I had to him and he did whatever you do to replicate the gear. The initial drawing looked promising. He made a couple gears and sent them to me. I would test and make notes and let him know what the outcome was and he would go back to the drawing board. The shaft hole was not correct and I went on my own odyssey trying to find the perfect bit size. 1/8 ” seemed too loose so I turned to metric bits and tried a 3.5mm, 3.3mm and finally a 3.2mm. The 3.2mm seemed perfect. I got a good laugh on me though and am getting a bit ahead of myself. I had been measuring everything with a digital dial caliper that only went to two places. I finally broke out the one I use on engine rebuilds and started getting much more accurate measurements. The shafts of the 3.2mm and the 1/8″ bits were identical at .124. So, a 1/8″ bit will do just fine.

The first gears sent actually worked but induced a ton of vibration and even a squealing noise. The second set worked. When I examined them closely though it was obvious the mesh was not fully engaged. A few days ago I got another batch of gears and perfection!!! V2. red and yellow gears are perfect. These gears are supposed to have a built in washer-like step on the bottom. I thought this was to keep the gear above the bottom case boss. The gears now made don’t have this as it turns out it’s quite difficult to make a .005 step and then build on top of that with a 3D printer. So I went on another odyssey of finding the correct sized washer to put under the gear. It dawned on me that the purpose of the washer was to raise the driving gear enough to fully mesh with the driven gear not just float it off the case boss. With an assortment of small washers with a 1/8″ hole and a little time I found that a .020 washer did the trick. I’m running the gear with the original .005″ gear on top. It runs so smooth. I am so happy! I won’t have to part out the HSC for parts and the fellow, Scott, who has wanted one of these forever will get his wish.