Making Room
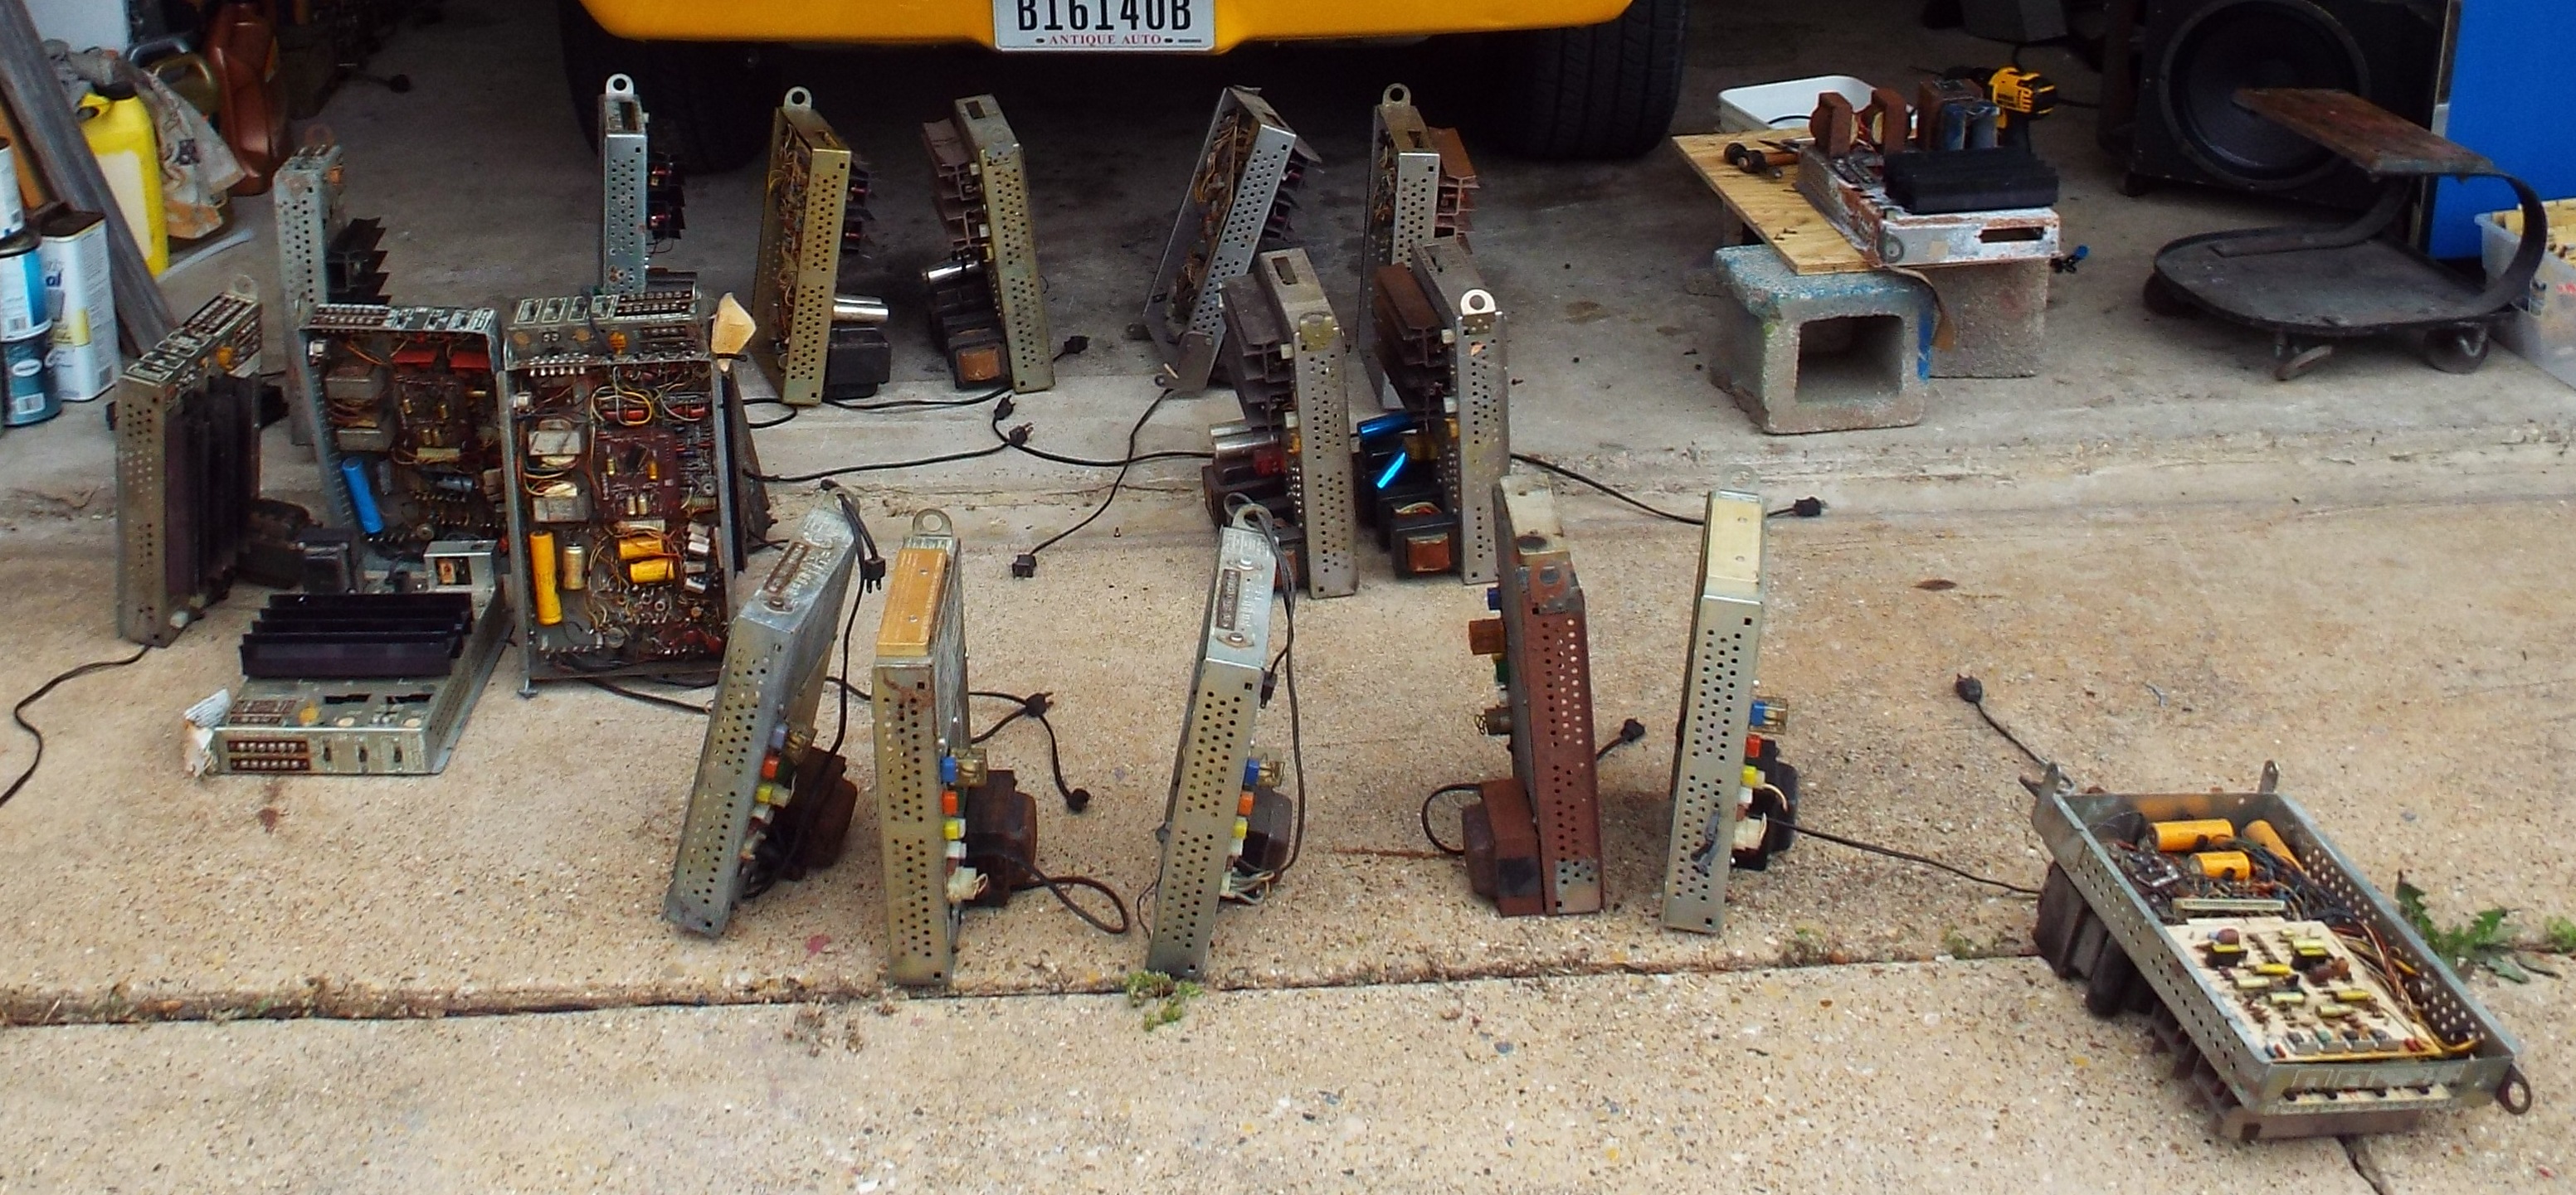
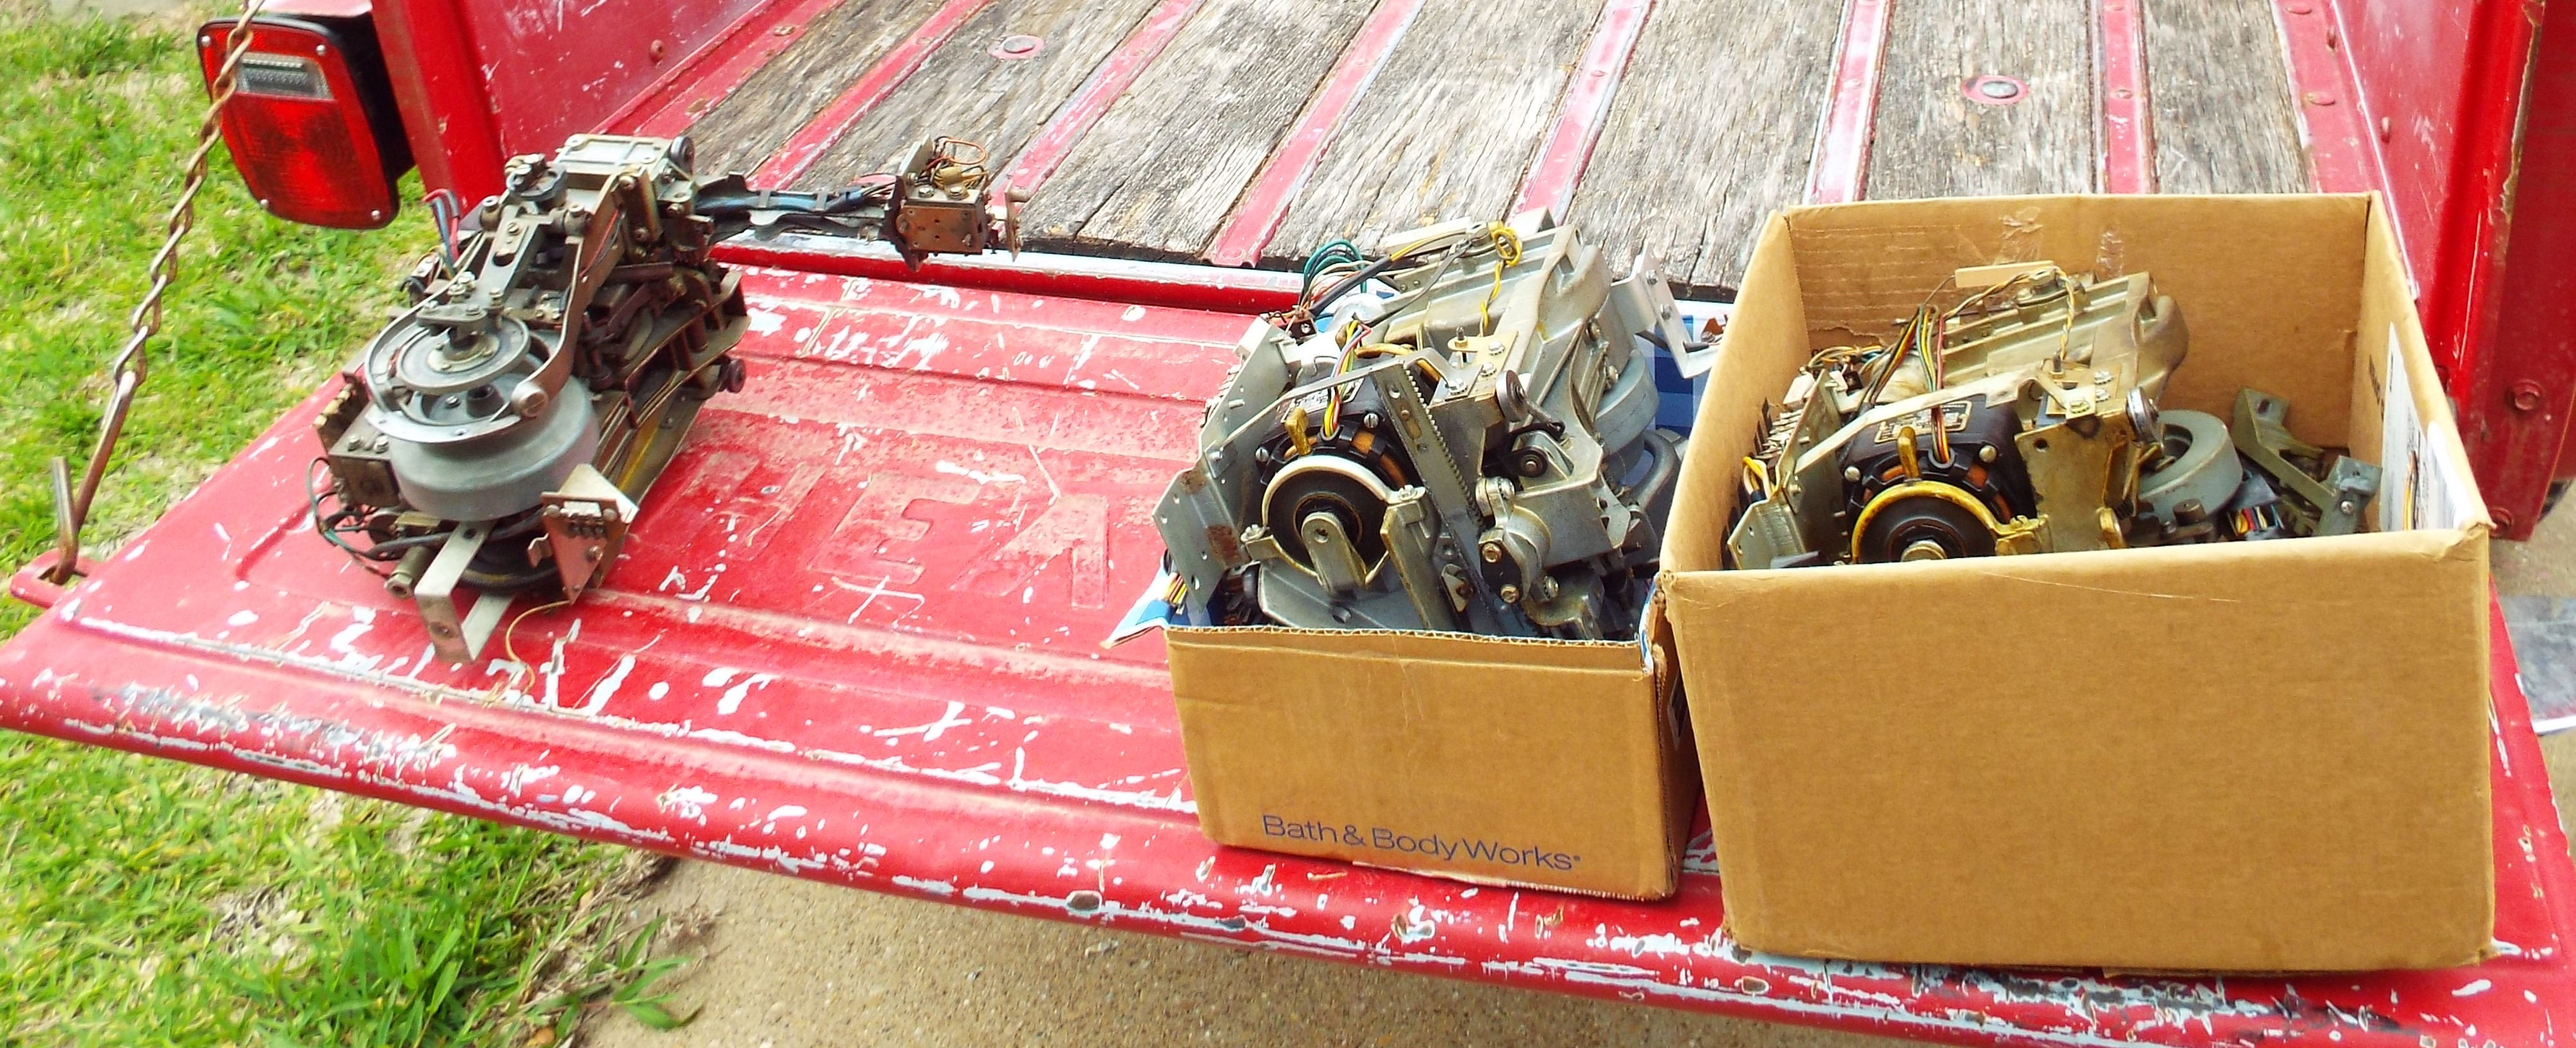
The weather finally allowed me to finish what I started on Eclipse Day. I made a terrific haul of parts from the Operator in Ft. Worth and I am still dealing with it. Most everything got stuffed whereever I could find a place. Monday I hauled out all the SHP, TSA, and DCC chassis I had to determine what to do with them. I ended up scrapping five digital control centers, a couple SHP amps, and three mechanisms I never took the time to do anything with other than stuff them somewhere.
I was going to watch the eclipse using my welding googles. About noon I gave up trying to find them and went out seeking a pair of eclipse glasses. I got real lucky and scored a pair. Armed with those I continued scrapping the DCC’s. As someone who rebuilds a lot of 70’s Seeburg equipment these are chock full of good serviceable parts I can use to do repairs with. I’d scoot out of the garage now and then to look at the sun and see the progress of the eclipse. It was pretty cool.

I threw away quite a bit of stuff in the name of spring cleaning and made a terrific amount of free space by sorting out the aforementioned stuff. I am going to do my damndest to not fill it up again. I put all the scrapped metal chassis and mechs in the alleyway where it gets picked up by the “metal men” as I call them. Guys who pick up scrap and sell it. All the DCC’s I kept got stacked on a shelf in the shed, the SHP amps I kept went on the second shelf . The TSA amps are now residing under the workbench. There was even room enough to put a couple of the large totes filled with miscellaneous stuff from the Operator underneath too. One of the things I did was put the SMC2 hideaway mechanism back in its cabinet. It was taking up a lot of space under the workbench. That is a chore unto itself considering all that had to be hauled out of the shed to get to the cabinet and then put back. The rainy weather stopped me from doing any “shed work”. But today has been sunny and it was so nice out.
The next step is just as tedious. Putting up all the small parts I scavenged. DCC boards, relays, wire harnesses, regulators, SHP amp boards, output transistors, mute/trip relays, stand-offs, fuse holders, mechanism motors, clutches, tonearm assemblies, trip coils, carriage wheels, detent points, couplers, brake cams, and assorted special screws and E clips. This is from a long habit. When I started out in business I was poor. Anything that got scrapped, pinball, video, or a jukebox got taken down to everything I thought I could so I wouldn’t have to spend money on in the future including nuts and bolts and wire.