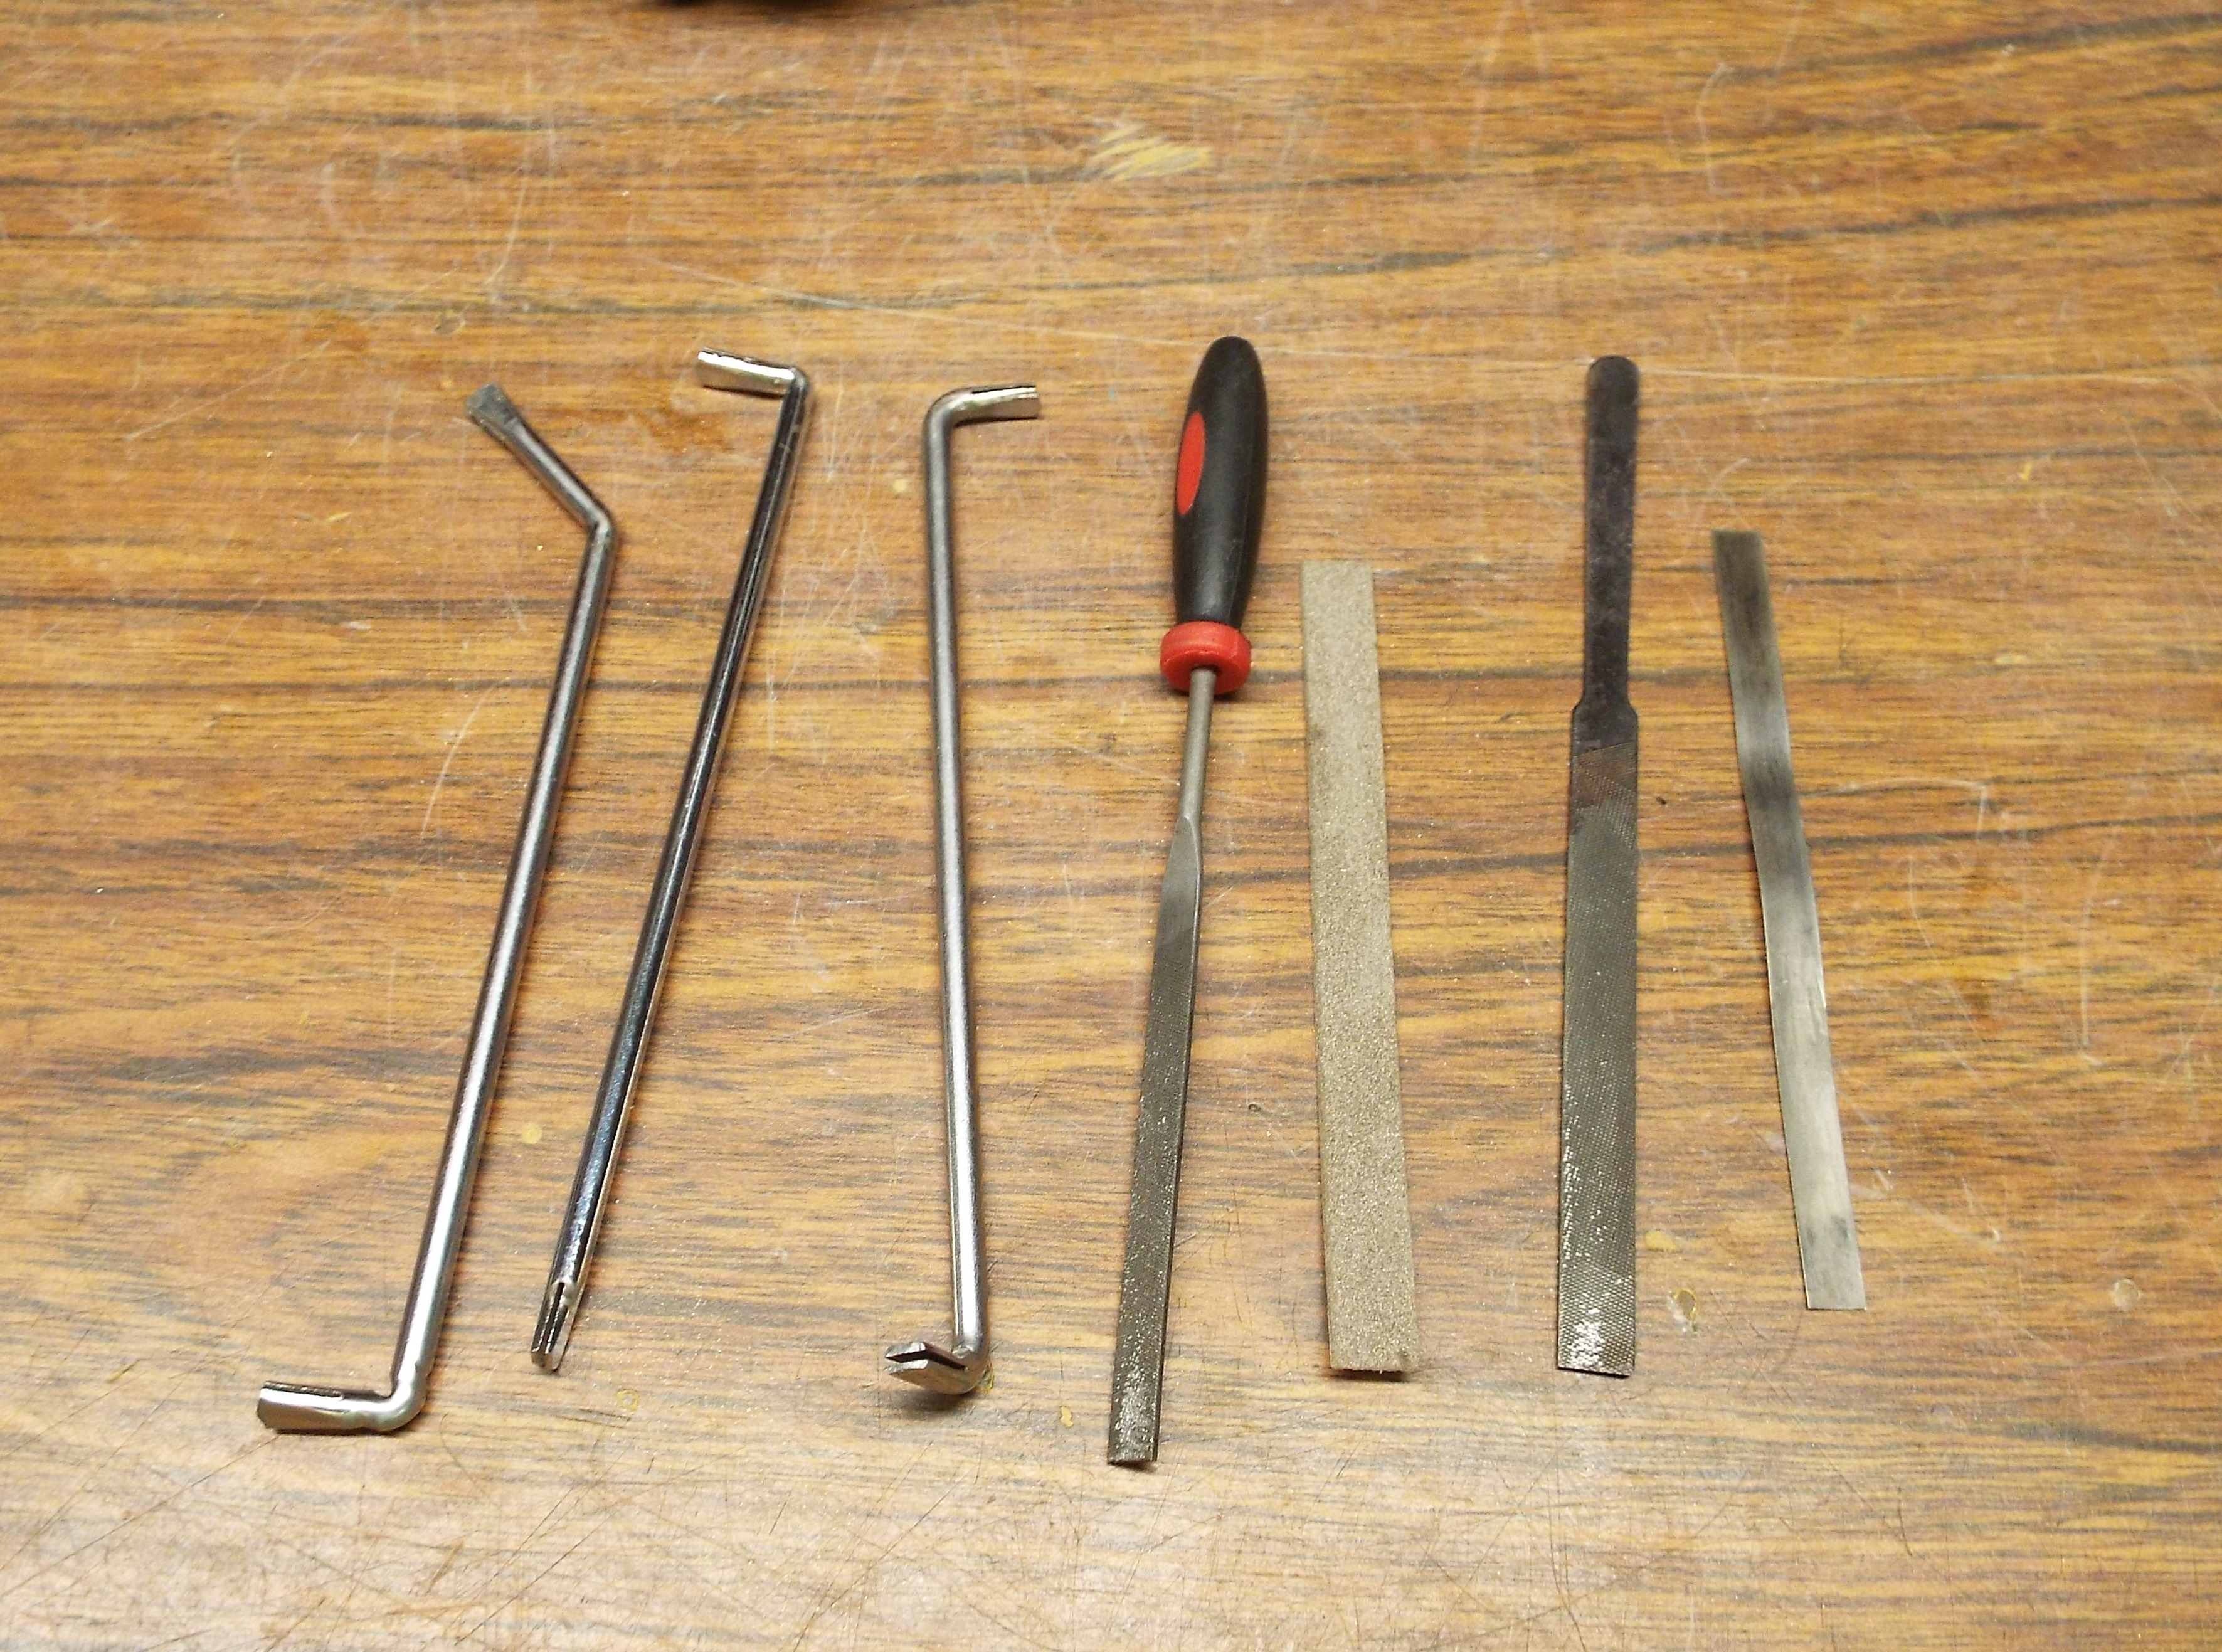
October 5, 2023

The last couple days I’ve been working on a SHP3 amplifier. I recieved it for repair through the mail. The customer reported that the left channel didn’t work. It had massive damage. The amplifier is supposed to have a 3.2A fuse and really, a 2A is more than sufficient. This one had a 7.5A fuse.It was not blown and since it didn’t blow the amp just toasted all the transistors in the left channel. All of them. The drivers had the worst physical damage I have ever seen. What started this mess? The amp had all original capacitors. Let me climb on my soapbox….OK. Any Seeburg equipment with original capacitors is overdue to have them replaced. I mean the electrolytic capacitors. It’s over 40 years since Seeburg made anything. An amp may work but the electrolytic caps dry out and turn into resistors or just short out and cause a lot of damage. If the fuse doesn’t blow then real damage happens. Traces usually literally burn off the board and components burst into flame and this amp was no different.

I replaced all the transistors on the driver board for the left channel. All the electrolytic caps on both boards and chassis except for the filters. They are good. The left channel outputs were changed as well. While troubleshooting to see what all was bad I found that one of the right channel output transistors was bad. I replaced both of those so as to have a matched pair. The bias pots got thoroughly cleaned. Several of the “safety” resistors, the 100 ohm 1/2w’s in front of the drivers, were changed out. I replace those with 1w resistors to give less chance of burning up. They’ll blow but not burn. A trace on the back of the driver board was also repaired with a section of wire neatly inserted into the burned gap. After setting the bias I bench tested the amp and it worked well. I played it a while then transferred it to the STD4. Plenty of volume and excellent tone. I played one record, House Of The Rising Sun very loud. Who wouldn’t? The amp bias creeped up. After the record was over I let themech go to rest and kept an eye on the bias. It slowly came down as the amp cooled. It had gotten to 19ma on the left and 8ma on the right. I reset both to 5ma and played a few more records. The bias stayed rock steady. Mission accomplished.

October 3, 2023

The last couple days I have been working on the separate components making up the wallbox. The black box was pretty straightforward. After taking it apart and finding no obvious problems I tested the two zener diodes on the top board, cleaned both sets of edge connectors, and re-assembled it. I tested it in the STD4 and it works fine. One down. The interface board got all new electrolytic capacitors. While I was at it I did two more of these boards. I have several and will end up selling a couple keeping at least one good one for a spare. These seem complicated but are not. There are just several sections crammed on one board. Coin buffers, data buffers, several power supplies for the assorted voltages, audio control, and a reset circuit.

The button set that was in the wallbox when I got it was incorrect. I thought I would try it out of curiosity to see if it would work. The little board on top did not have the small left side connector. I haven’t quite figured out the purpose of these small boards. There are several versions and button sets that don’t even have them. I took the DES apart. The board looked pristine. I cleaned the contacts and put it back together. I put it back in the wallbox, used the black box just gone through and a known good interface board. Things got wacky quick when trying out the wallbox for the first time. The digit lamps barely lit and I was getting selections after pressing the buttons two times instead of three. And no audio through the little speakers.

I found the correct button set in my pile o parts and quickly cleaned it and re-arched the contacts. This corrected the selection problem. Now I was able to give three distinct strokes, no bouncing points or short selecting. Two down. I removed the lamp board next. It is so simple. Just some resistors and a couple diodes. Nothing wrong there. Still, the Select lamps were barely lighting. I thought perhaps some sockets were internally shorting but could find no evidence of this. I finally removed the lamp board out of the test wallbox, plugged it into the harness and it worked normally. Lamps nice and bright when making selections. I had put three Eico #44 lamps in the board and they were difficult to seat. So I swapped out the lamps between the two boards and that was the problem. I suppose the sockets were internally shorting because of whatever was causing the seating difficulty. I threw the Eicos away. And then ordered six boxes of #44’s that afternoon. It is very hard to find the incandescent lamps. Three down.

Pulling the audio control board is a giant pain in the ass. Well, maybe not that big but still. There are two tiny screws holding it in that are difficult to reach. I finally removed the button set and lamp board for better access. I pulled the cover off of the relay and cleaned the points with a burnishing file. Flicked the Low High switches back and forth a couple times and put it back in. Now the Low High buttons won’t switch. When I took it off the first time I saw a couple small washers sitting there when I pulled it. It finally dawned on me that a Very Smart Person had figured out that the buttons needed to be slightly spaced. You know how hard it is to balance two small washers while trying to install the board? I finally glued them in place and went for lunch to let them dry.

After luch I re-installed the audio control board, the lamp board, and the buttons. The Low High switches worked fine! Hah! Still no audio! So, I broke out the manual and started reading. When a selection is made a pulse from the DTP energizes the speaker relay through circuitry. Way more than needed but that is a Seeburg trait. Two transistors and two SCR’s with supporting components. I had been hearing the relay click….In one of those Neanderthal moments it occurred to me to check the jukebox amplifier. Sure enough, early this summer when testing amplifiers I had tied the yellow and green wallbox audio wires back. After connecting them I had, of course, audio at the speakers. Four down. I now have a working wallbox.