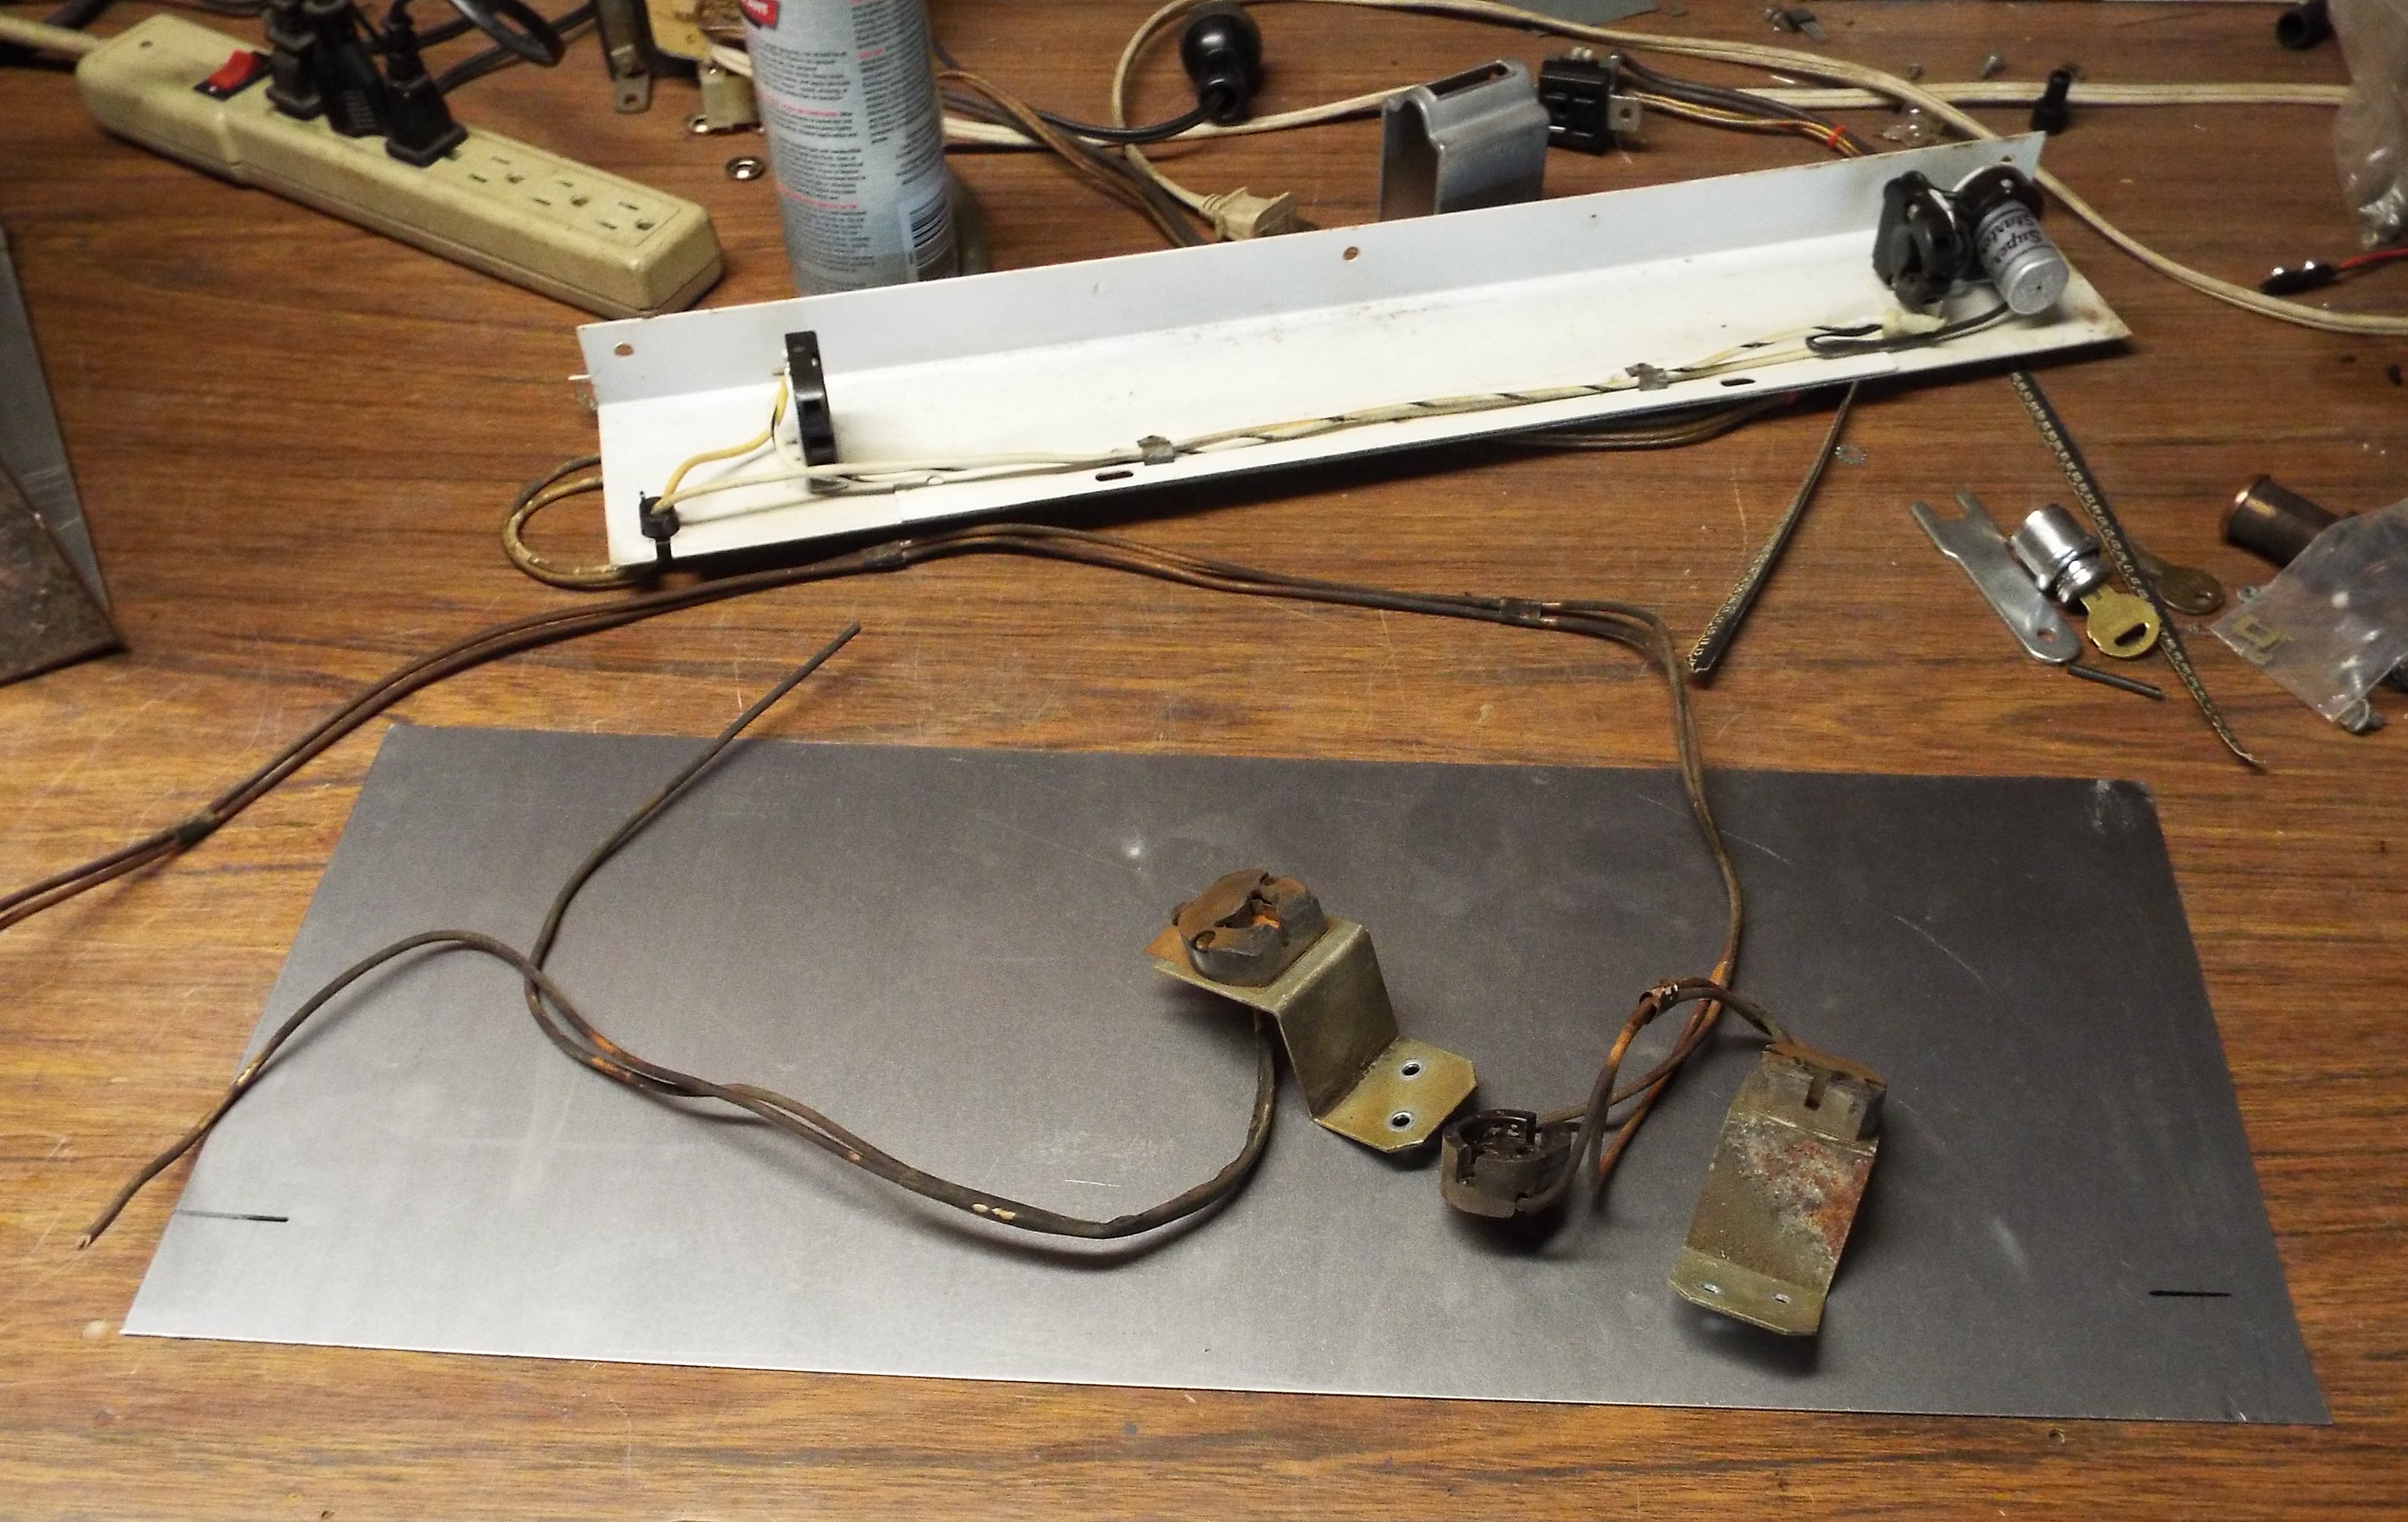
Monday morning and I started anew on the lamp holder for the SMC2. Saturday afternoon I visited an old friend, Russell. He is a machinist who builds race motors and races a winged modified at Devil’s Bowl Speedway. Been doing it a long time and is good at both. He has a brake used to bend sheet metal. The piece of sheet metal I have needs a right angle bend with about an inch of metal sticking up for mounting.I had already cut it to proper length with a jigsaw. It took literally 10 seconds to bend the piece of sheet metal.
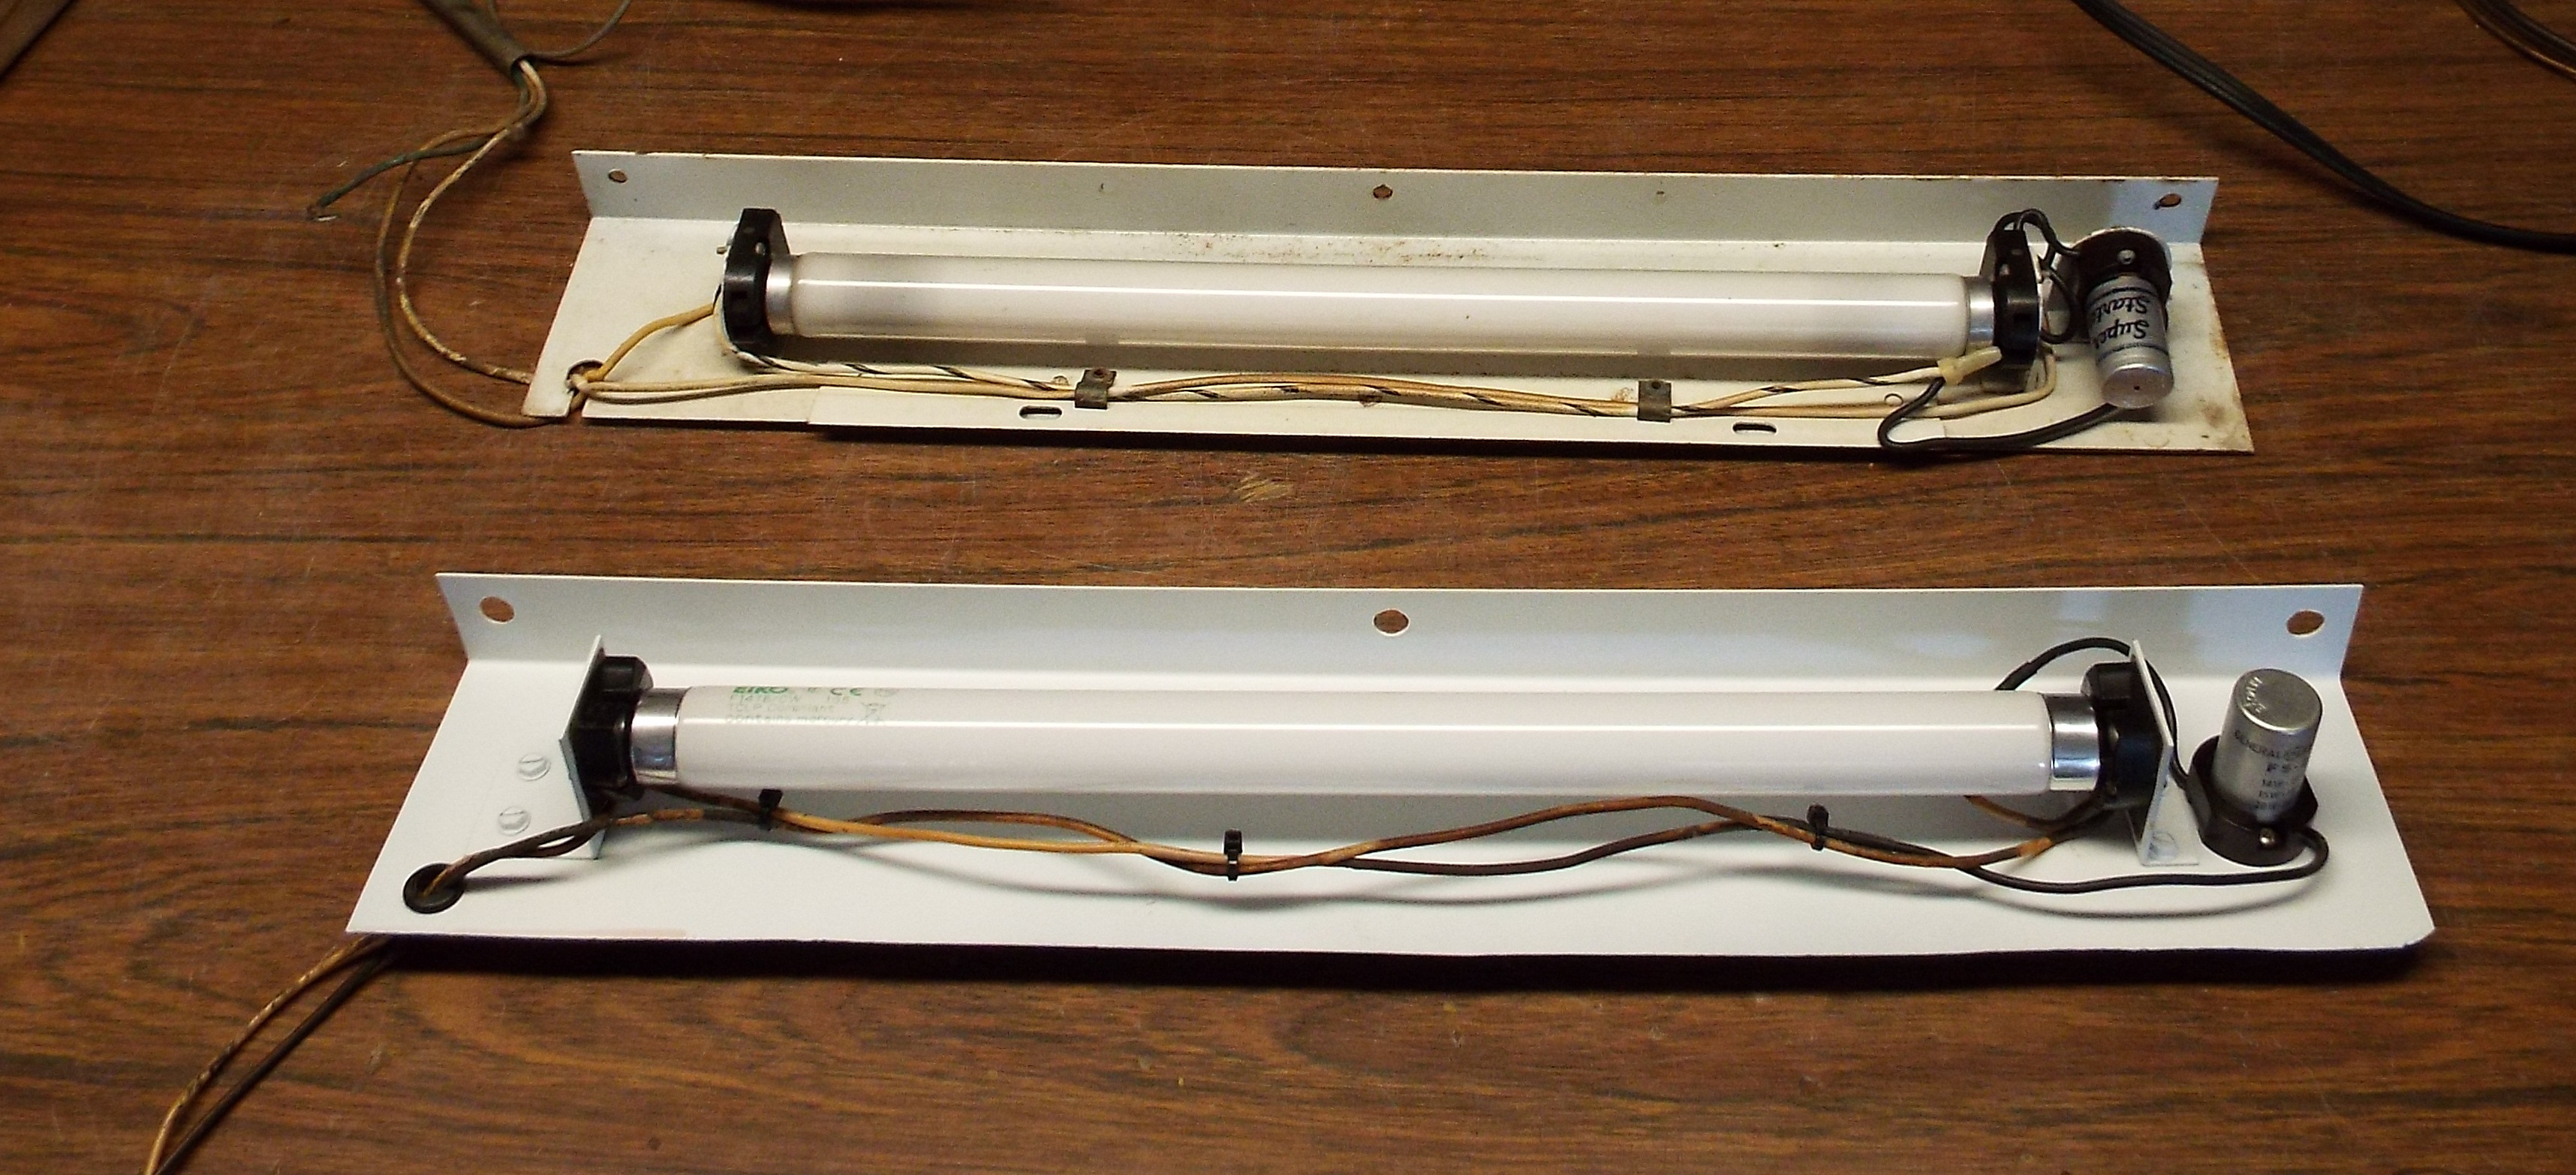
Once bent I got the width measured and cut. The reason I wanted the lamp holder from the DS160 to use is that I knew I could cut a piece off and have a right angle tab for mounting purposes. I did just that and drilled a couple holes in each tab and also for the lamp starter holder. These will be screwed down rather than welded.

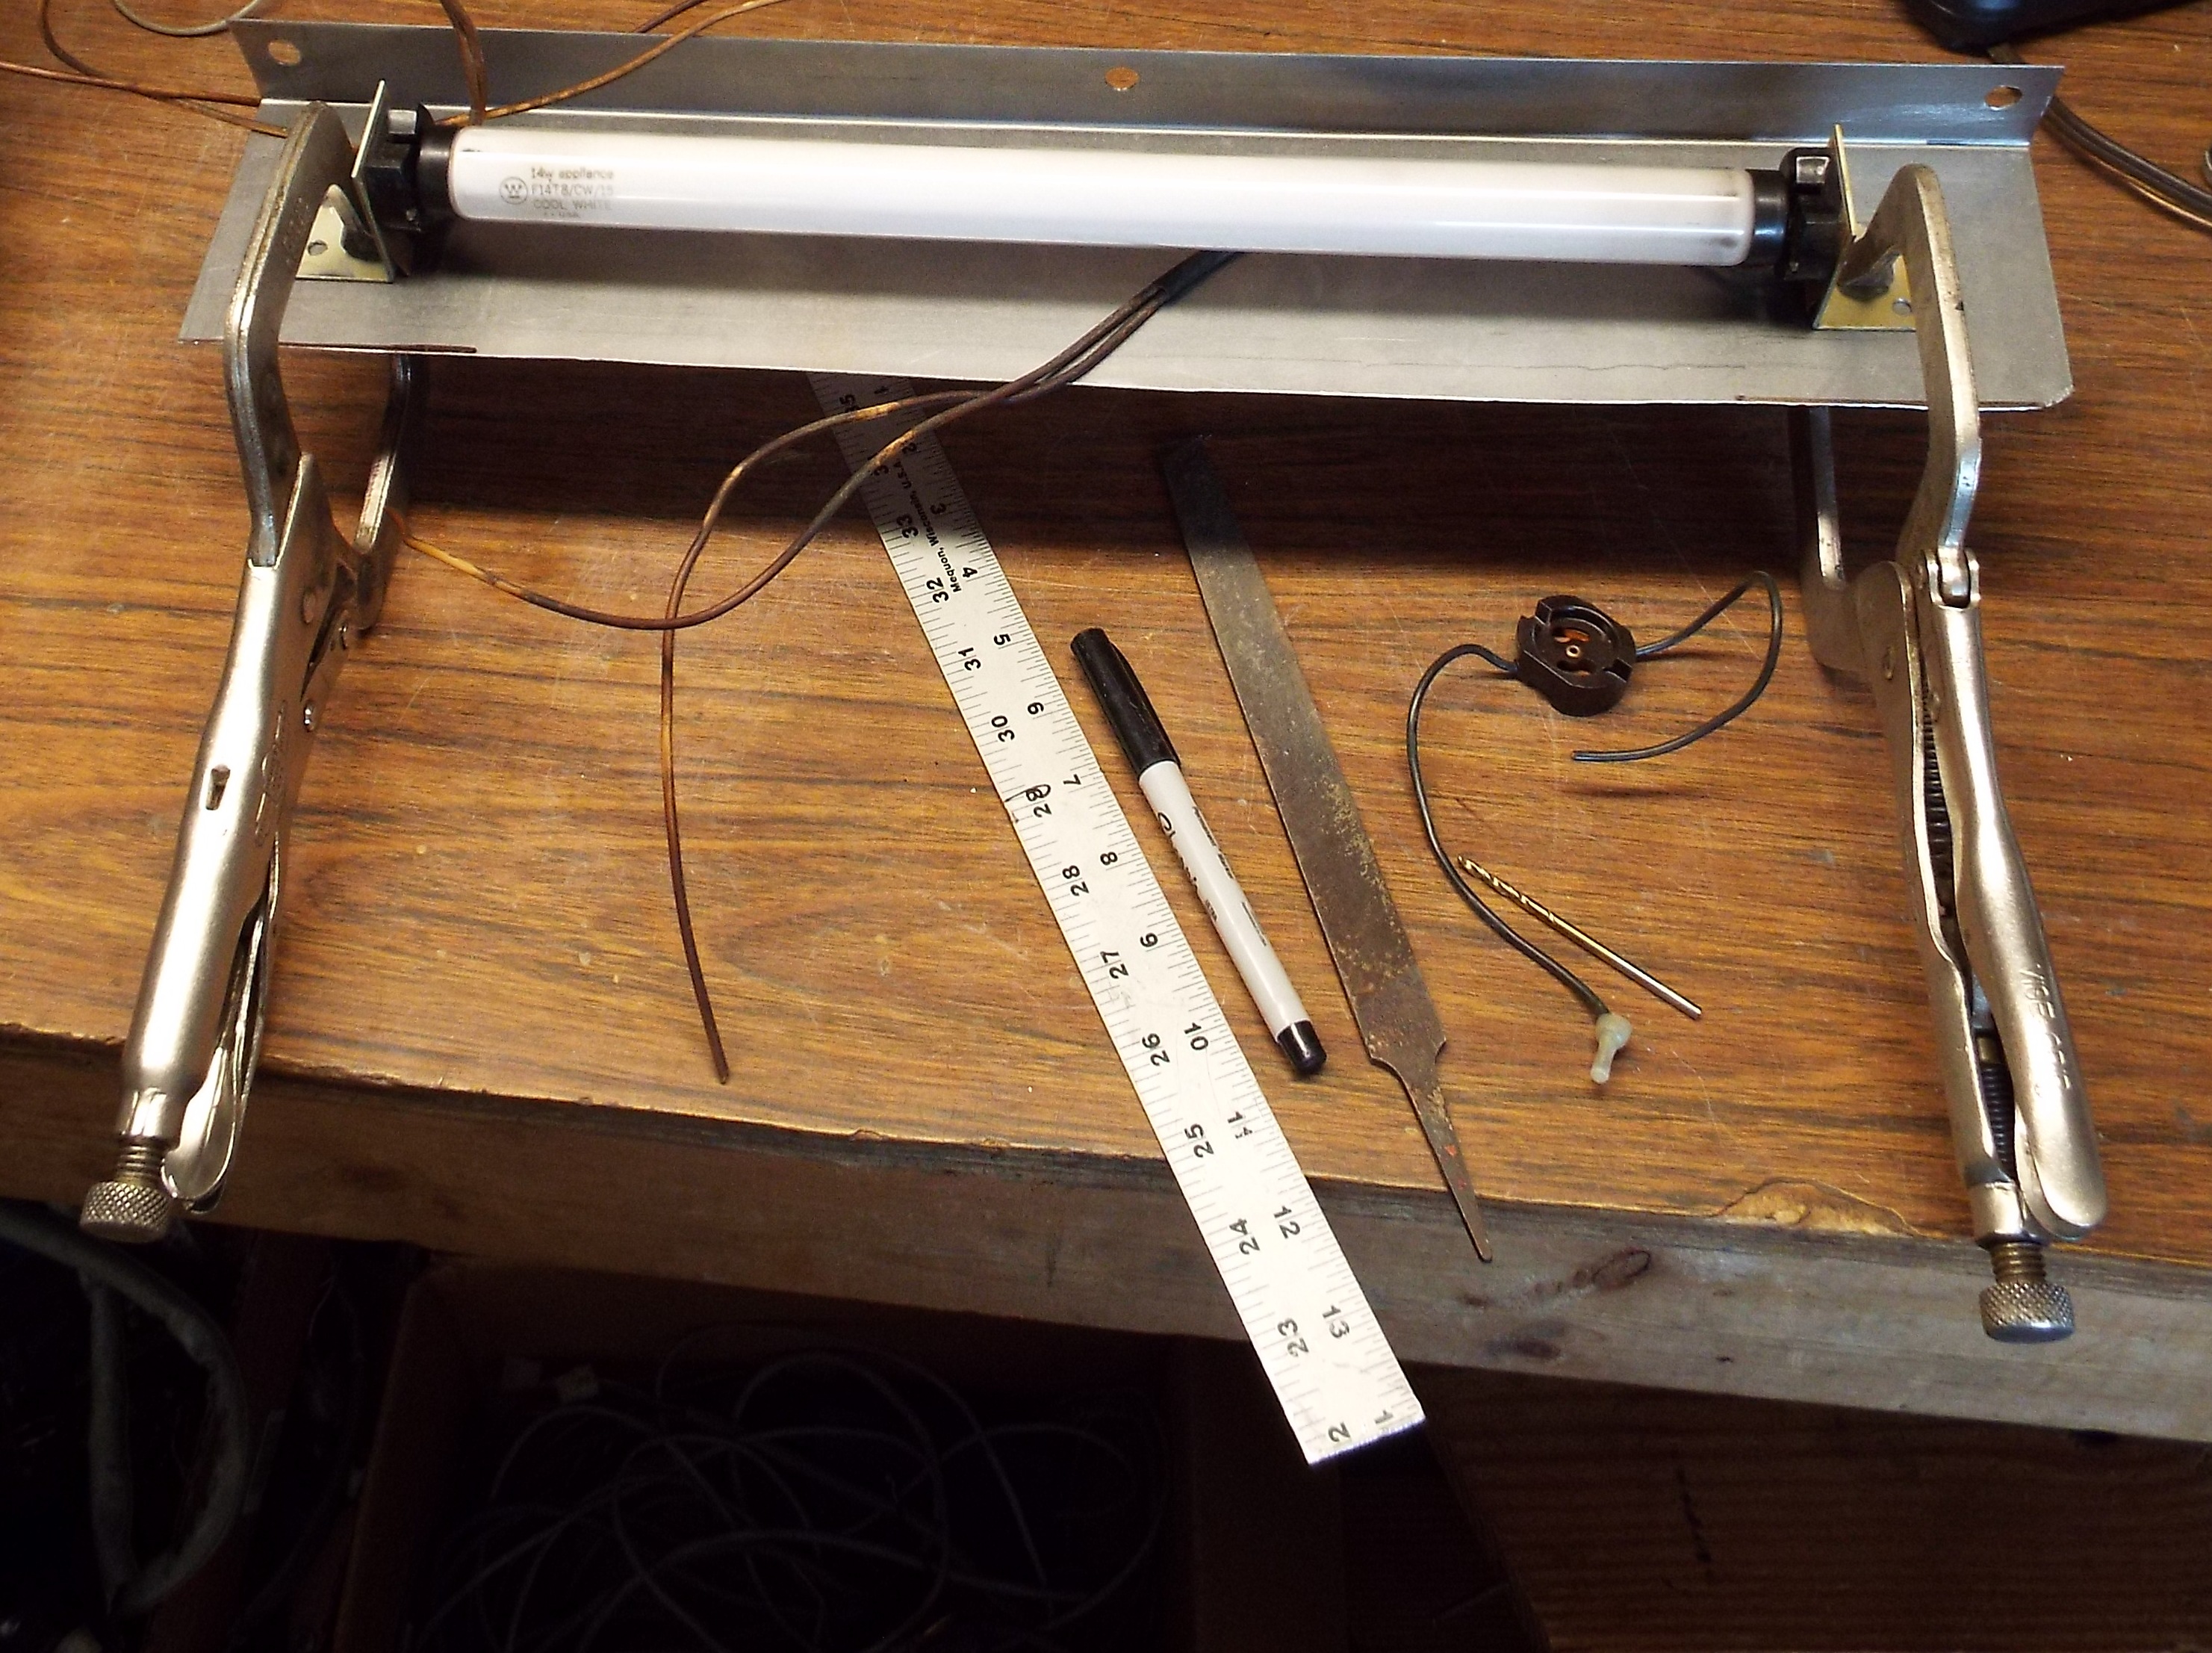
Using a lamp for proper spacing and a couple of clamps I rigged the tabs in place, jiggled them here and there, with a few measurements and then drew where to drill my tab mounting holes.
Now that I had the lamp mounting tabs located I removed the brown bakelite holders, sandblasted the metal, cleaned it real well and laid a couple coats of white on it top and bottom.

I gave this a day to dry so I actually finished this up Tuesday. It’s quick work to put the bakelite holders in place and do the wiring. Once the lamp holder is mounted, and it has been checked several times for fit, I’ll get the wire length correct, crimp on the molex connectors and have light like Seeburg intended. It turned out well. I’m pleased.