Pachinko Time
I’ve always liked pachinko machines. I’m unsure when I saw my first one. I did see an actual pachinko parlor when visiting a town near Atsugi Naval Air Base in Japan back in 1977. My crew had flown there from Hawaii and we stayed for a couple days. I was walking around town and passed a very narrow deep store front similar to a mall store opening. The place was jammed with people playing pachinko machines. They often get called Japanese pinball machines. They’re actually gambling devices. You buy the steel engraved balls from an attendant, pick a machine, and start playing trying to win balls to turn back in for cash. They’re engraved to identify the parlor where they are being used. Much like casino chips. I was young and a little intimidated being in a foreign country or I would have gone inside and checked it out. There was a middle wall featuring pachinko machines built into them back to back running the length or depth of the parlor. The left and right side had machines built into their walls as well. Whole place was maybe 12 feet wide and roughly 25 feet deep.
I had a small shop in Seagoville during the 90’s when I started occasionally picking up pachinko machines. They intrigued me. Turned out they’re very simple. They are mechanical and run on gravity with an assortment of adjustments. They have rudimentary lights that usually flash when one wins or when out of balls. They’re designed to have the large six volt lantern batteries for power. So I started buying them where I could when the price was right. I refuse to pay more than $25 to $50 for a machine. There’s just too many available. Especially here on the west coast which is where they hit first coming from Japan as they do.
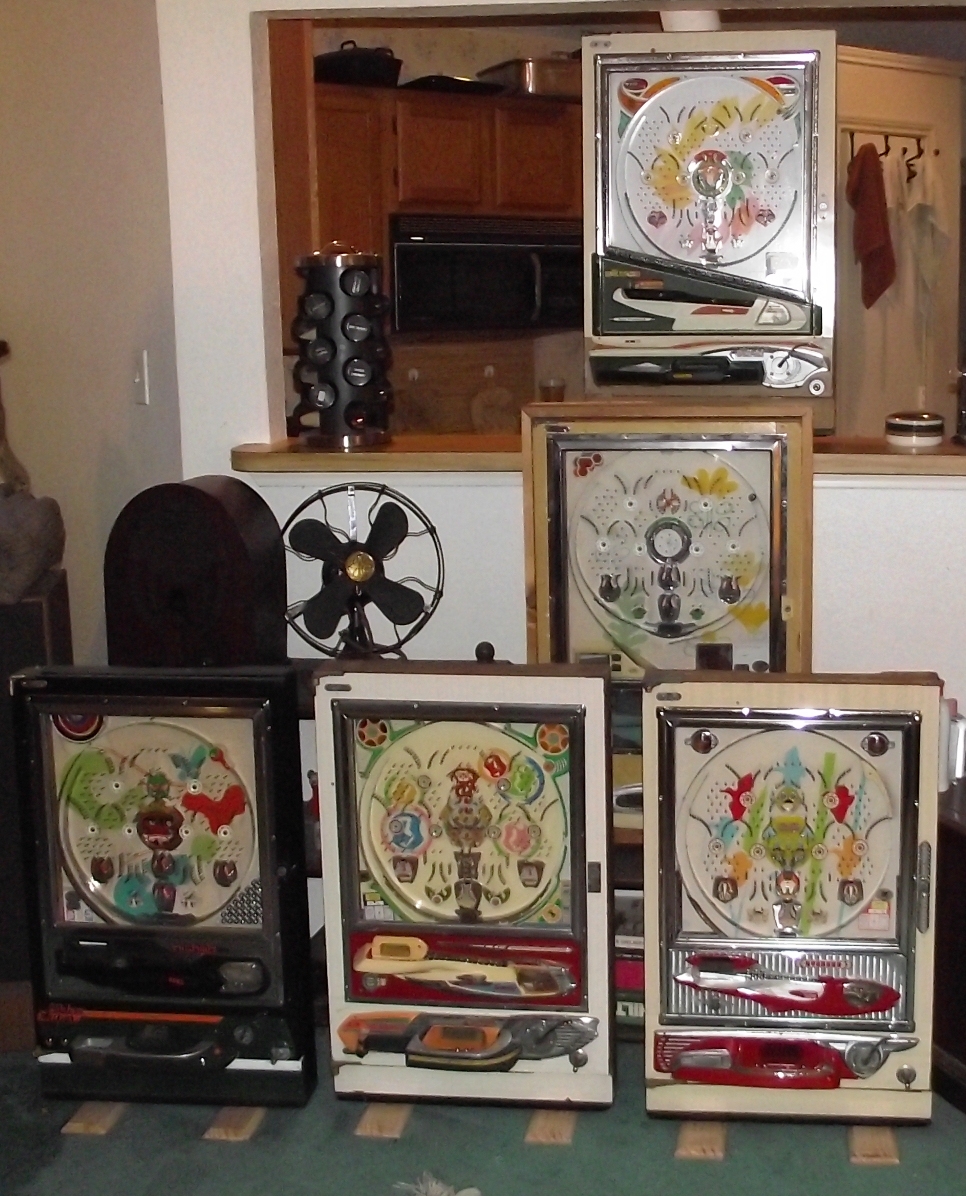
One winter I had picked up five of them to give me something to do on winter evenings. I’ve always enjoyed taking something that doesn’t work and fixing it up. I have been doing this same thing with old video games, pinball machines, and of course Seeburg jukeboxes. I got this assortment of pachinkos finished. All had balls aplenty. I even made some nice feet for them. They’re very narrow, somewhat heavy and prone to tipping over if not supported. I played them for awhile, I do get bored easily by them. Same with slot machines. I’ve had a few slots but winning your own money just isn’t the same. I ended up selling all five pachinkos to a couple guys who were delighted to get them. They were planning on having a pachinko party. I, of course, was delighted to sell them all at one go.
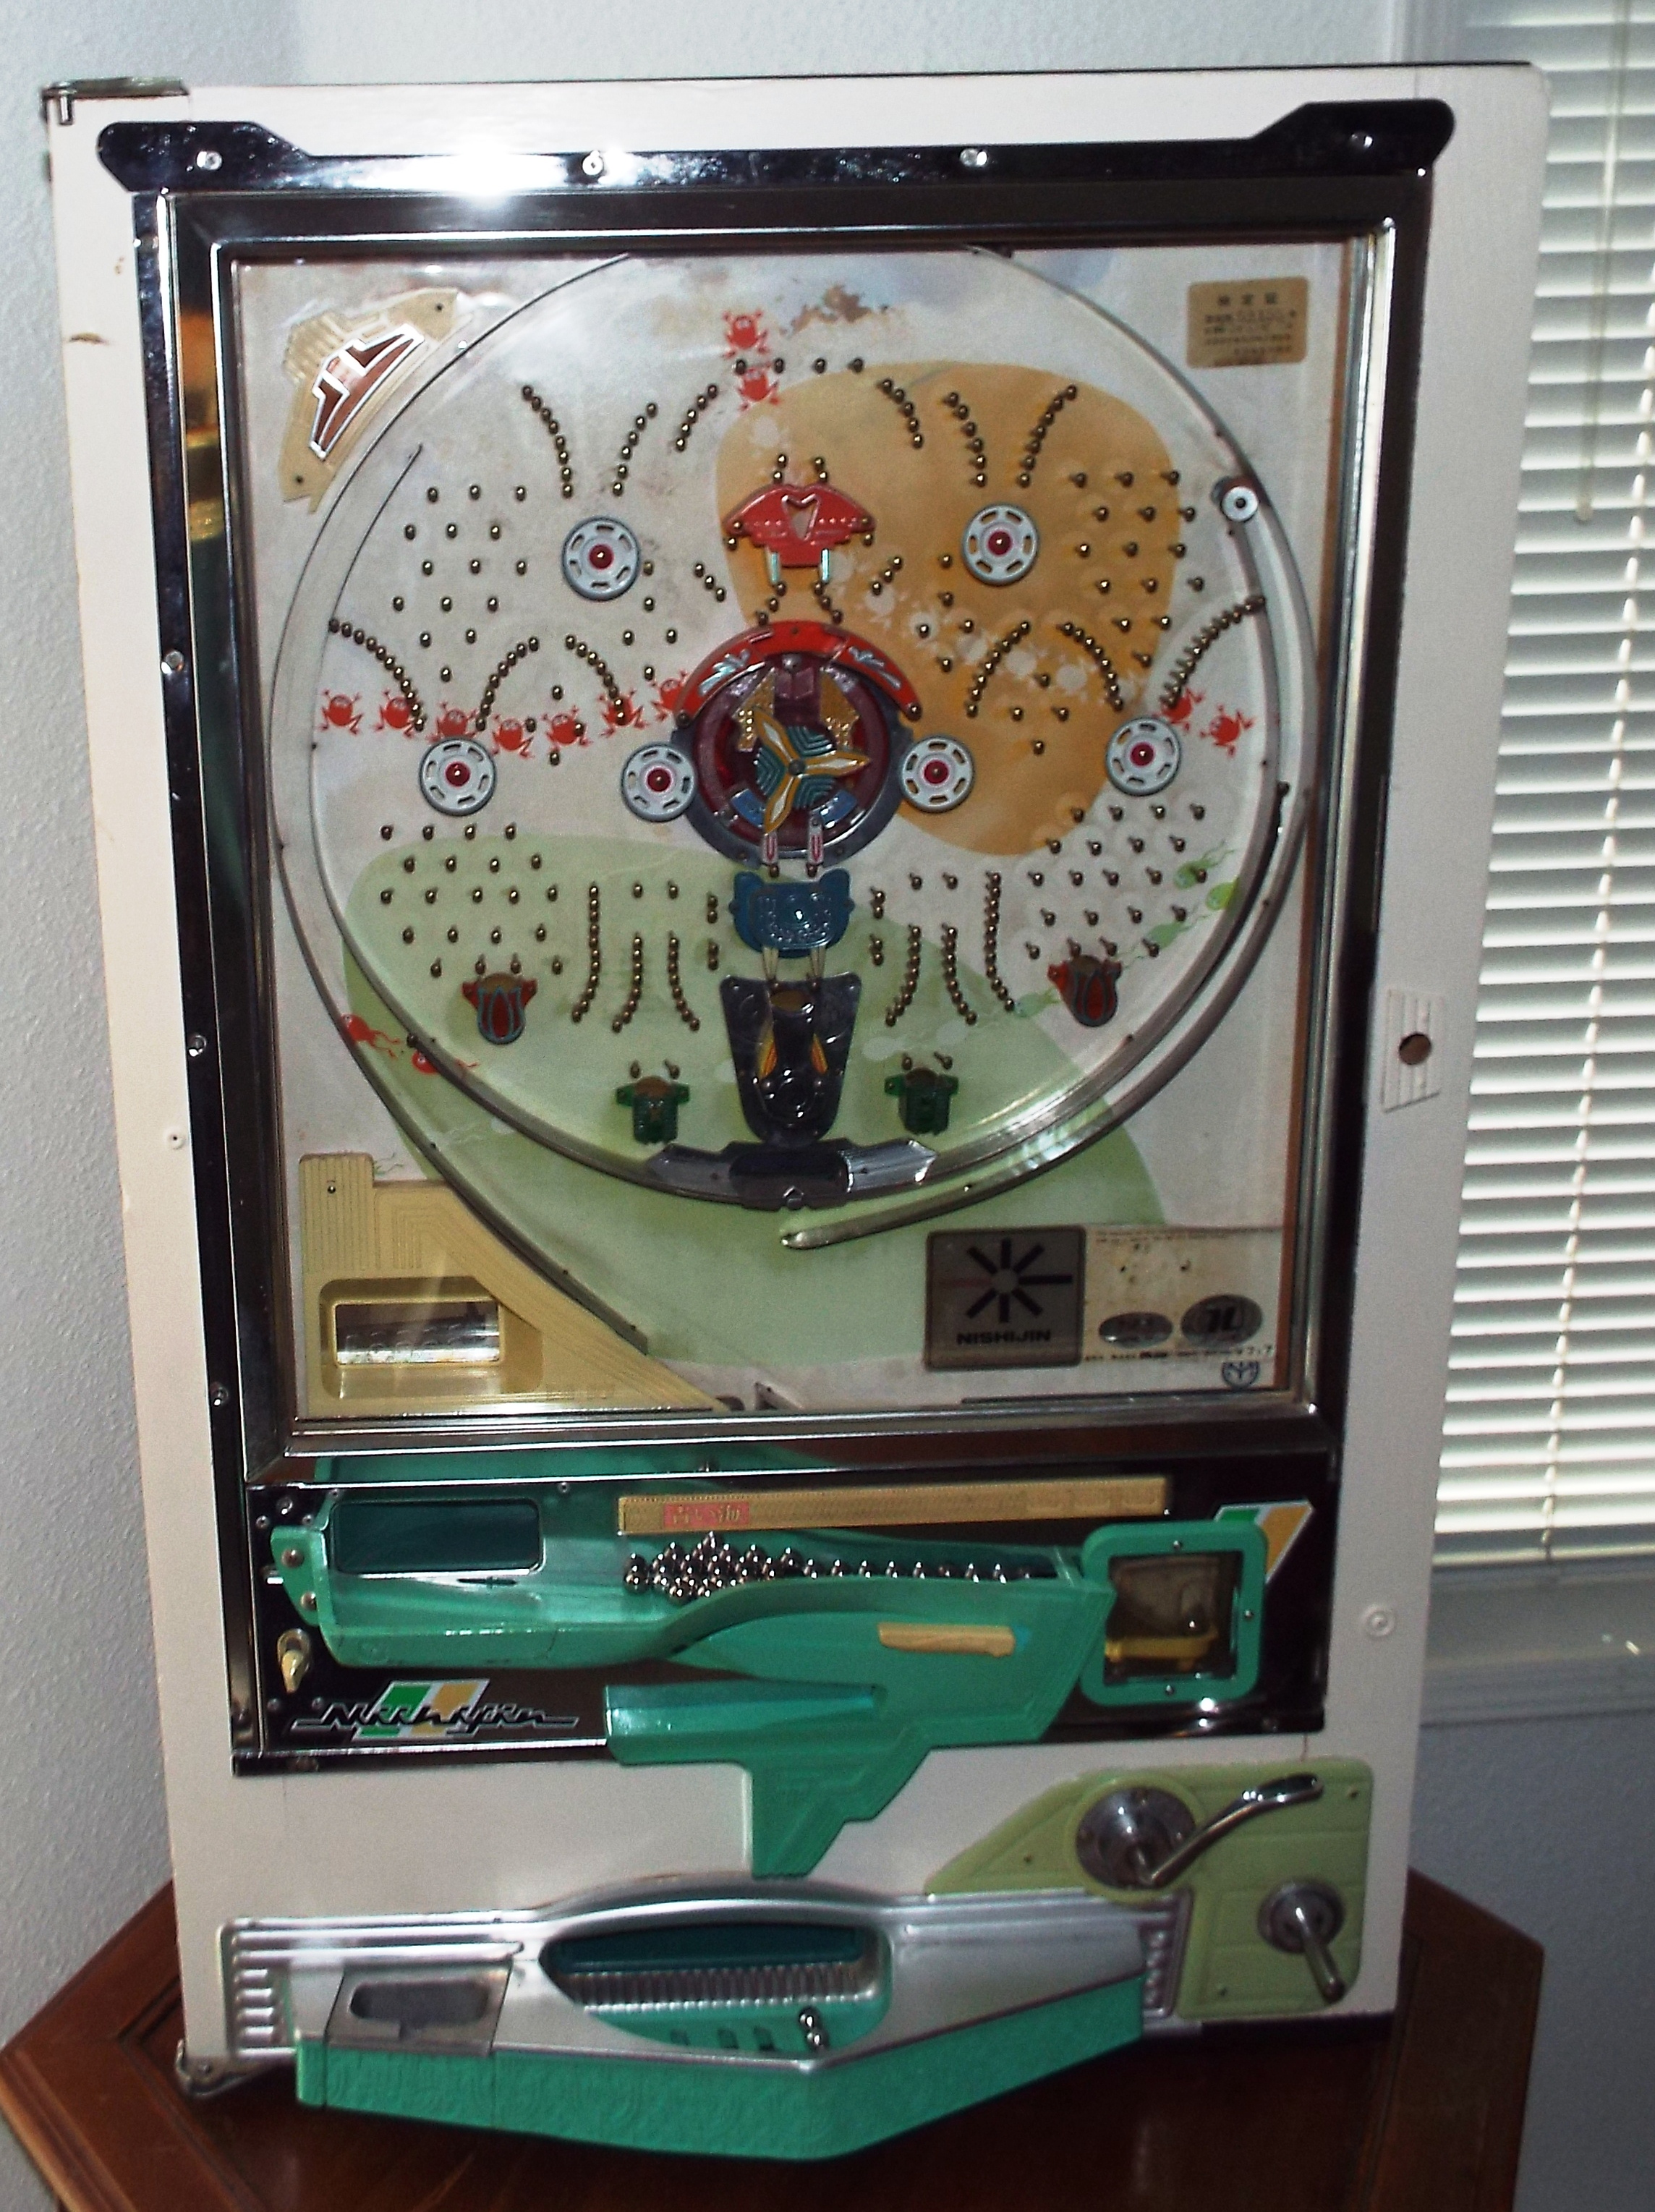
Here in Vancouver I found a pachinko on Market Place that met the simple requirements of being my price, $25 and my favorite brand; a Nishijin. I consider the Nishijin to be the Cadillac of pachinko machines. They are self-loading and have better mechanics. This one had tipped over cracking the front piece into four pieces at some point before I got it. I think that is why the price was so cheap. It had a nice glass. Many times they’ll have a plastic piece someone cut to replace a broken glass. The balls bounce better against glass than plastic. This glass helps keep them in the playfield and I will always replace plastic with glass. The chrome was very nice-always a huge plus. Other than that it was typical in that it looked like it hadn’t been played in years while being stored some place dusty.
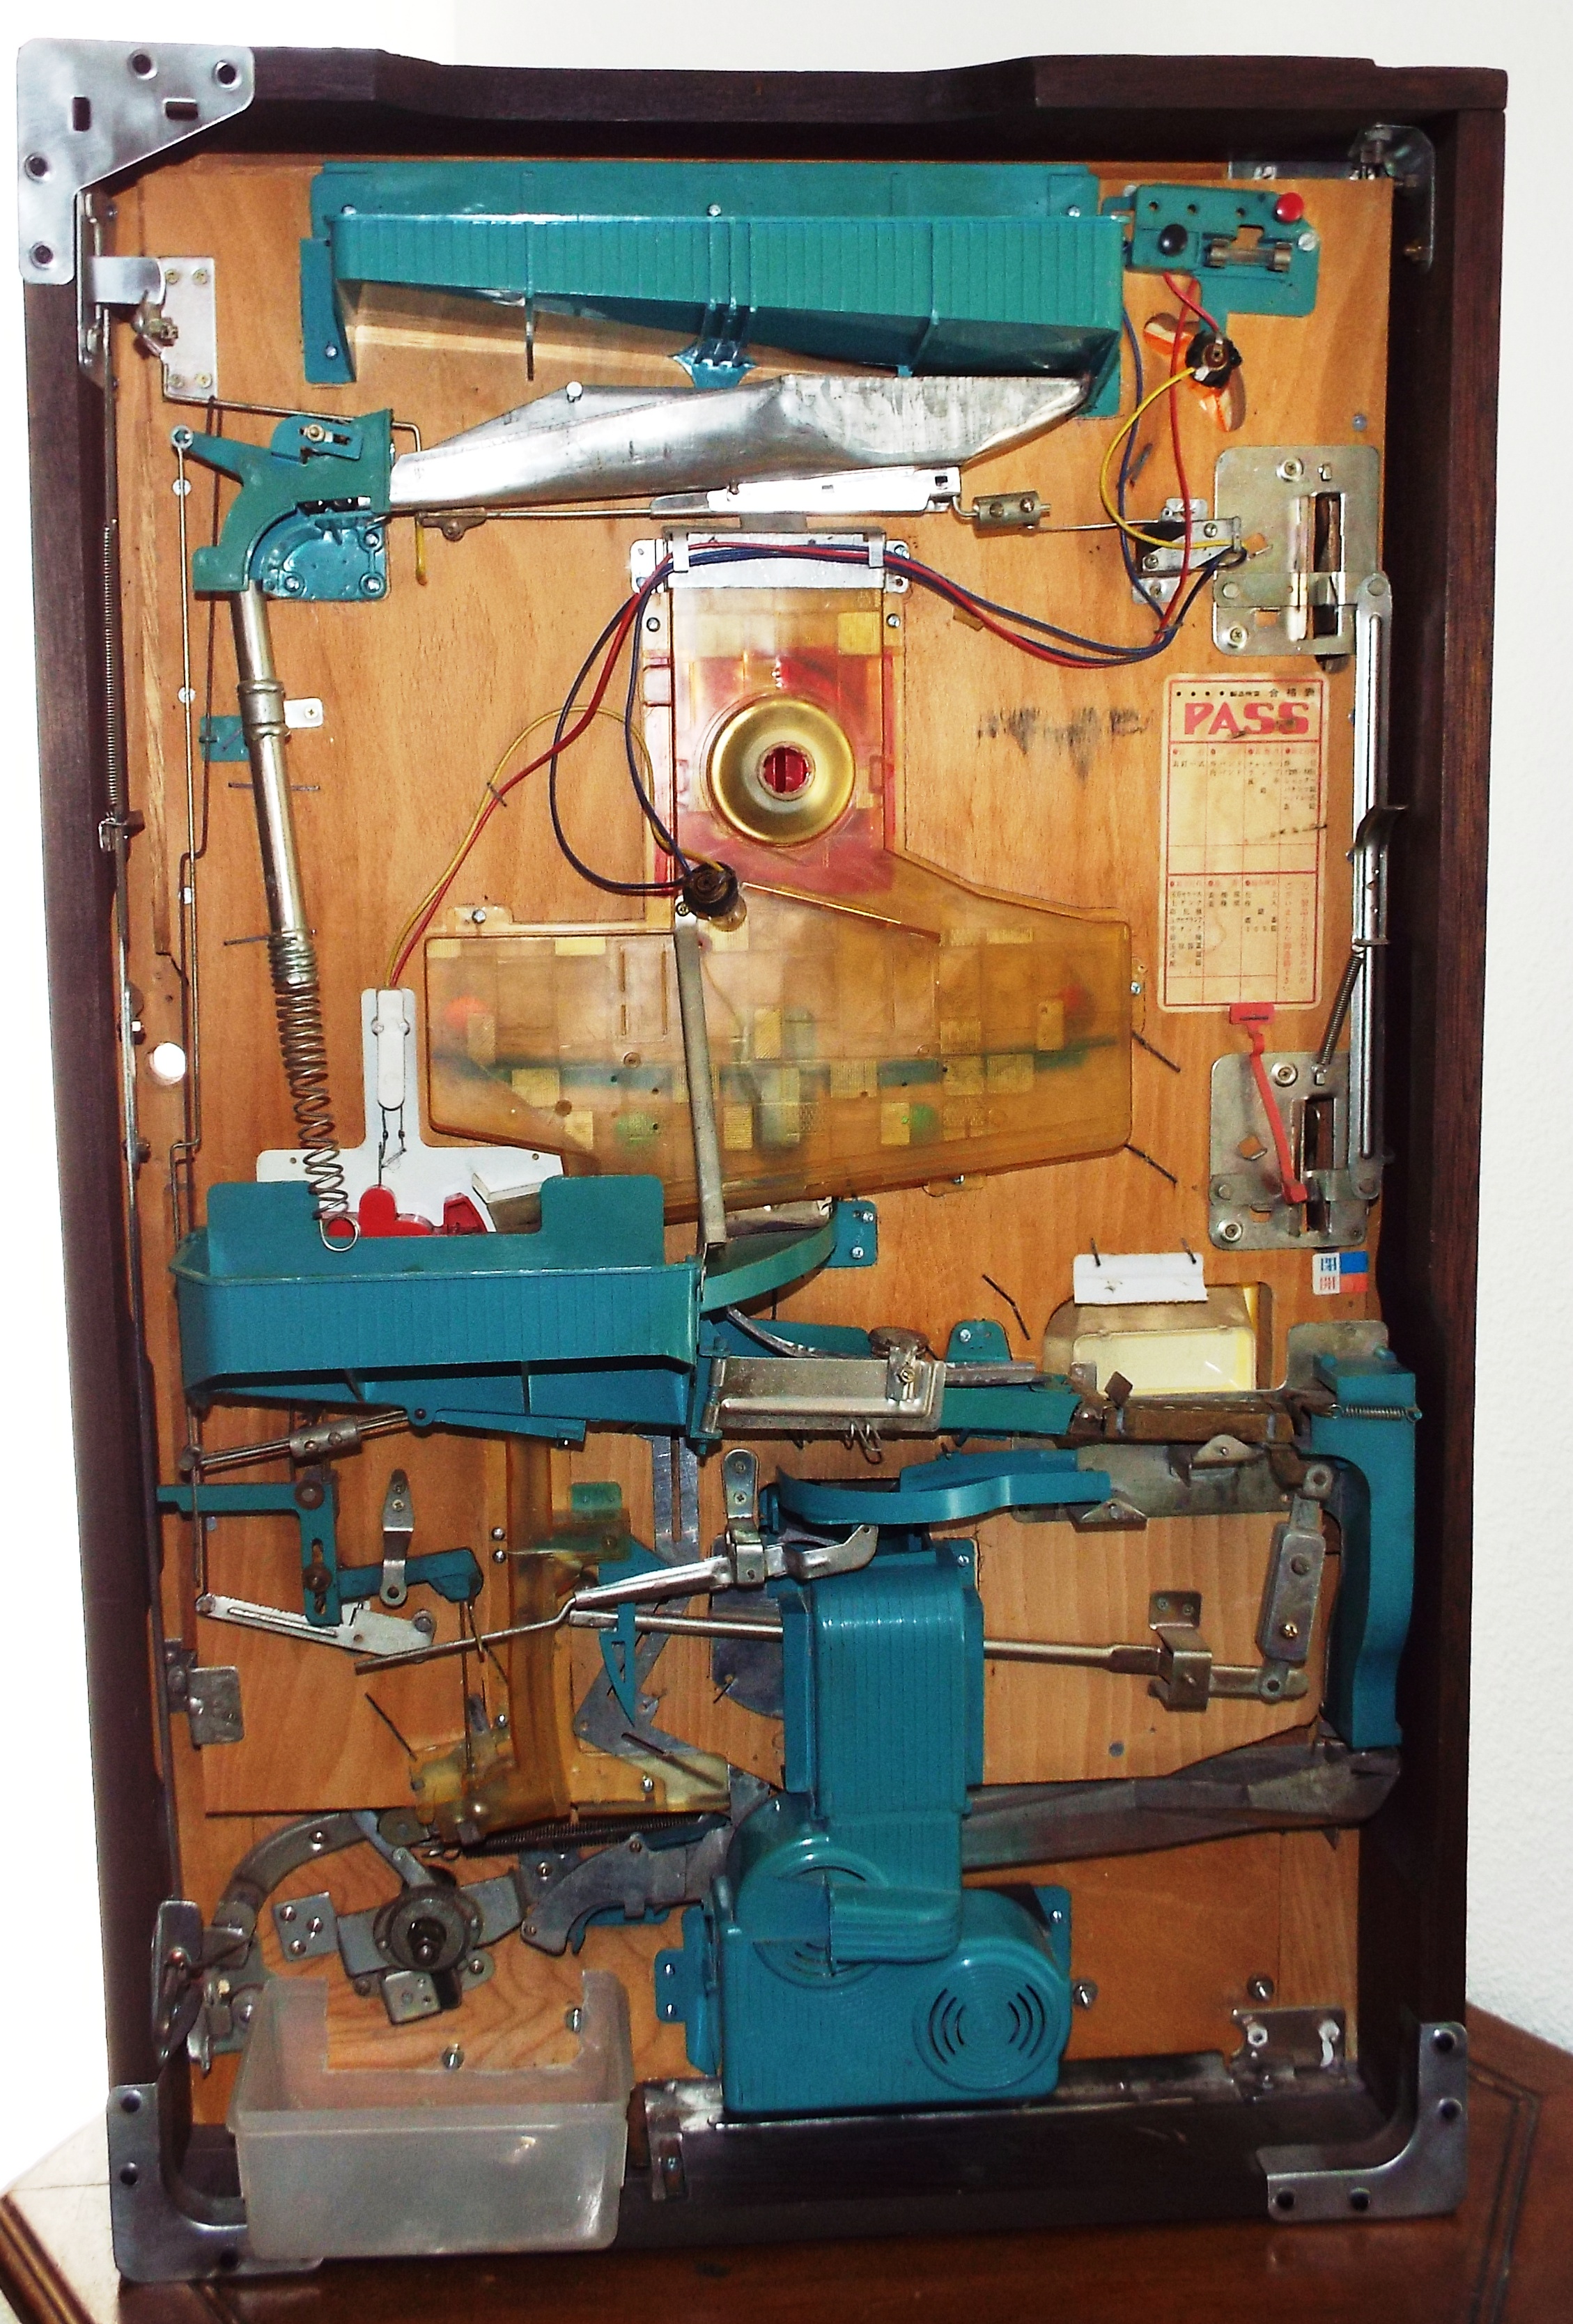
Since this is the digital age I did myself a big favor and took many pictures of the back of the machine. Later, when re-assembling, I had these pictures loaded on a laptop and referred to them more than once. After pictures and a vacuuming I took all the plastic pieces off the back. I took care to outline many of the pieces in ink to help re-align these parts. Redoing a pachinko is basically removing the plastics and cleaning them. They’re usually filthy from dust and dirt. The balls stop rolling and people put them away. All the plastics on the back of this machine were held in place with staples. Getting many of them out was ticklish as I had to take extreme care not to crack or break any of the plastic pieces. I had already done as good as I could in epoxying the broken front piece back together. I then sanded it down with very fine grit sandpaper followed with Novus #2 plastic polish. You would have to pay close attention to see the cracking.
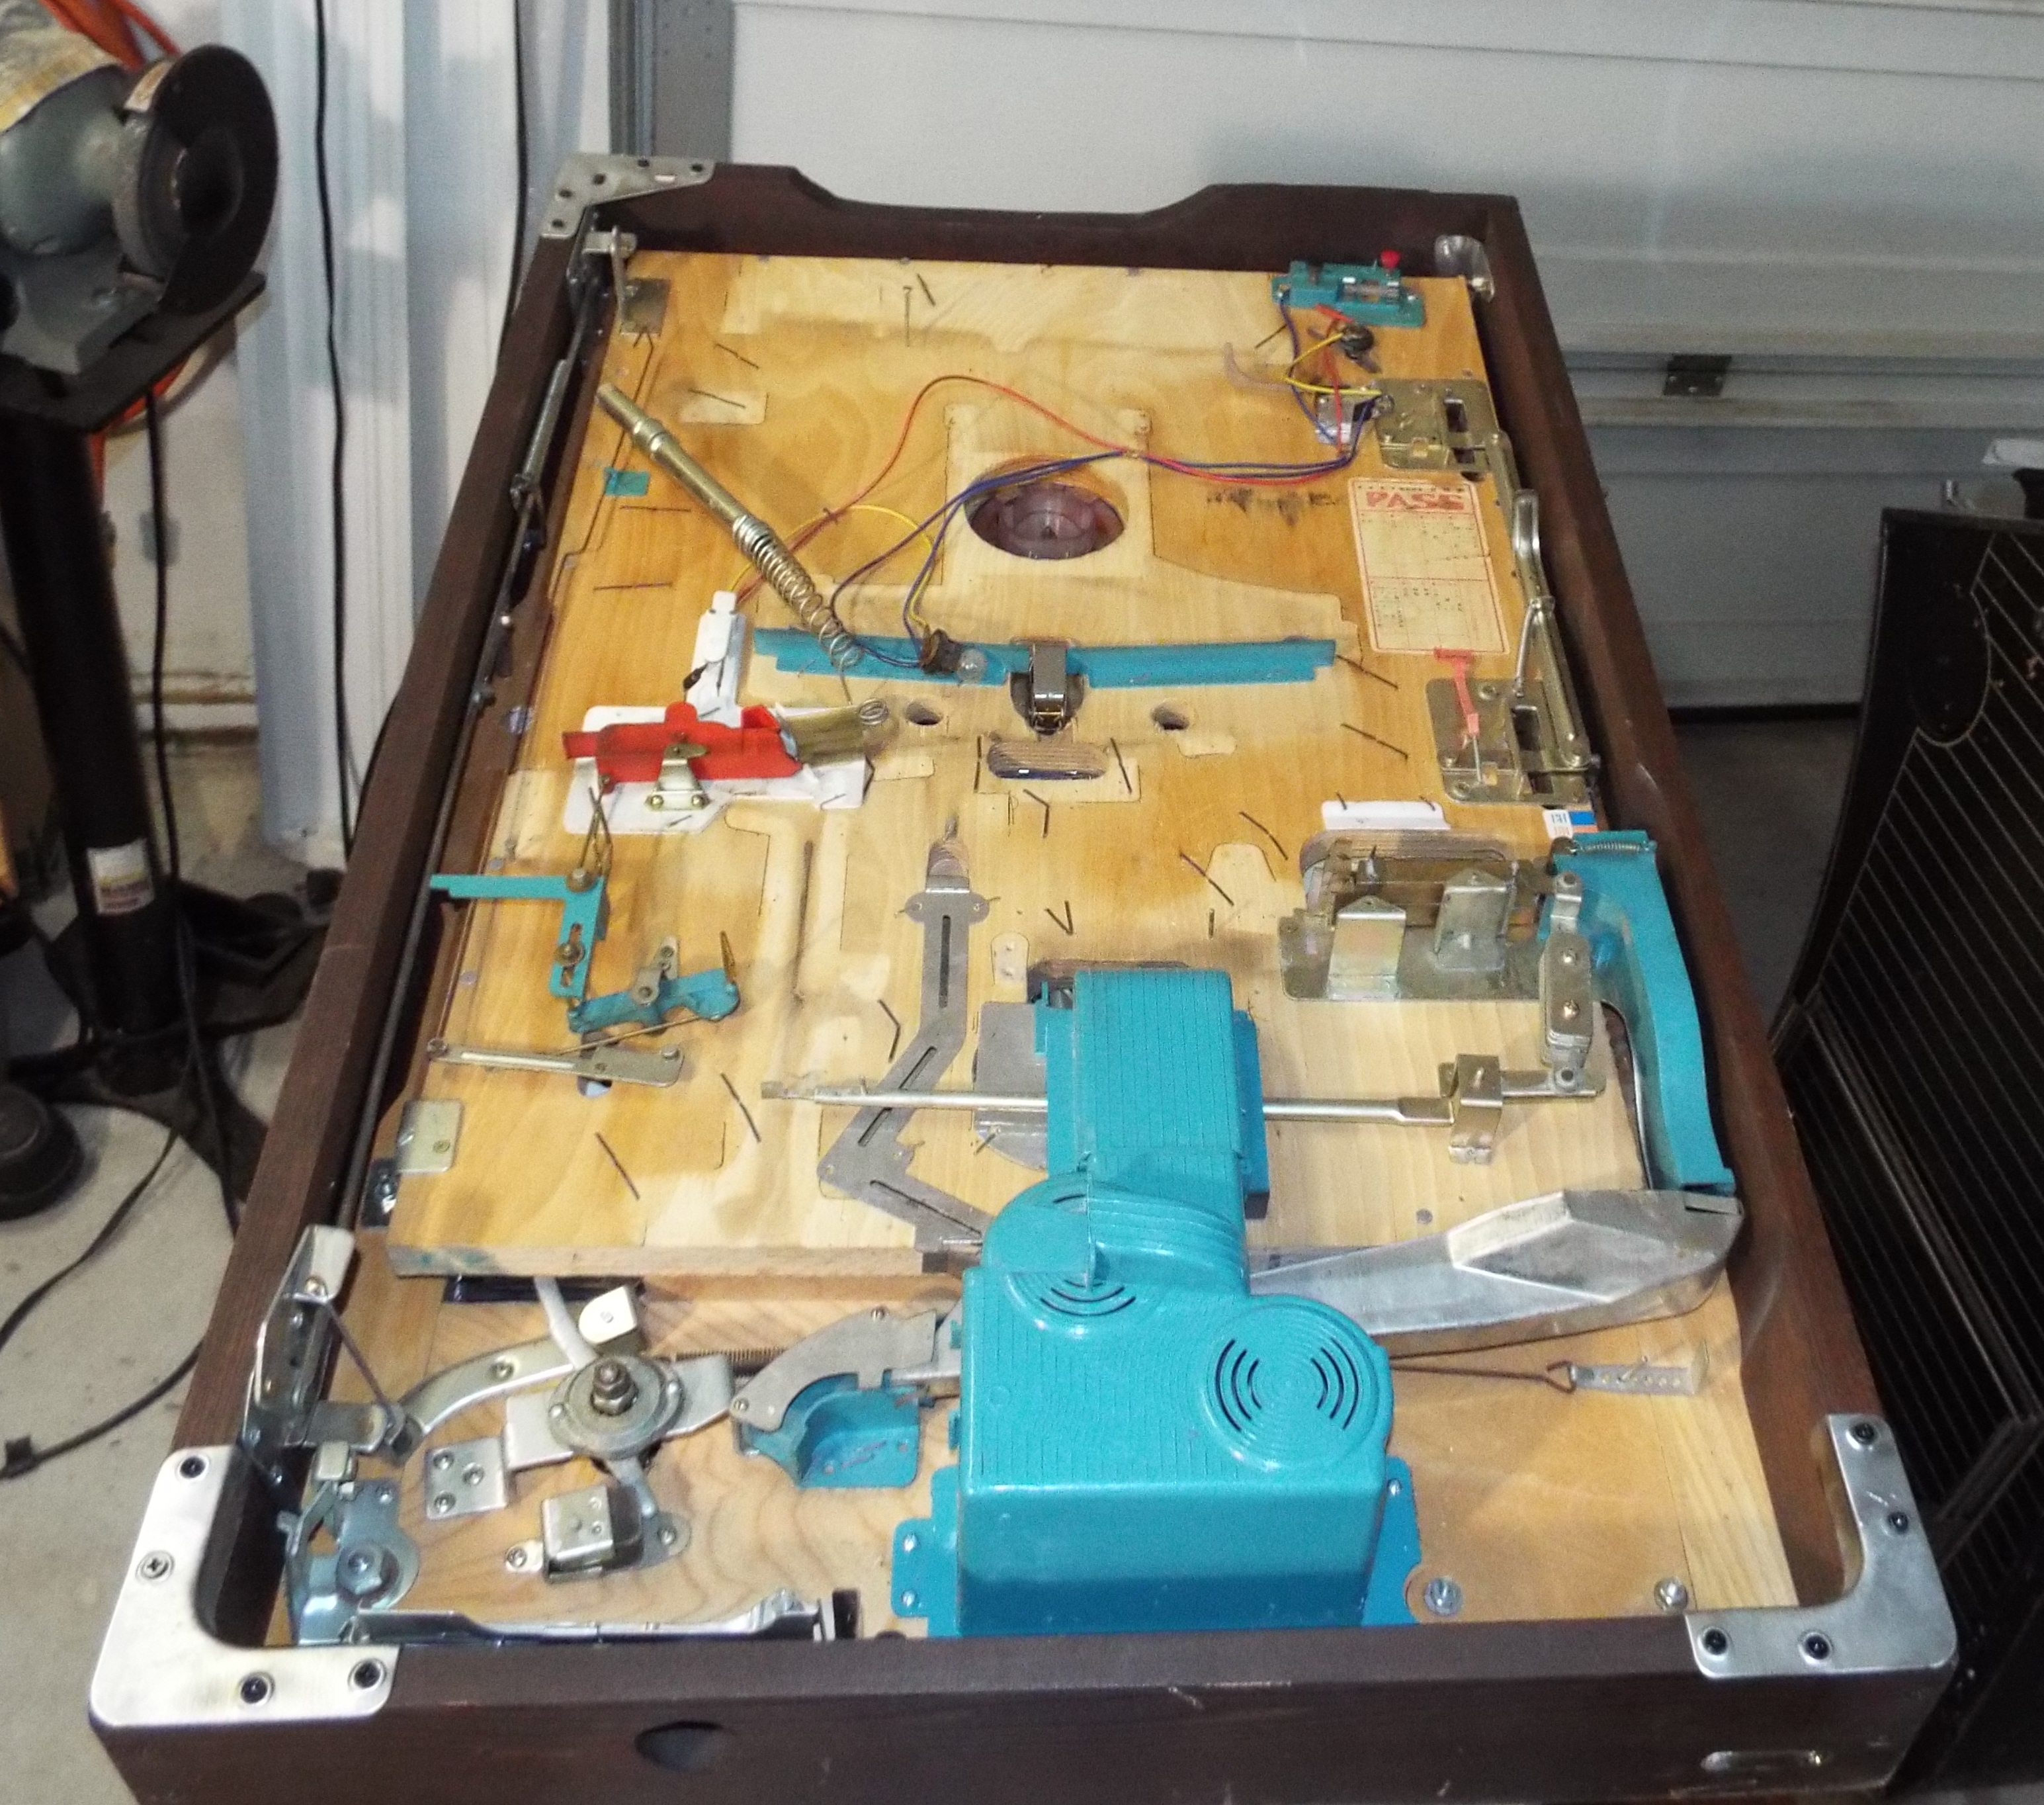
With all the pieces off I literally washed them in soap and water in the kitchen sink then placed them in the dishwasher to dry. I started re-assembling the back a few nights later taking a couple evenings to finish. I was in no hurry, the boon of retirement. Each of these plastic pieces had holes for screws to hold them in place and I intended to go back with small screws instead of staples. I bought a couple bags of #6 1/2 inch sheet metal screws to use on the wood. I used a 1/8″ drill bit to carefully drill out the aforementioned holes in the plastics while drilling more here and there for a more secure mounting. The Japanese, much like Seeburg, never figured their machines would be around so long. This one is an early one as well. Perhaps from the 60’s. It has a knob to open the lower door on the outside. Of course the big door holding the glass has to be open first to access this. The first I have seen. That latch is inside on later models. All other pachinkos I’ve had were 70’s vintage. One other odd note. The brand name is misspelled on a badge on the front of the machine. Instead of Nishijin it is Niihijin with an extra I in place of the S.
But I digress……At first I used a very small drill bit to start a small hole to drive the screws into but several plastic pieces were of an odd shape that wouldn’t allow a drill to reach past to the wood. I racked my brains for awhile and finally hit upon the idea of using a thin finishing nail to tap into the wood maybe a sixteenth of an inch and this worked beautifully, the tapered nail point providing just the right start for the small screws. I would set a plastic piece in place aligning it with the ink marks I had made, tap a hole, put a screw in place, then another to hold the piece securely then do any other holes and fasten it securely to the the back. I was quite pleased with myself. I like to “build back better”.
I was also quite pleased after finishing assembly to load the machine with a couple hundred new balls sourced from ebay and it worked right away. I did have to make a couple small adjustments. I found out after having friends over that it was possible to play the machine too fast for it to respond quick enough with payouts and would jam. These are so simple though that it is pretty easy to figure out any problems. Another adjustment was a matter of bending a rod. I took a different tack for lighting and picked up an eight volt “wall wart” or power adapter to run the six volt lamps. With it wired in and the simple switches cleaned and adjusted it now lights whenever a payoff hits and will notify me when it is out of balls. That shouldn’t happen in home use. The self-loading part I alluded to earlier? When the balls drain from the playfield they roll back into the secondary reservoir that supplies the payout. The only balls that make it all the way through are ones that hit a payoff. I made a couple perfunctory legs for the machine to stand on and am currently enjoying playing the machine. I haven’t played one in years. While doing all this I even picked up another Nishijin. One that is newer and even dirtier than this one was. All it needs is a good cleaning.